
Sometime in the next few months, the way that you create content with WordPress is going to radically change. The current text editor that you’ve been using for years will go away, replaced by the brand new WordPress Gutenberg Editor.
A big change like this is probably ringing some alarm bells in your head…
Will your workflows be interrupted? Are your current plugins and themes going to keep functioning? How can you keep creating great content with this new editor?
In this post, you’re going to learn the answers to those questions plus a whole lot more.
This is the ultimate WordPress Gutenberg Editor guide for anyone and everyone who creates content with WordPress.
You’ll learn:
This new editor is coming no matter what, so take some time to familiarize yourself with the WordPress Gutenberg Editor so that you’re ready to hit the ground running as soon as it’s released!
The Gutenberg Editor is a complete reimagination of the current WordPress text editor that you use to create posts or pages with WordPress.
I say reimagination rather than redesign because it’s truly rebuilding the editing experience from the ground up.
Once development is complete, Gutenberg will replace the current WordPress text editor and you will use the Gutenberg Editor to create content going forward (though you will have options if you want to stick to the current experience – more on that later).
So what makes the Gutenberg Editor a “complete reimagination”?
First, let’s start with a refresh of what I mean by the “WordPress editor”. If you’re not quite sure what I’ve been talking about, here’s what the current WordPress TinyMCE editor looks like:
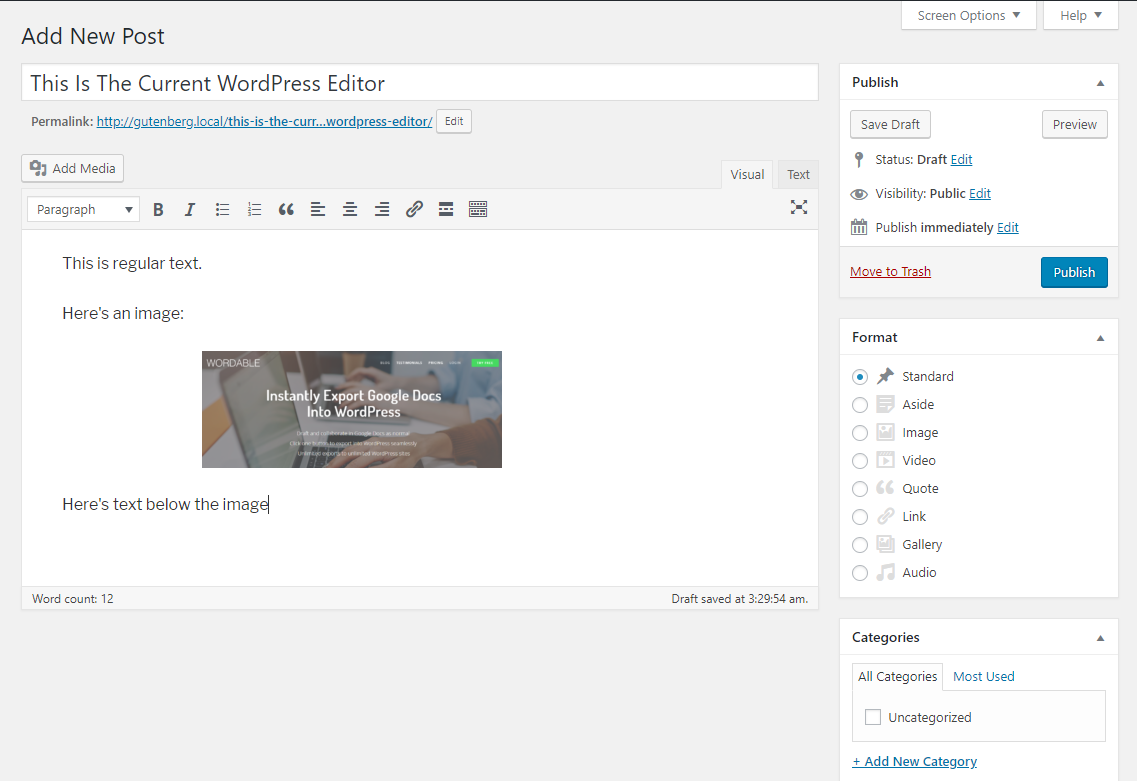
If you’ve been using Wordable to publish WordPress posts straight from Google Docs, you might not spend a lot of time there! But I’m betting there’s still a good chance you’re well acquainted with how the editor works.
The current WordPress text editor is kind of like one long Microsoft Word document. Gutenberg changes that dynamic with something called blocks.
Rather than a single editing field, each “thing” in Gutenberg is its own “block”. If you’ve ever written a post with Medium – it’s the same idea.
For example:
You then assemble your content using a series of blocks. For example, here’s what the same content from above looks like in Gutenberg. It has four different blocks:
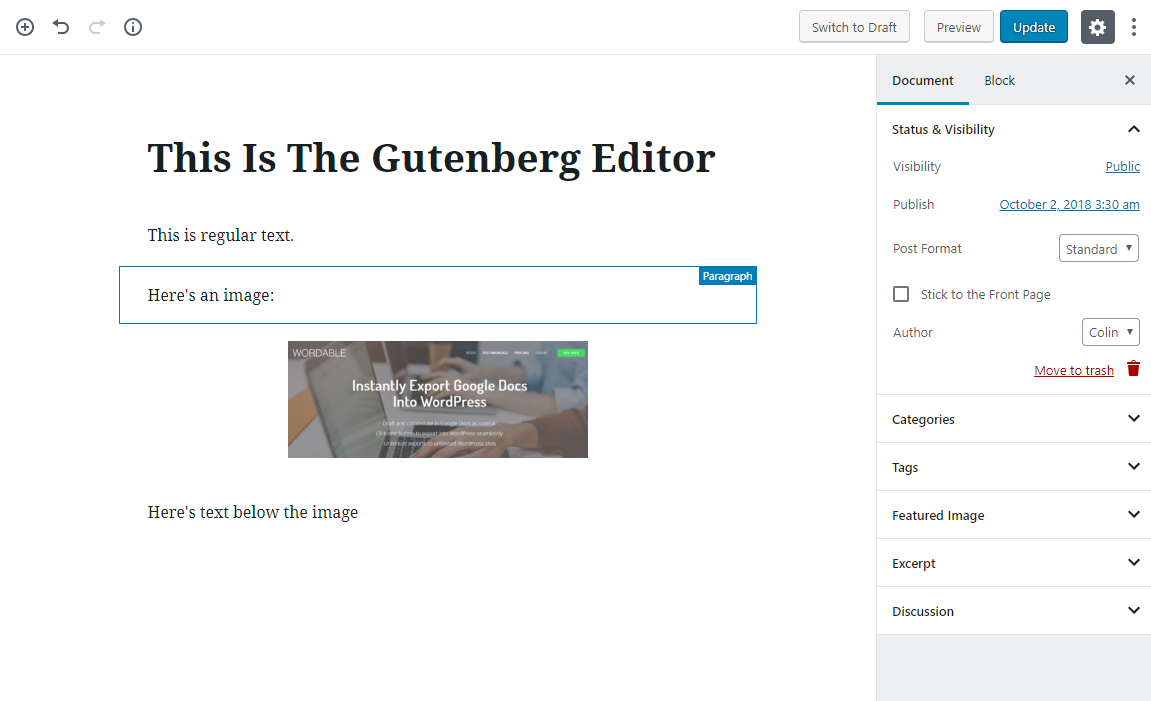
The importance of this block-based approach is it unlocks more advanced capabilities for content and layout.
For example, you’ll be able to introduce columns, insert and style buttons, and perform lots of other actions that you either can’t do with the current editor, or that would require HTML/CSS with the current editor.
Later on, I’ll cover blocks in a lot more detail. But if you want to get your feet wet right now, you can play around with a live demo of the Gutenberg Editor by heading here – no need to install anything.
For most of its life, WordPress has used the same basic editor (TinyMCE). While the design might’ve changed here and there, the core functionality never wavered.
So why the change now? If it worked for the last ~15 years, why can’t it keep working for the next 15 years?
There are a few reasons.
First off, the current editor is just too limiting for casual users in this day and age. While WordPress makes it possible to create anything you can imagine, it only does that if you know some HTML/CSS.
Combine that with competition from visual website builders like Squarespace and Wix (who have both ~doubled their usage over the past year), and you can understand why the WordPress core team felt that WordPress needed a more flexible editing experience to keep its edge.
Second, Gutenberg provides the capability to unify the many disparate interfaces that busy WordPress users have. I don’t want to get too technical here. But if you’re using third-party plugins, you probably have various shortcodes, meta boxes, and settings areas that are a part of your WordPress workflows.
Gutenberg can unify all those different interfaces into the block system.
Third, Gutenberg introduces modern technologies to WordPress. Specifically, React. This not only helps the editor itself, but it also allows third-party developers to work with those modern technologies.
Finally, content editing is just the start of this process. While right now, Gutenberg is just going to change how you create posts and pages, the eventual goal is to have Gutenberg move into full visual website design.
So…is Gutenberg going to be a good thing for you?
Well, it’s actually been a pretty divisive issue in the WordPress community, with passionate arguments on both sides.
On one side, you have people touting the benefits of Gutenberg:
But on the other side, you have people pointing out some big issues with a project that’s this ambitious:
So is the WordPress Gutenberg Editor a good thing or a bad thing?
Well, I’m kind of interjecting some personal opinion here, but I think that Gutenberg will be a positive change in the long term. You’ll have more control over how your content looks and functions without the need for external solutions or custom code solutions.
With that being said, there’s definitely the possibility for short-term growing pains when it comes to compatibility with existing plugins that you might use. And it will be tough to force WordPress’ huge user base to learn a new interface.
The short answer is – we don’t know the exact date. Gutenberg will be released as part of WordPress 5.0, but there’s no official word on the exact WordPress 5.0 release date yet.
We now do have a rough idea, though. According to the recent WordPress 5.0 kickoff meeting, the projected dates are as early as November 19, 2018, or as late as January 22, 2019.
Here’s the longer answer:
Right now, the Gutenberg Editor exists as a plugin during its beta status. If you wanted to, you could actually install the plugin and start using it on your site today (it’s in beta, though, so I wouldn’t recommend it).
Once the beta and testing finishes, the WordPress team will merge the Gutenberg Editor into the core WordPress software in WordPress 5.0. Then, once you update your WordPress site to WordPress 5.0, the Gutenberg Editor will automatically replace the current TinyMCE editor.
Because Gutenberg is replacing the current editor, you’re probably wondering what’s going to happen with all your existing content.
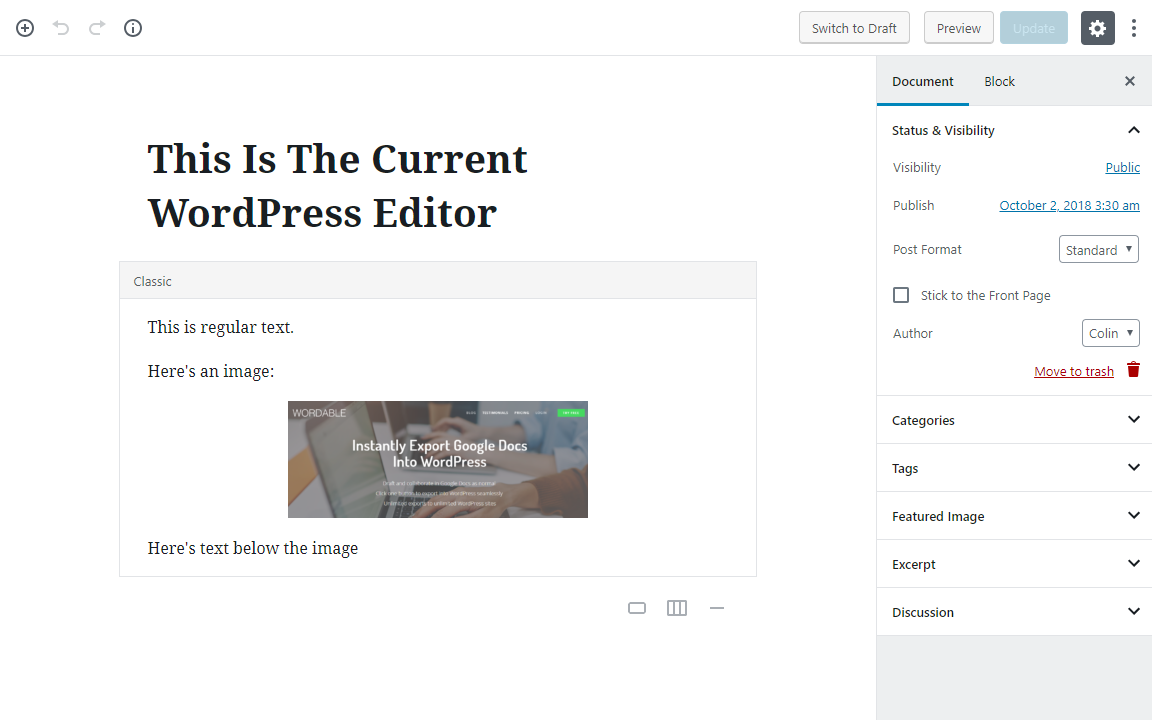
Don’t worry – Gutenberg is built to be backward compatible.
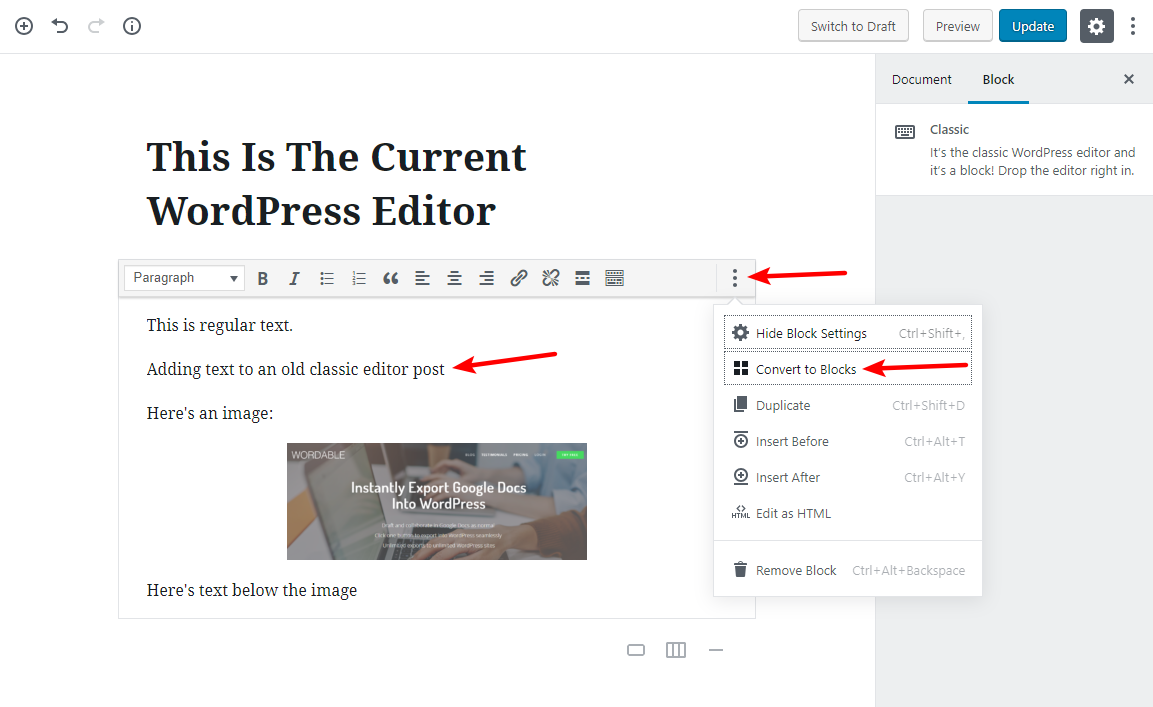
As it stands now, Gutenberg puts all of your old content into a single Classic block. For example, here’s what the TinyMCE example from above looks like when I install Gutenberg:
If you want, you can continue working inside that single Classic block, though the experience is a bit awkward. Or, you’ll be able to click the three dots icon to convert your old content into Gutenberg blocks:
Once you convert your old content into blocks, it will work just like any other Gutenberg Editor post.
Because the Gutenberg Editor uses this single Classic block approach for old content, you shouldn’t experience any transition issues. But it’s possible that you might experience issues with third-party plugins, so you should still maintain vigilance and check your old content.
Yes! Again, because Gutenberg is going to be the default editor, it naturally needs to work with any WordPress theme.
With that being said, there are some things that developers can do to add special capability for Gutenberg, so you’re going to start seeing “Gutenberg-compatible” show up on many themes’ marketing materials pretty soon.
Here’s what makes a theme compatible with Gutenberg:
No! While Gutenberg will be the default editor in WordPress 5.0, you don’t actually have to use it.
If you’d like to continue using the current WordPress editor, there’s an official Classic Editor plugin that hides all traces of Gutenberg and restores the current editing experience.
Alternatively, this plugin can also let you use both editors and switch between them on a post-by-post basis.
Ok, now that you’ve finished your Gutenberg 101 crash course, let’s go hands-on with the Gutenberg Editor.
The goal of this section is to get you acquainted with the Gutenberg Editor so that you’ll be able to hit the ground running once it’s released.
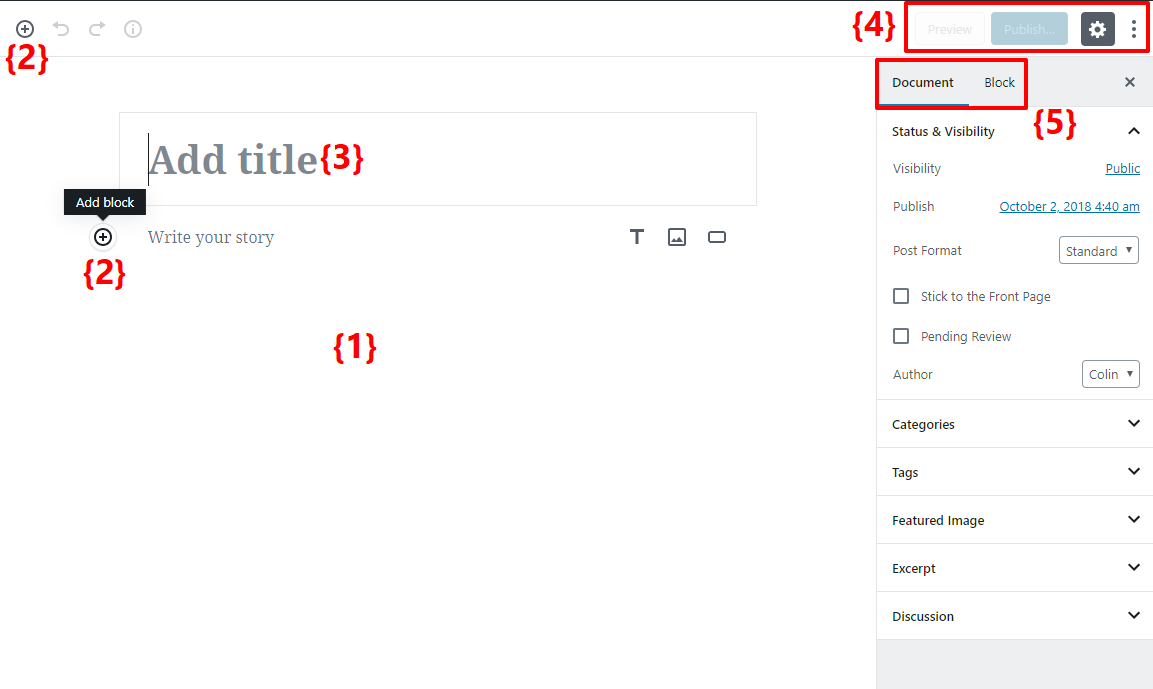
To get started, here’s a graphic to help you understand the core elements of the Gutenberg Editor interface:
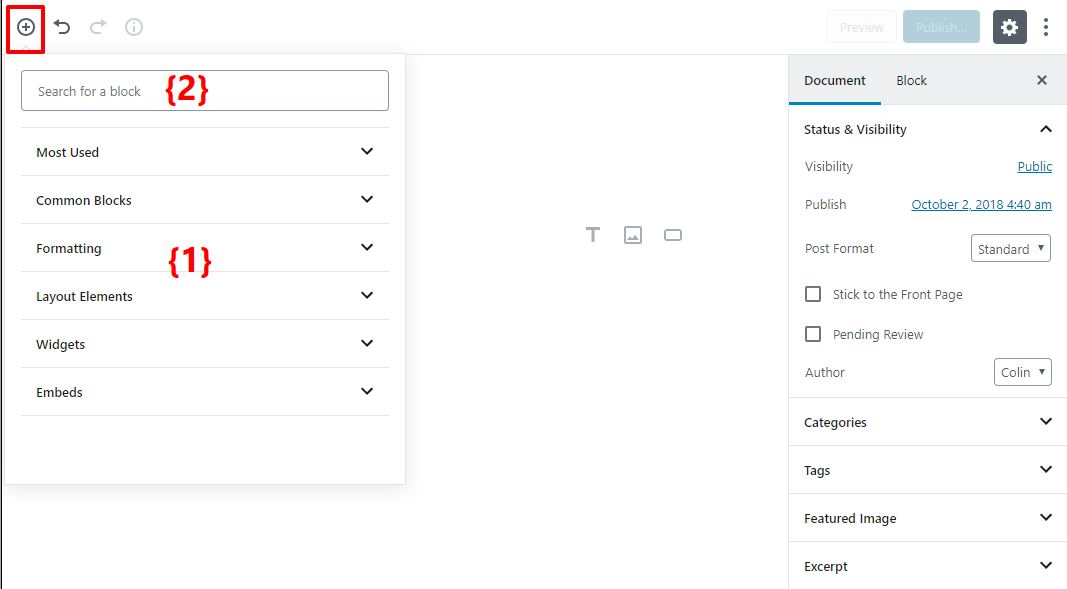
Then, when you go to add a new block, you’ll see this popup window with a list of all the available blocks. You can either:
In this section, you’ll learn how you can perform the same type of actions that you already can perform in the current WordPress editor.
Basically, you’re going to learn how to adapt your existing workflow to the Gutenberg Editor. Then, in the next section, I’ll show you how to take advantage of the Gutenberg Editor’s new functionality.
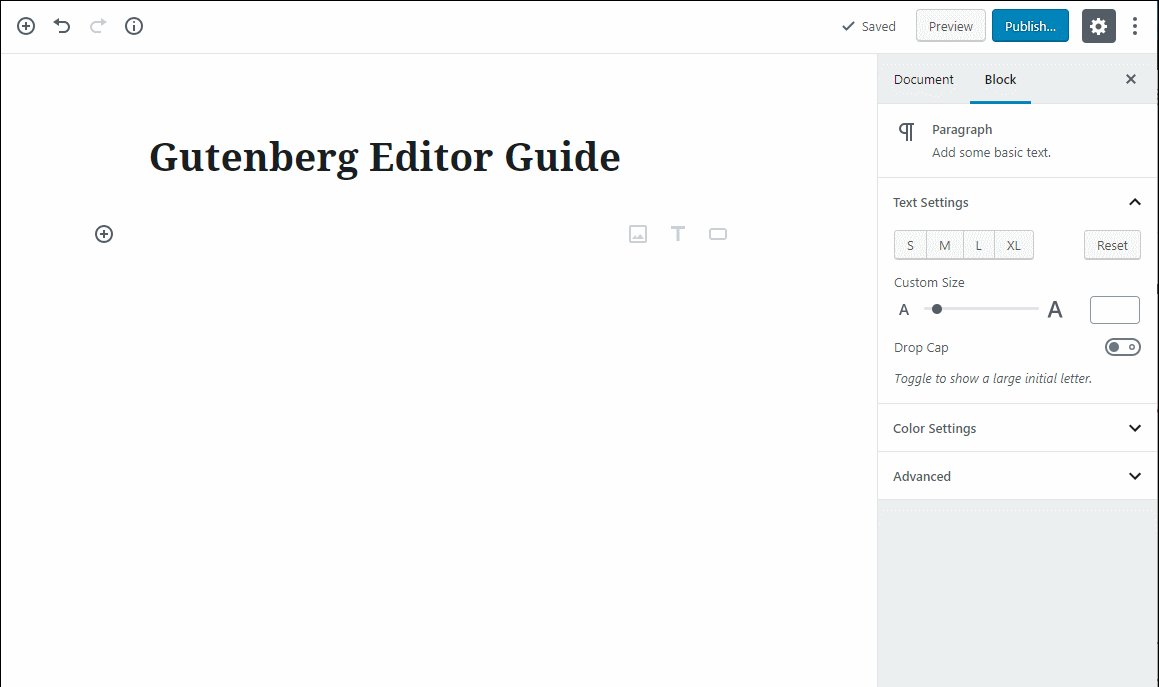
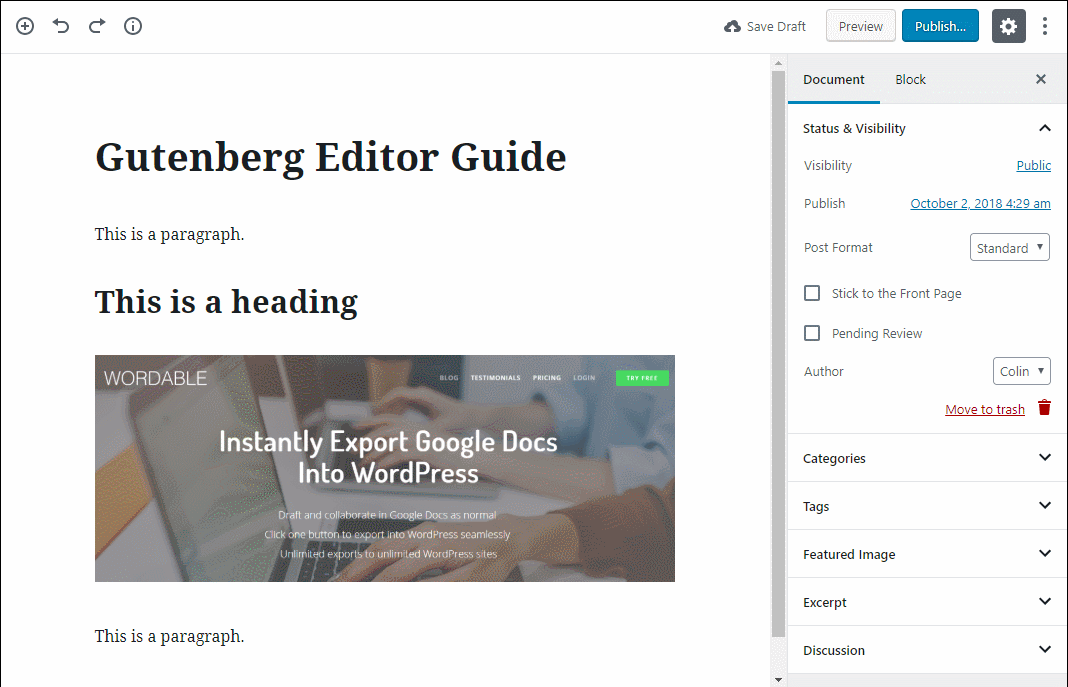
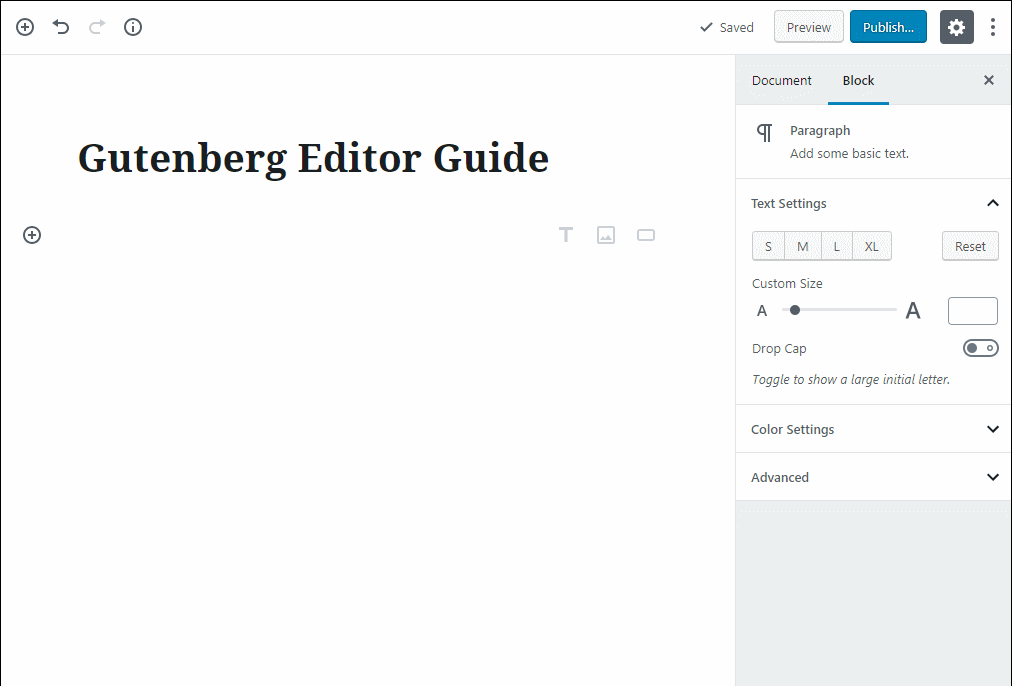
Basic paragraph text content is simple – you just click and type. The only immediate difference is that whenever you hit Enter to create a new line, Gutenberg will automatically create a new block for your next paragraph:
When you click into a block, you’ll see a formatting toolbar appear where you can:
Basically, this acts a lot like the toolbar in the current editor:
Later on, I’ll show you a neat alternative to this default approach.
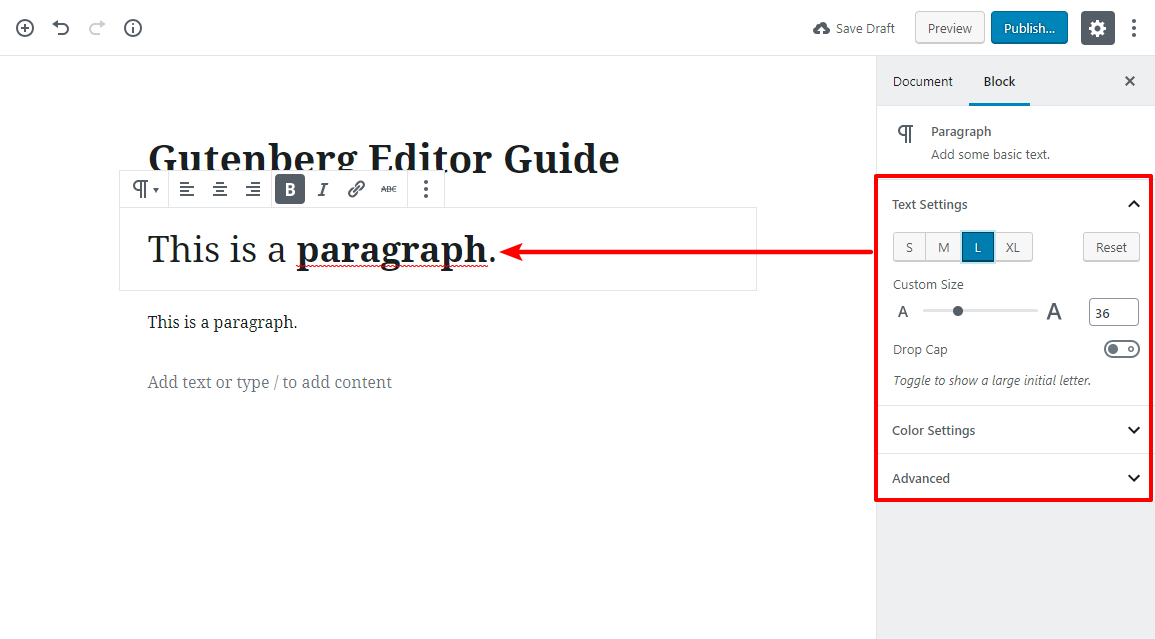
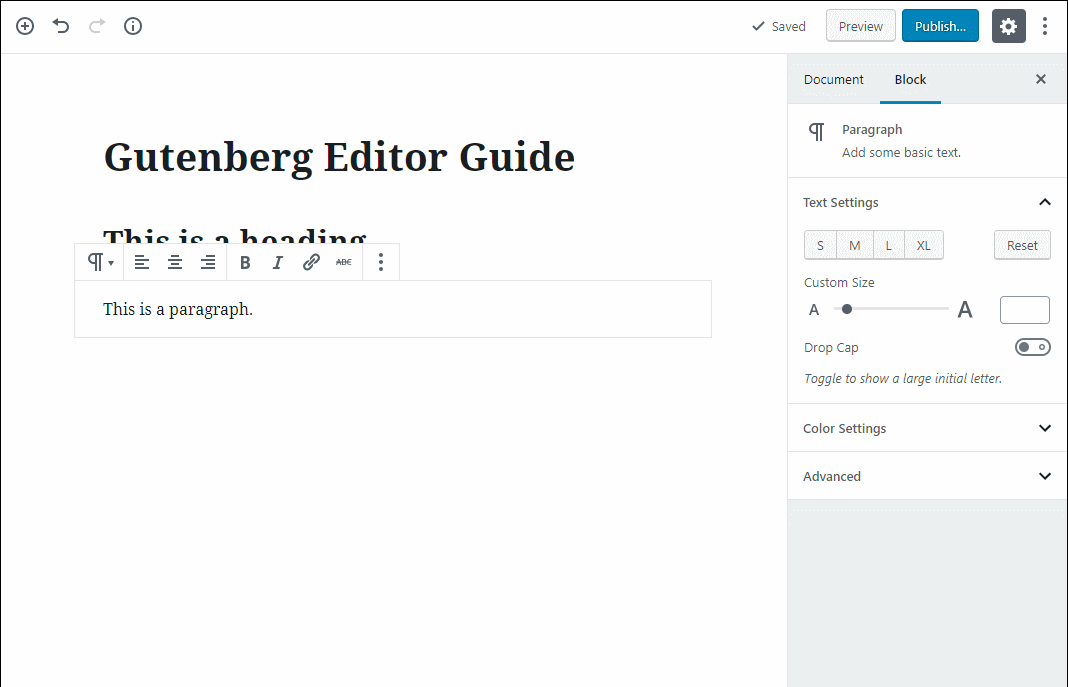
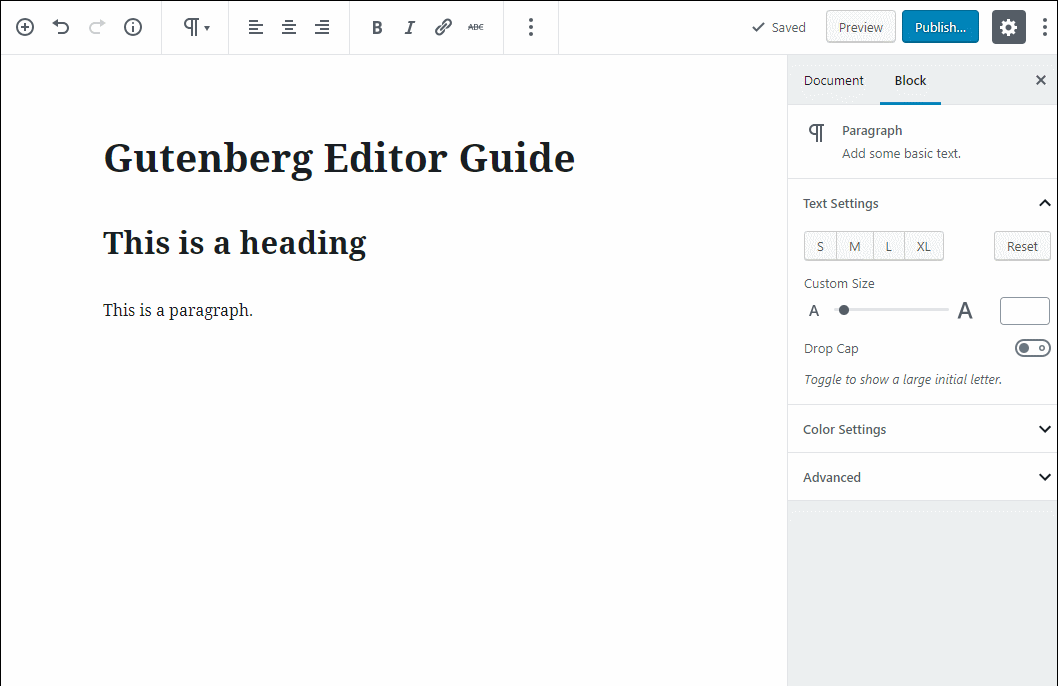
Beyond the formatting options in the toolbar, you also get some options in the right-hand sidebar which let you:
Simple enough so far, right?
You have a few different options for creating a heading.
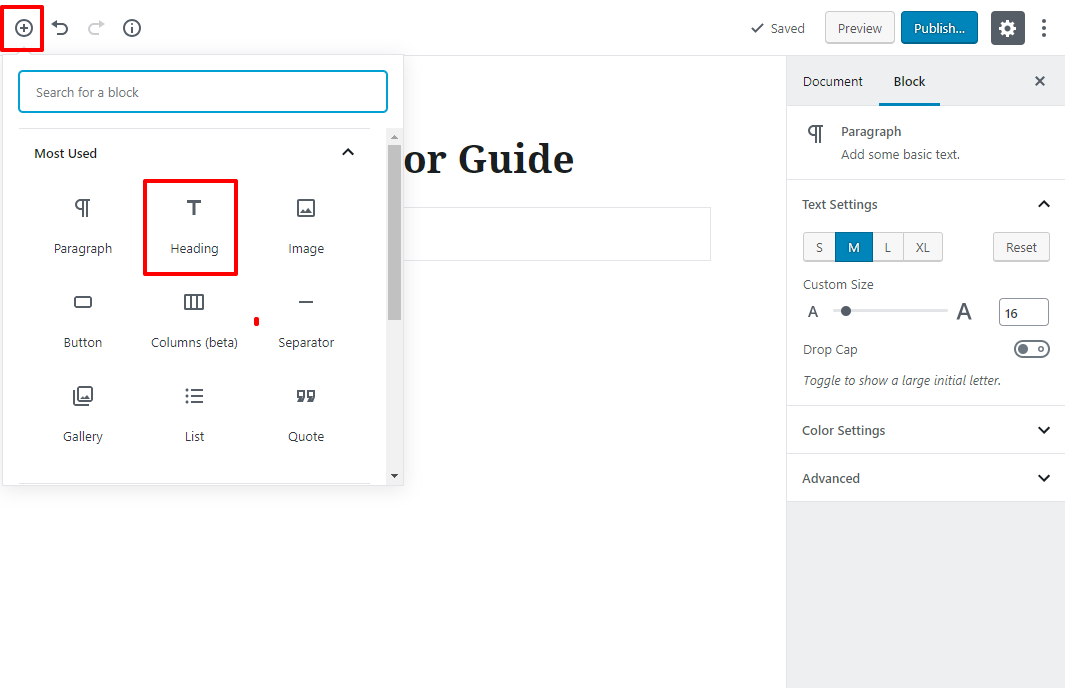
First, you can use the + icon to insert a new Heading block:
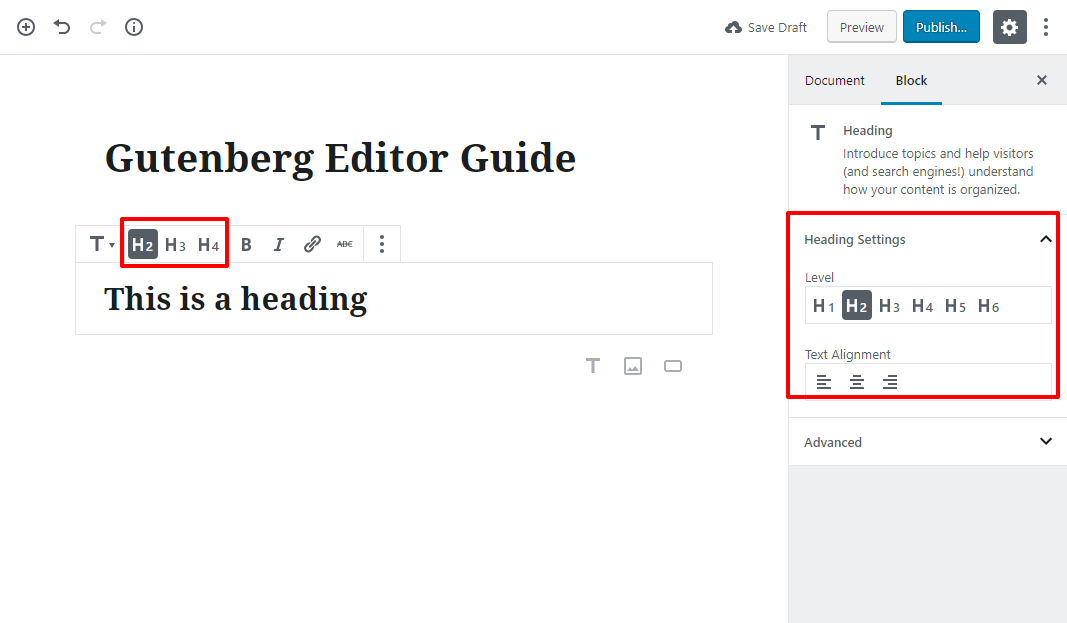
Once you insert the Heading block, you can type to add your text and use the sidebar or toolbar to control what heading to use (e.g. H2 vs H3):
Alternatively, you can also:
Here’s a GIF to illustrate those two methods:

Ok, so now you can create and format both basic text and headings. That’ll get you most of the way there!
But what about inserting media content?
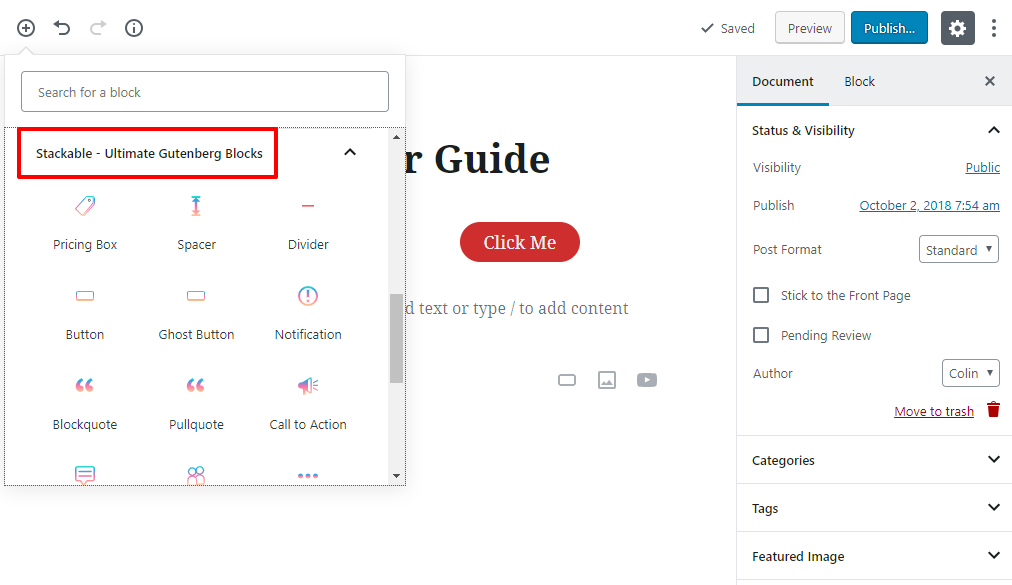
To insert any media content, you can use that same + icon to insert a block.
To insert media content below your existing content, use the + icon in the top-left corner.
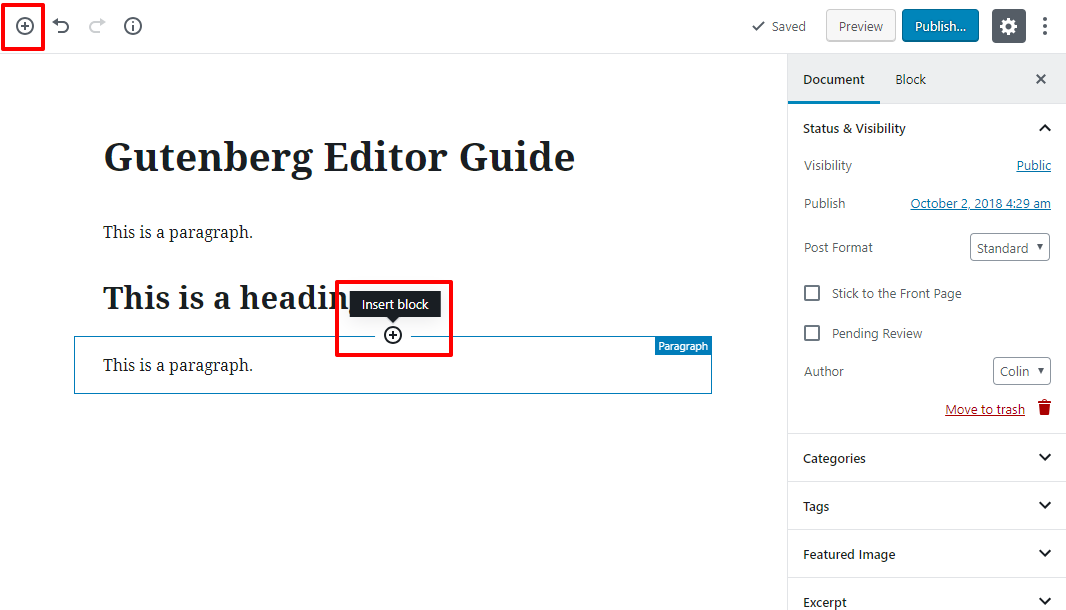
Alternatively, you can also insert a new block between your existing content by hovering over the spot where you want to insert your content. Then, you’d use the Add block button to the left of the new block:
Once you open the Insert Block popup, you can choose from:
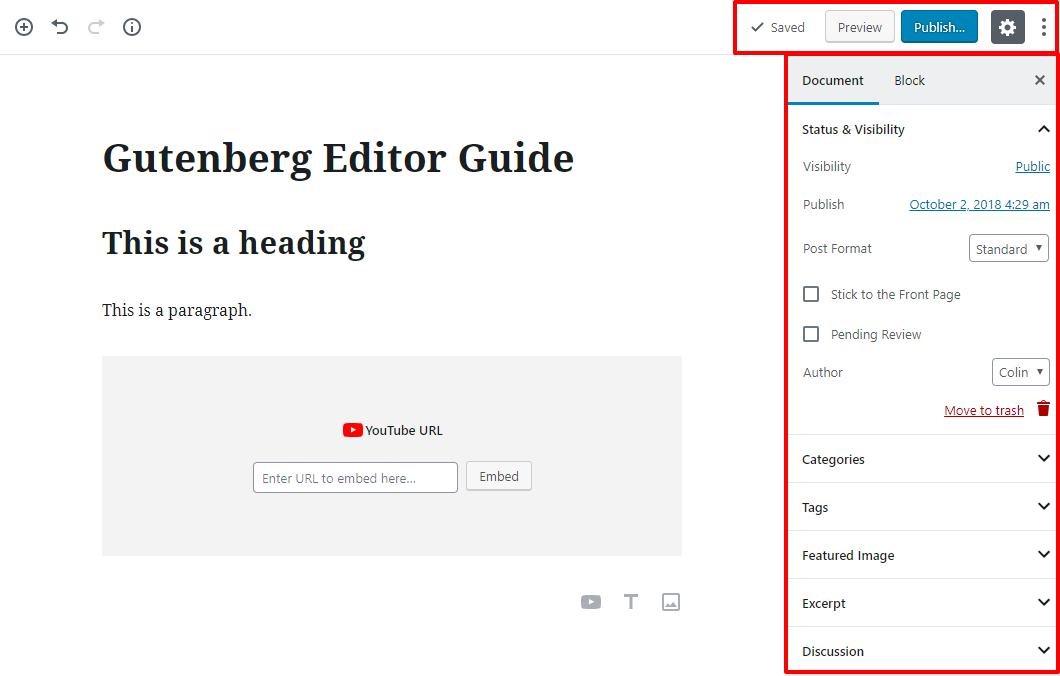
For example, here’s what it looks like to insert an image from the WordPress media library:
And here’s how you could embed a YouTube video:
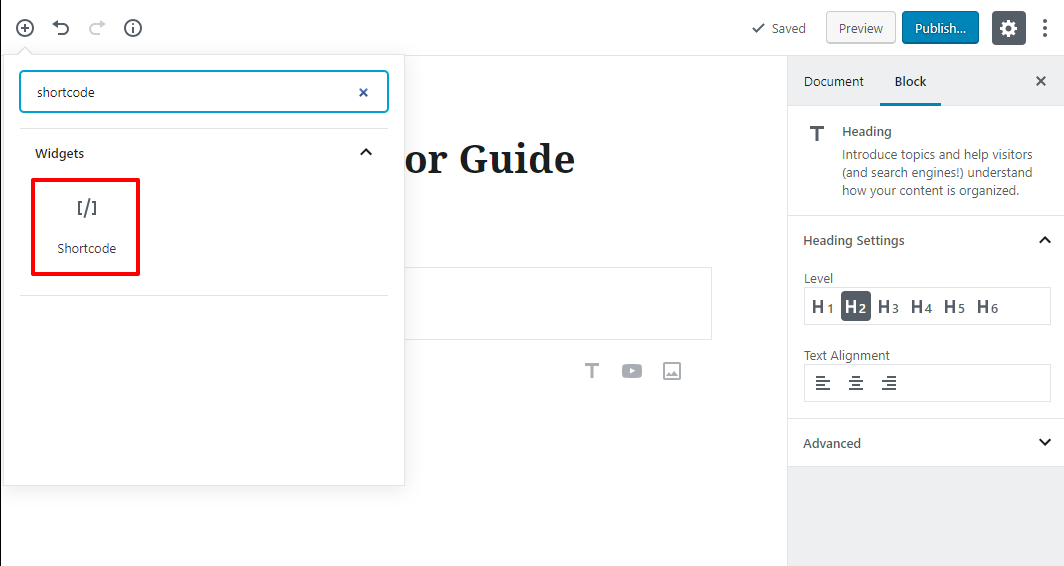
If you’re like most WordPress users, you probably have some plugins that you include in your post or page content using shortcodes.
Eventually, the goal is for those types of plugins to create their own Gutenberg blocks that you can directly use (more on this later). But until then, you can still include shortcodes in your Gutenberg content by using the Shortcode block:
Ok, easy enough so far…but what if you want to change the order of your blocks?
To do that, you have two options.
First, if you hover your mouse to the left of a block*, you can use drag and drop to move blocks around:
Second, you can also use the up or down arrows to shift blocks up or down one position:
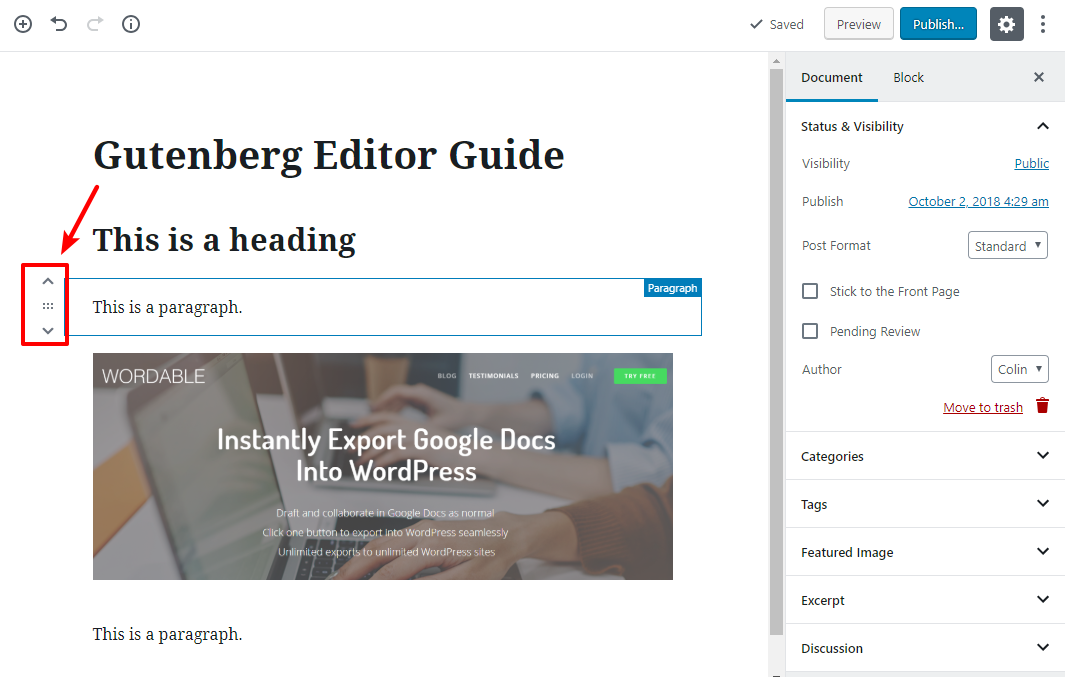
*To activate drag and drop, hold your mouse over the 6 dots between the up and down arrows.
Ok, so the above should cover how to add basic blog content. But what about all the other behind-the-scenes parts of preparing a post for publication?
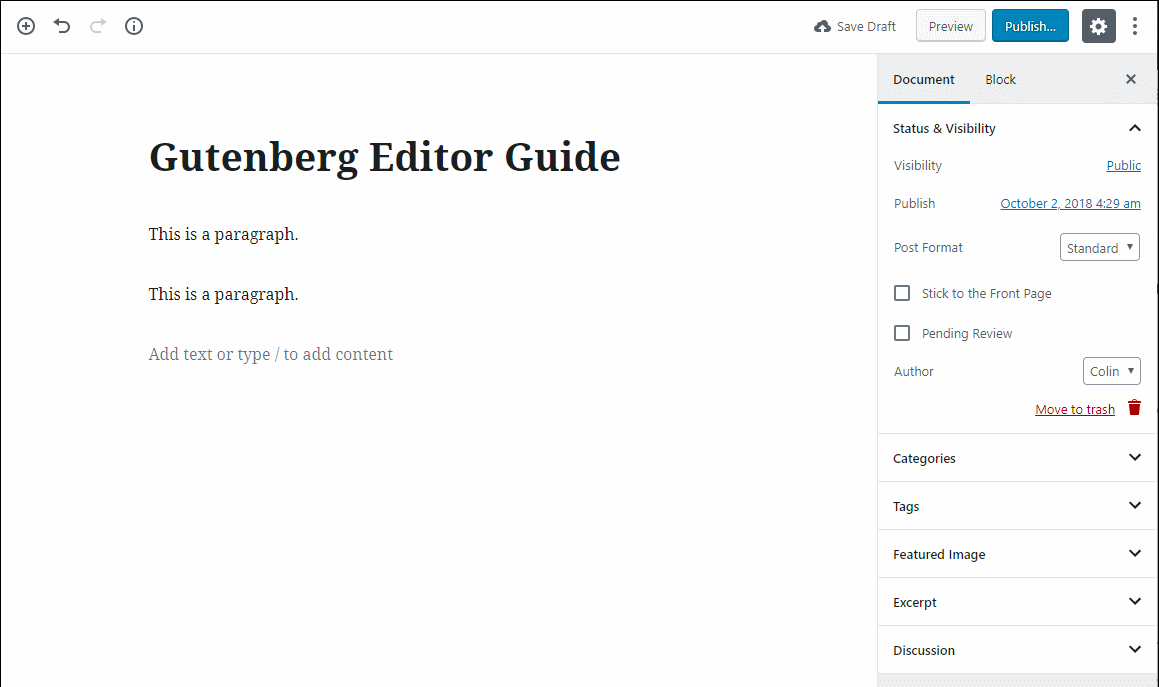
For most actions, you can use the Document tab of the sidebar. This is where you’ll:
Additionally, you can use the buttons above that sidebar to:
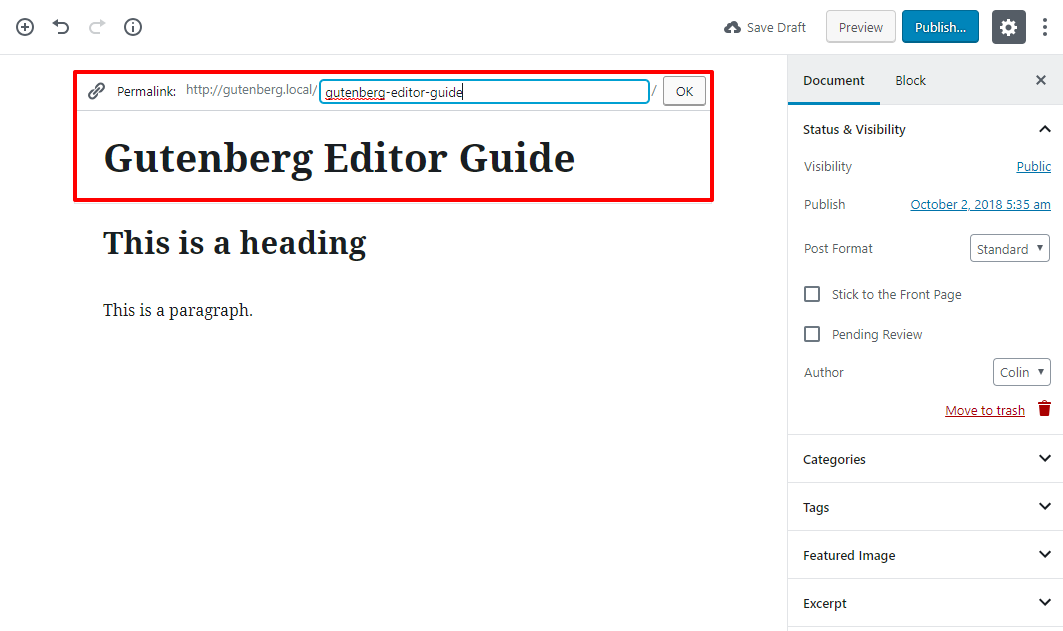
The only tricky thing is setting your post or page’s URL slug. To edit that, click on the title. Then, you’ll be able to edit the slug:
There’s a good chance that you have some other backend plugins that you need to configure for each piece of content.
There are two ways that you’ll interact with these plugins.
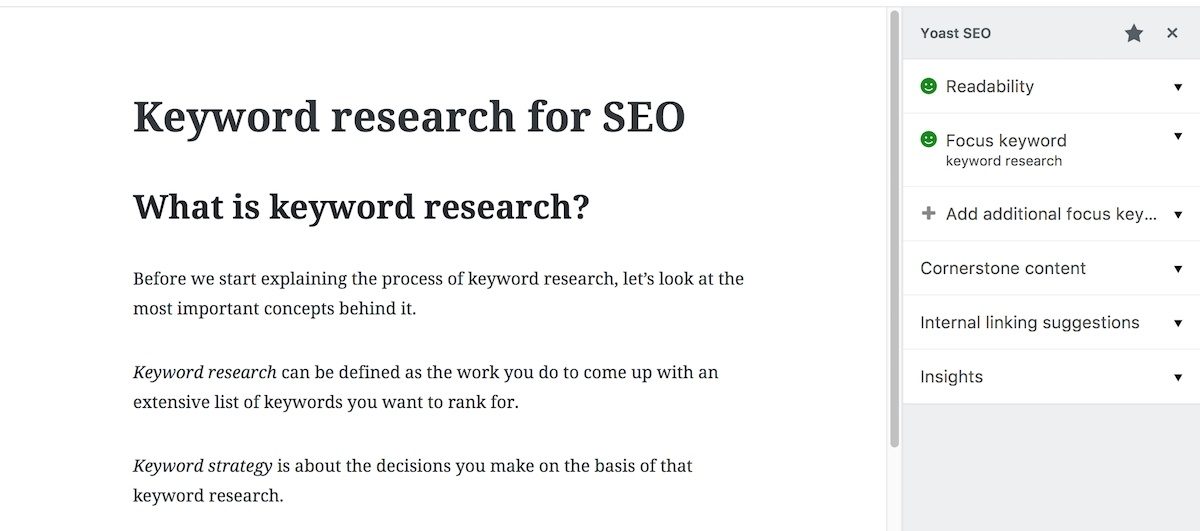
First off, many developers are already working on direct Gutenberg compatibility. For example, Yoast SEO already supports Gutenberg, and you’ll configure your Yoast SEO settings right from that same Document sidebar:
For legacy plugins that don’t have Gutenberg support yet, you’ll still be able to use meta boxes like you would with the TinyMCE editor:
When you first start working with the Gutenberg Editor, it might feel a little sluggish. These tips can help speed up the process and make it easier to quickly insert and customize the blocks that you need.
The method for inserting blocks that I showed you above is helpful when you’re just getting started with Gutenberg because it lets you see all the available blocks.
But once you become familiar with which blocks you need, you can insert them a lot faster by using the quick insert feature.
Rather than clicking the + icon, just:
As you type, Gutenberg will autosuggest blocks that match. Then, just hit Enter to insert the block that you want.
Here it is in action:
That’s a lot faster, right?
Gutenberg comes packed with keyboard shortcuts that can speed up how you work.
You can bring up a full list of these shortcuts by clicking CTRL + Alt + H (Windows) or CMD + Alt + H (Mac):
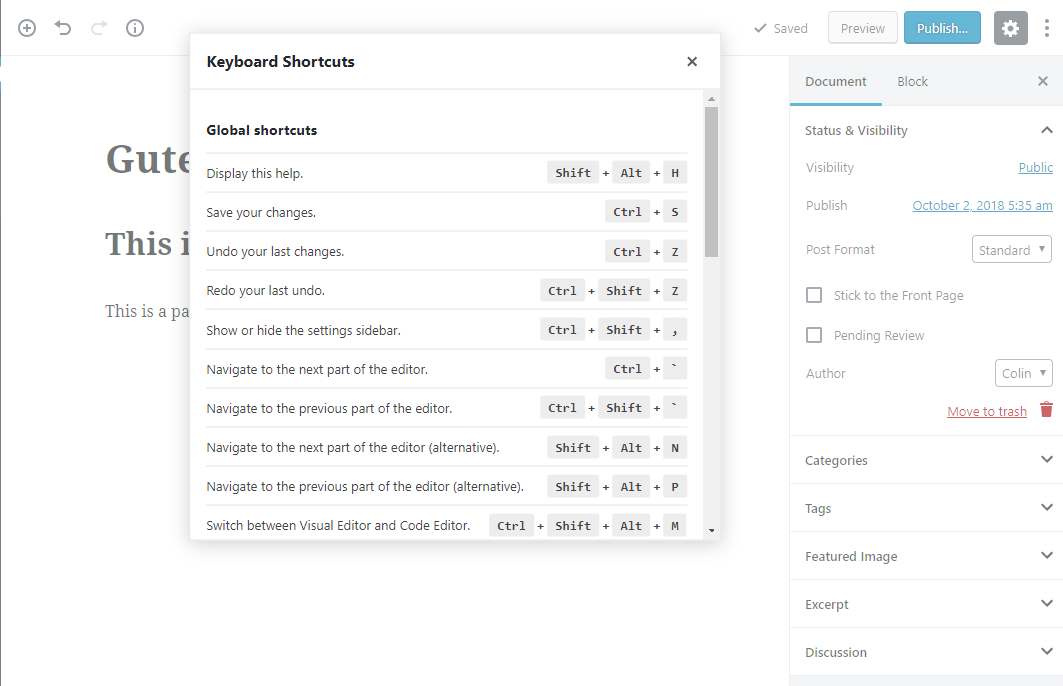
You should read through the full list, but here are some of the most helpful:
You can also use most of the global shortcuts, like Ctrl + B for bold or Ctrl + V to paste.
If you need to include a lot of images, this is another neat trick.
Rather than needing to manually create a new image block for each image, you can just drag an image straight from a folder on your desktop right to the spot where you can to include it in your post.
WordPress will then automatically upload it to your media library and insert it right there. There’s only one thing to pay attention to – make sure you see the blue line when you drag the image, otherwise it won’t work:
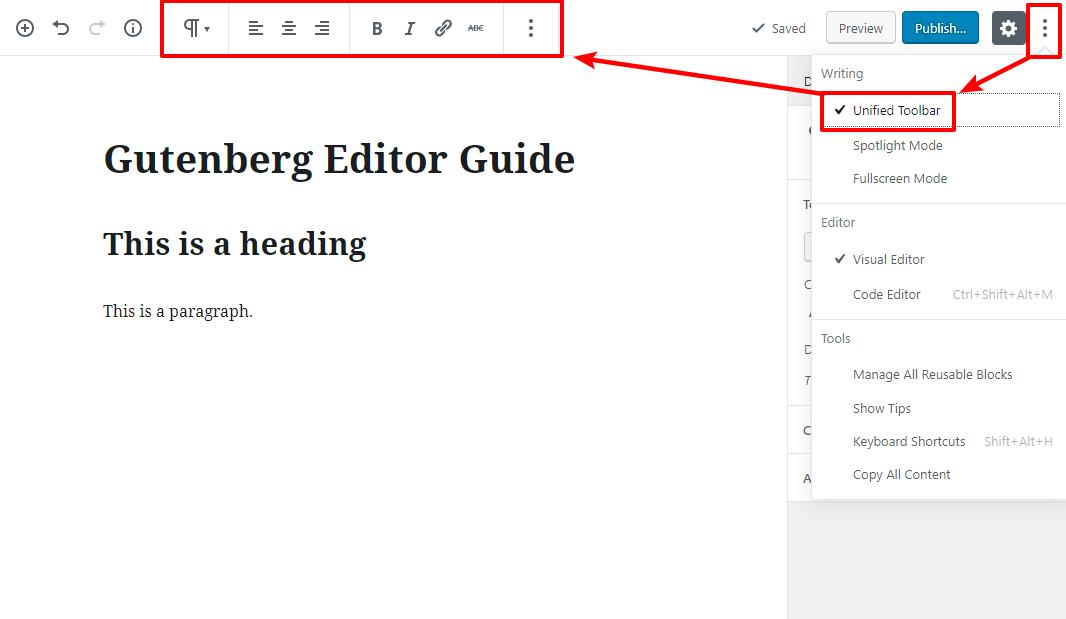
One thing some people find difficult with Gutenberg is that the editing toolbar constantly blinks in and out of existence as you click between different paragraph blocks.
If you don’t like that, you can turn on the Unified Toolbar option to get an always-present toolbar at the top of the Gutenberg interface:
If you like using markdown, you’ll be able to incorporate some markdown syntax in Gutenberg.
For example:
You can’t use all markdown syntax. But the examples above are already pretty helpful for quicker formatting:
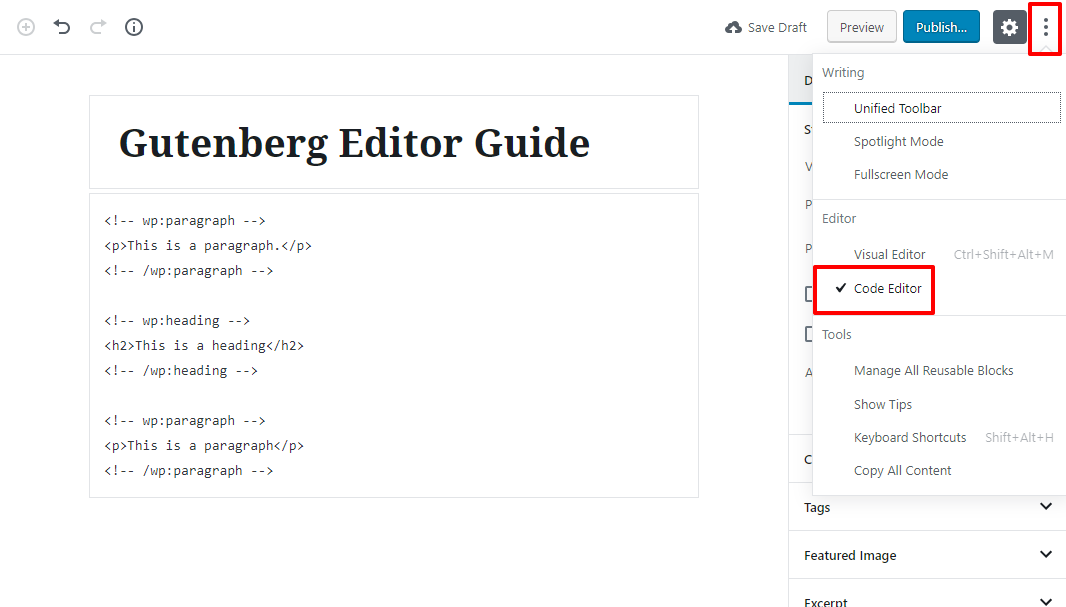
If you do hit a situation where you want to edit HTML directly, you can access the code editor by clicking on the three dots in the top right-hand corner or using the Ctrl + Shift + Alt + M shortcut:
Alright, we’ve covered:
Now, let’s get into some of the cool new stuff you can do with Gutenberg. These are the exciting features that should help explain why the WordPress team decided to move forward with Gutenberg.
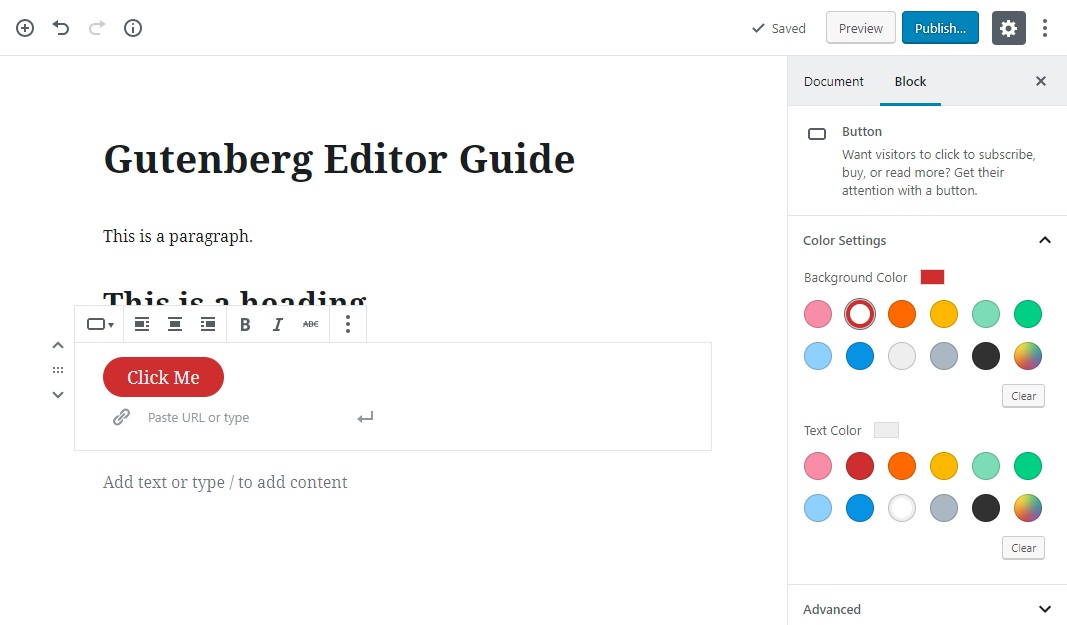
With the old editor, the only way to create buttons was to manually add a CSS class or use a third-party plugin.
With Gutenberg, you just add the Button block. To edit the button text, you just click and type. And to change up colors, you can use the sidebar:
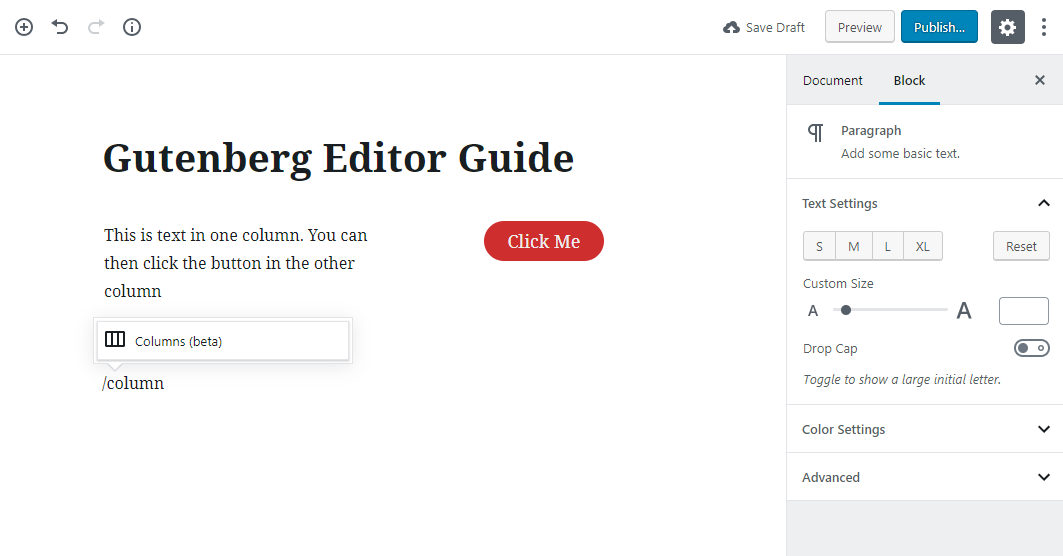
With the old editor, there was no way to create multi-column layouts without your own custom HTML or a third-party plugin.
With Gutenberg, you just add the Columns block. Then, you can add other blocks inside the different columns:
If your theme supports it, you’ll get a new full-width alignment option that lets you stretch images across the entire screen, which opens up some interesting content layouts:
If you find yourself regularly using the same combination of blocks, you can save time by creating a reusable block group.
First, you can click and drag to select all the blocks that you want to include. Then, you can use the three dots to Add to Reusable Blocks:
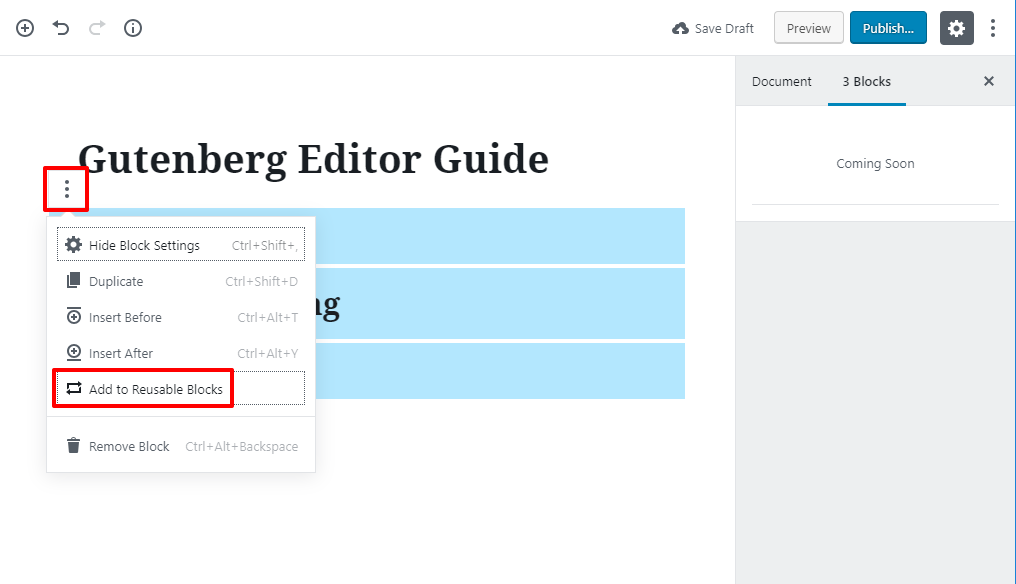
You’ll give it a name. Then, you’ll be able to insert that entire template just like you would any other block:
Here’s where Gutenberg starts getting even cooler:
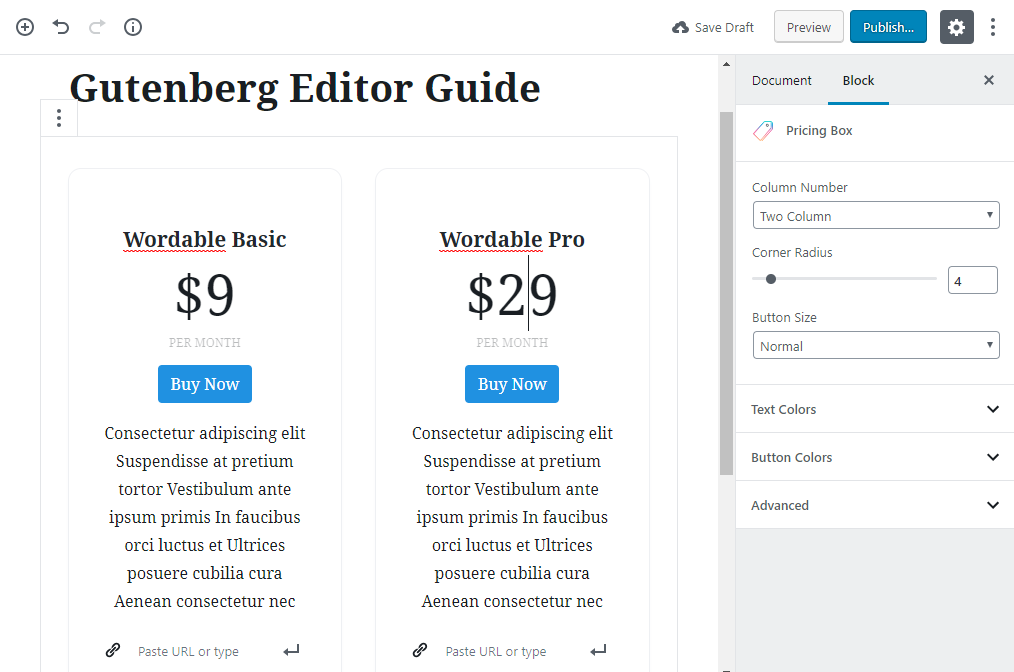
Third-party plugins can add their own blocks that you can use in your Gutenberg designs.
There are two ways that this can benefit you:
For example, check out the free Stackable plugin. Once you install and activate it, you’ll get a whole new set of Stackable blocks in Gutenberg:
And then you can use those blocks to do some pretty cool things, like inserting a pricing table or a testimonial:
And that’s it! If you made it this far, you should be a Gutenberg guru who’s ready to hit the ground running as soon as WordPress 5.0 is released.
While learning a new workflow isn’t on most people’s lists of “fun ways to spend a weekend”, mastering the ins and outs of Gutenberg will be essential for anyone who uses WordPress.
Not only is Gutenberg going to affect the way that you create content right now, it’s also going to play a major role in WordPress going forward.
Everything you saw above is just phase one of Gutenberg. In phase two, Gutenberg will move into page templates, and phase three will morph Gutenberg into a tool for full website customization.
So…become good friends with Gutenberg, because you’re going to be seeing a lot of it over the next few years!