

One of the best ways to create documents, especially when you don’t have a copy of Microsoft Word, is to do so in Google Docs.
Although the two programs are similar, some commands can still be quite confusing, like adding borders to your Google docs file.
You aren’t alone in being frustrated by this. The transition between the Google Docs command system from that of Microsoft Word has stumped a lot of people.
Knowing how to add a border in Google Docs, with the unfamiliar icons and formatting options of Google’s free app, tends to confound many. Fortunately, it’s a simple task so long as you know what you’re doing.
In this article, we’ll show you all the steps necessary to add a border in Google docs, and properly edit, and adjust these borders. All of which will ensure that your google docs file is formatted exactly as you want it to be.
Effortlessly export your Google Docs to WordPress with just 1-click.
Get Started TodayBorders in a Google Docs file are the lines that surround a text box, a paragraph, or the entire document itself. These lines are disabled by default when you create a file, and won’t really show up when you edit your document. Unless, that is, you specifically select it under the formatting options, or surround the document by a table.
Borders are meant to make a document look more organized, or to put emphasis on a certain portion of the file. Borders can also add a bit of visual flair, adding an interesting note to an otherwise bland text box.
As stated above, borders not only add an aesthetic effect to a document, they’re also used to give readers a point to focus on. Changing the border color, or the border width, gives the author the ability to draw attention to certain parts of the file itself.
Staring at a uniform text box can put strain on a reader’s eyes, especially for lengthy documents. Borders help break up the monotony, and give readers an idea how the information in the file is organized.
Borders, depending on the template, can also make documents look more formal. Perfect for making resumes, memorandums, and other official papers.
If you’ve had trouble adding borders to your Google Doc, then we can show you the necessary steps to accomplish this. As there is currently no built-in feature to directly add a border to your file, this can be done in several ways.
One of the simpler, and thus more popular methods used, this is done by creating a single cell table that will surround your document.
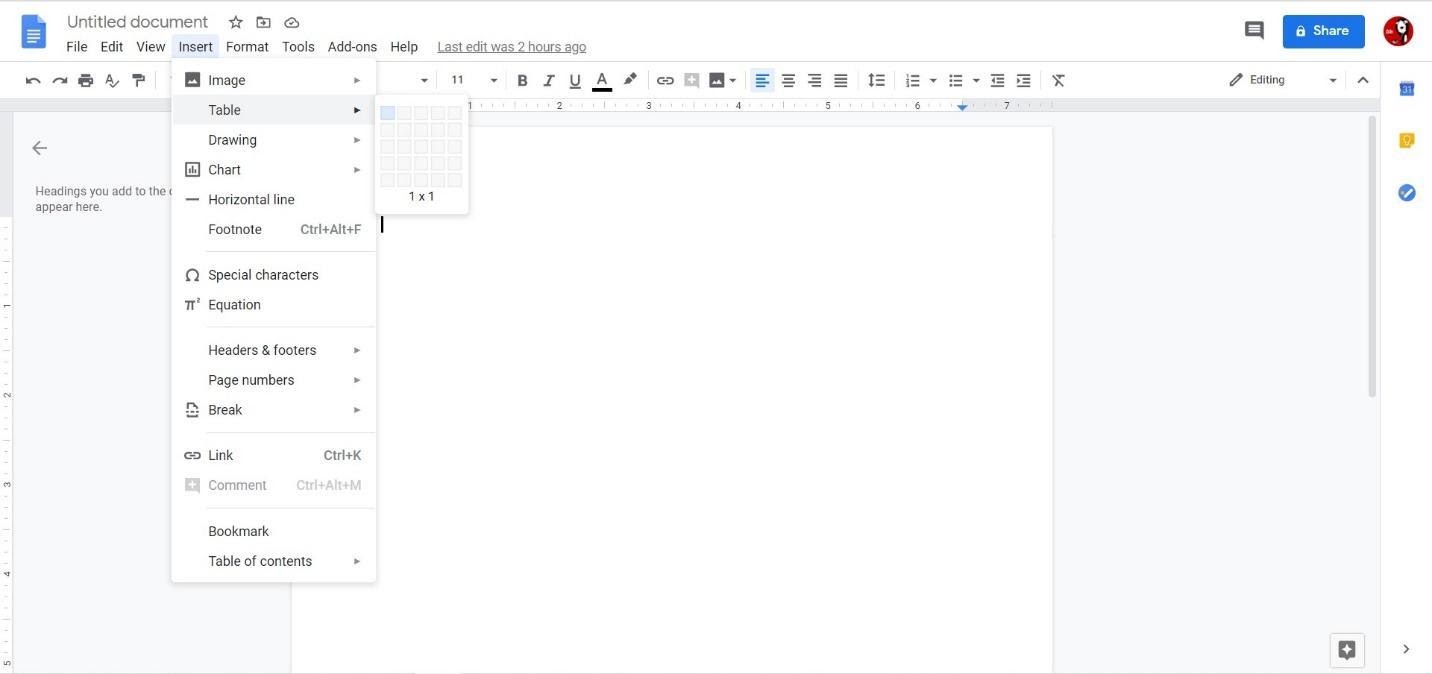
1. Click on Insert on the top menu.
2. Hover your mouse over Table, this will give you the choice to determine the table size.
3. Select 1 x 1, which is a table with a single column and row.
4. You can hold and drag the lines surrounding the table to adjust both border width and height.
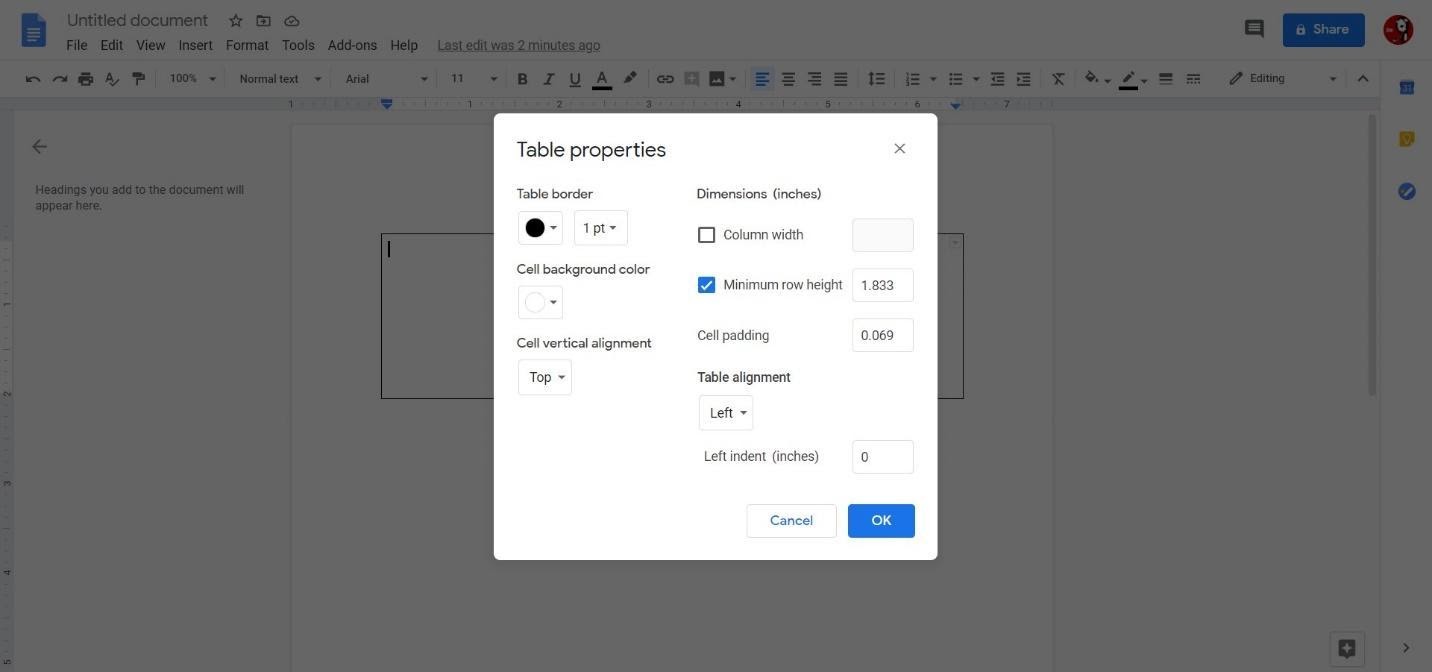
5. If you want to adjust the table properties, right click inside the table itself. A menu will appear, and you can select Table Properties from there.
6. You can change the border color from this menu. Clicking on the checkbox on column width will also give you the chance to enter the width of the table in inches.
7. The border color can also be adjusted by clicking on the border color icon on the top menu.

In contrast to the table method, this gives borders to individual paragraphs, giving the author the ability to provide emphasis on particular points of the document.
1. In the top menu click on Format.
2. Hover over Paragraph Styles.
3. Click on Borders and Shading.
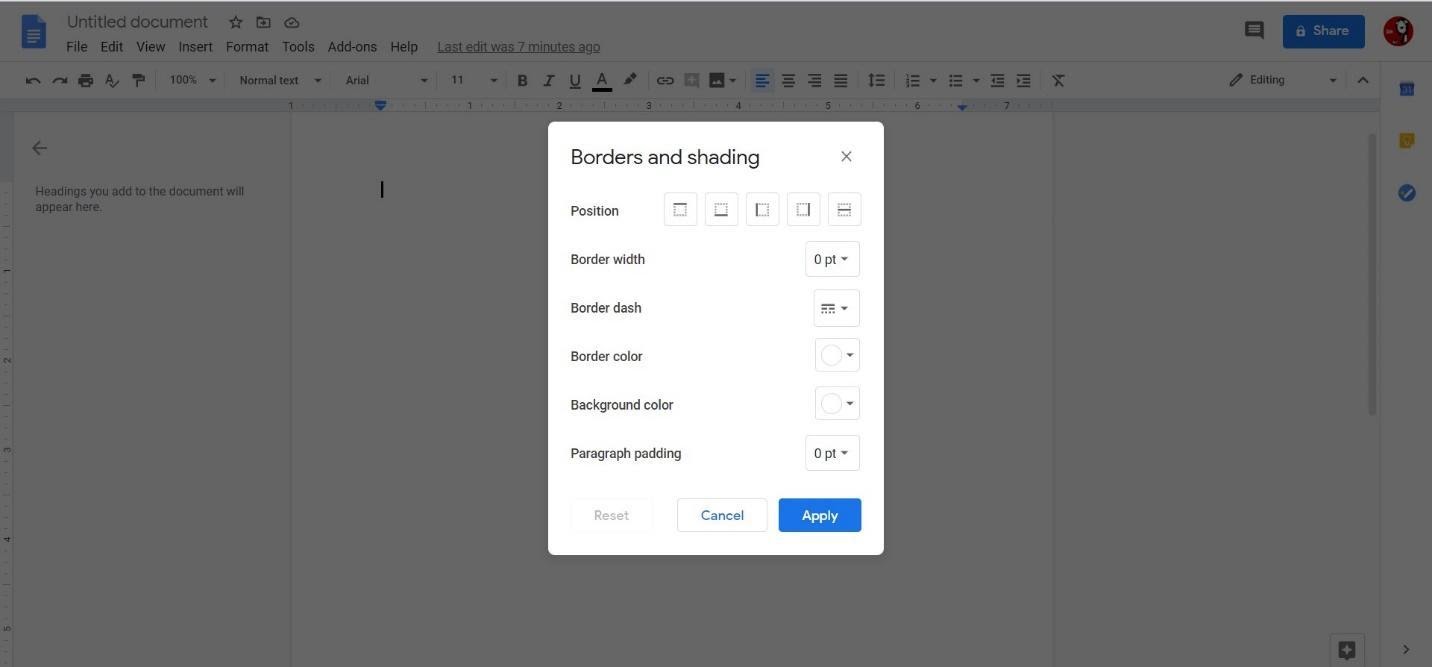
4. You can adjust the properties of the borders by clicking on the appropriate icon, or replacing the values in the text boxes.
Although not as popular, and kind of limited in application, borders can also be inserted through the use of an image.
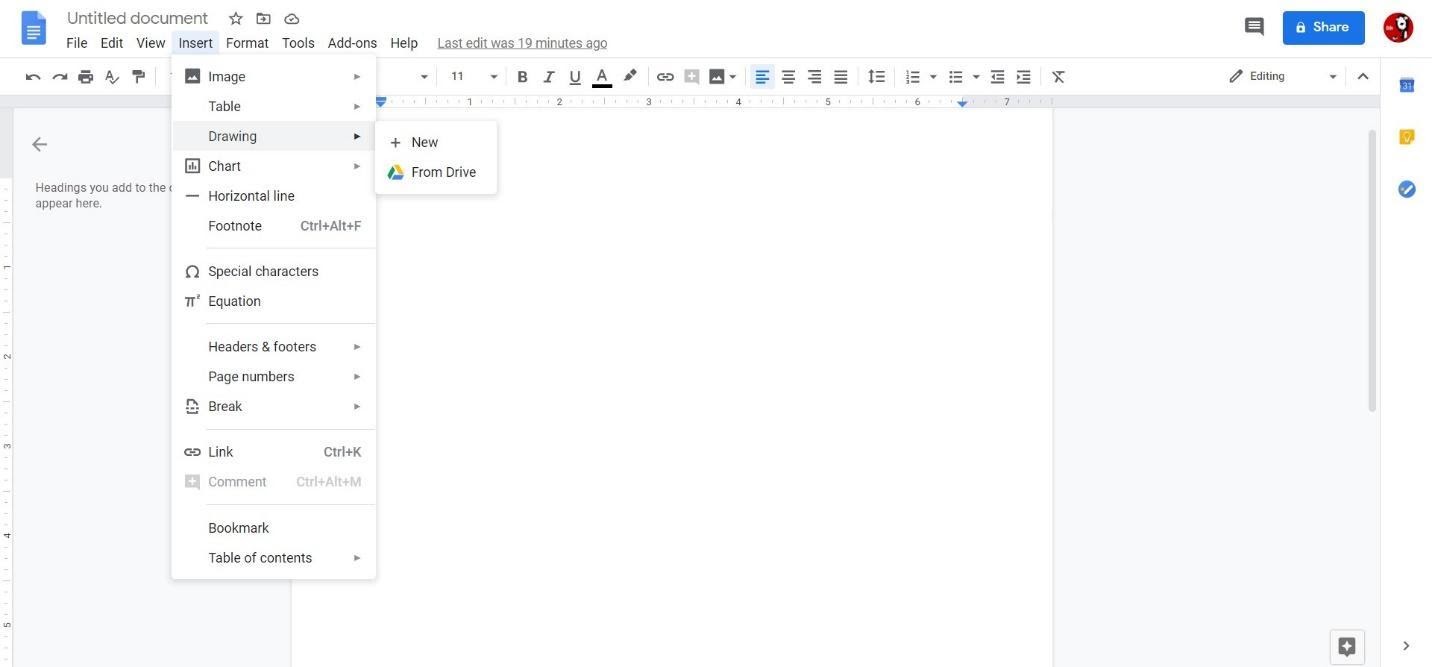
1. From the top menu, click on Insert.
2. Hover over Drawing.
3. If you already have an image saved on Google Drive, choose Drive, otherwise choose +New.
4. If you have the image saved on your clipboard, you can paste it here. Otherwise click on the image icon, and search for a border template.
5. Unlike the table or paragraph border method, you have to add text inside the image itself. To do this, click on the text box icon, then click and drag to your desired size.
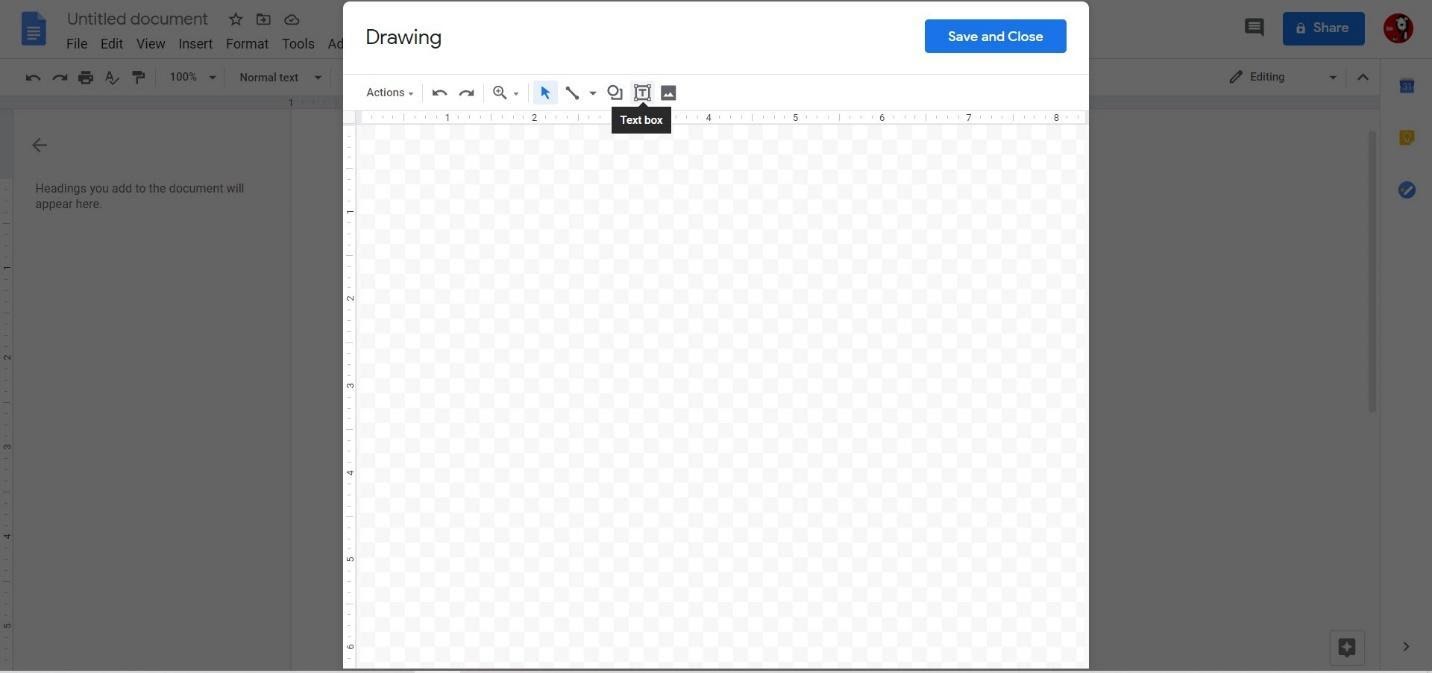
6. Once you have entered the text you want, click Save and Close. Adjust the image as desired in the document itself.
Yes, by using the insert drawing method. You can choose an image that you wish to use as a border, then save the image either on your computer, or on Google Drive. The disadvantage of this from the table or paragraph method is that you have to add the text to the image manually.
You can only add subsequent borders by using the paragraph method. Inserting an image, or using a table will cause the text to wrap around the image. You can get around this by cutting and pasting the text into either the table or the image used.
Yes, though only as an Image. There are currently no available ways to get additional formats on the paragraph or table method. The only way to create your own borders is by following the Insert Drawing method above.
In paragraph border mode, you can choose which individual lines are visible. In table border mode, you can do this by adjusting either column width, and row height. You can also click on the small arrow icon on the upper right of the table to select which lines are visible.
Unfortunately, no. As there still isn’t a built-in method to do this, you’ll have to manually add a border for each page of your document.
With the methods listed above, adding borders in Google Docs should now be a simple matter of following the outlined steps. Hopefully, this article has provided you with vital knowledge that you can use when creating files in Google Docs.