
Every site needs a contact form, which is probably why you’re reading a post about how to use a contact form WordPress plugin to create your own form.
Because of that fact, there are a ton of great options that you can use to add a contact form in WordPress. And in this post, I’m going to show you step-by-step how to use one for free. Yup, you’ll learn exactly how to create a custom, great-looking contact form without cracking open your wallet.
After that tutorial, I’ll share some of the other best contact form plugins, as well as why you might want to choose one of those options over the plugin in the tutorial.
If you want to add a contact form to WordPress, you’ll need a contact form WordPress plugin.
Now, there are a lot of solid options out there, which I’ll get into next. But if you just want a basic contact form, the simplest option to use is a free plugin called HappyForms.
Here’s how to create a contact form in WordPress in just a few steps…
The HappyForms plugin is free and available at WordPress.org, which means that you can install it by going to Plugins → Add New and searching for “HappyForms”:

Once you install and activate the HappyForms plugin, go to HappyForms → Add New in your WordPress dashboard:

This will launch a new interface that looks a lot like the WordPress Customizer (the interface where you customize your theme on a real-time preview).
Like the WordPress Customizer, you’ll be able to see a live preview of your contact form as you build it.
First, though, just give your form a name to help you remember it:

Next, knowing what form design you want to use is crucial. You should use the list of form fields to choose which fields to include in your form. For a basic contact form, you’ll probably want these options:
To add a form field, all you do is click on it. Once you click on it, you’ll be able to configure its settings in the sidebar. As you change a field’s settings, you’ll see it change on the live preview:

Once you’ve added all of the form fields, you should see a full preview of your contact form:

If you want, you can add other fields that are unique to your needs. For example, you might want to add a checkbox or dropdown to let submitters choose what the message is about (and help you organize everything).
Once you’re finished adding form fields, click the Setup button to continue.
After clicking the Setup button, you’ll get a number of options to control what happens after a visitor submits your contact form.
At the top, you can set up the Confirmation message, which is the message that displays to the form submitter on your website after they submit a form (1).
Below that, you can choose whether you want to receive email notifications when there’s a new form submission, and at which email address you want to receive submissions (2). HappyForms will also store form submissions in your WordPress dashboard – more on this later:

Next, you can choose whether or not to send email notifications to the form submitter and, if so, what those email notifications should contain:

Finally, the bottom of the settings lets you configure a variety of miscellaneous settings, including whether to:
When in doubt, you should leave these settings as the defaults:

Once you’ve made your choices, click the Style button to advance to the next set of options.
Final configuration step! Now, you can use the various areas to configure the looks and style of your contact form:

For example, to configure the looks of the Submit button, you’d open the Submit Button settings. There, you can change its font, adjust the width, change colors, and more.
As you make any changes, you’ll see the live preview automatically update, which makes it easy to figure out exactly what each tweak does to your form:

Once you’re finished with the style options, click the Save & Close button to finish things out.
To actually embed your form, you can add it as a:
For example, if you’re using the new WordPress block editor, you’d create a new page named something like “Contact Us” and insert the HappyForms block.
From there, you can choose which form you want to insert:

Or, if you’re still using the classic WordPress editor, you can insert your contact form as a shortcode by clicking the Add HappyForms button:

And that’s it! Visitors will be able to start sending you messages via your contact form
There are two ways that you can view form submissions.
First, if you set up email notifications in the form’s settings, you’ll receive an email whenever someone submits a form.
Second, you can also view submissions from inside your WordPress dashboard by going to HappyForms → Responses:

If you click on a specific response, you’ll be able to view the full message:

And that’s all there is to it!
For a simple WordPress contact form, HappyForms is the best option for most users. However, it’s by no means the only quality contact form WordPress plugin. And if you want something a little beyond just a simple contact form, you might prefer a different option.
So to finish this post out, let’s go over some of the best WordPress contact form plugins, and what might make them a better option than the HappyForms plugin I used in the tutorial above.

WPForms is one of the most popular contact form WordPress plugins at WordPress.org.
One nice thing about this plugin is that it gives you a drag-and-drop builder to arrange your form fields, including options to set up multi-column designs. So if you like that, that might be one reason to choose WPForms.
Beyond the drag-and-drop builder, there are also a few different premium versions that let you get a lot more creative with your forms. You’ll be able to:
So if you want that advanced functionality, that might be another reason to choose WPForms.
The premium versions start at $39.50 and range up to $299.50, depending on the features you want and the number of sites you want to use the plugin on.

As the name suggests, HubSpot All-In-One Marketing is an all-in-one tool that covers everything from popups to live chat and – you guessed it – contact forms.
Using the drag-and-drop builder, you can create your own custom contact forms to collect as much, or as little, information as needed.
And one big benefit is that HubSpot will automatically store all your form submissions in the integrated CRM. It’s also possible to collect payments directly through HubSpot using integrations like the FormPay HubSpot integration, among others. So if you’re using your contact form for sales, or anything else that can benefit from a CRM, this is a great one to use.

Ninja Forms is another freemium offering with a lot of the same advantages as WPForms.
That is, it offers a limited free version and gives you a drag-and-drop builder that you can use to arrange your form fields.
And if you’re willing to pay, you can make your forms do a lot more advanced things, including:
One difference is in the pricing structure for those premium options. Rather than distinct premium versions, Ninja Forms lets you pick and choose which premium add-ons you want to use. Or, you can also grab a bundle of add-ons starting at $99.

In terms of functionality that you get in the free version, Caldera Forms is one of the most generous free WordPress contact form plugins.
Even in the free version, you can create complex forms that have:
It also has a drag-and-drop builder, though the interface isn’t quite as beginner-friendly as WPForms or Ninja Forms.
Beyond the generous free functionality, there’s also a premium version that can add on more advanced functionality – like payments and email marketing service integrations.
In addition to those add-ons, there’s also a subscription premium service with a unique focus on:

There’s also Gravity Forms, which is an especially popular contact form WordPress plugin for developers.
Developers like it because, in addition to coming with lots of built-in functionality for creating everything from payment forms to front-end post submissions, Gravity Forms is also extensible and has a large marketplace for third-party extensions.
So if you want something that you can really dig in and customize to your needs, Gravity Forms and its various extensions might be the right plugin for you.
The only downside is that there’s no free version of Gravity Forms. If you want to use it, you’ll need to bust out your credit card.
Prices start at $59 and range up to $259.
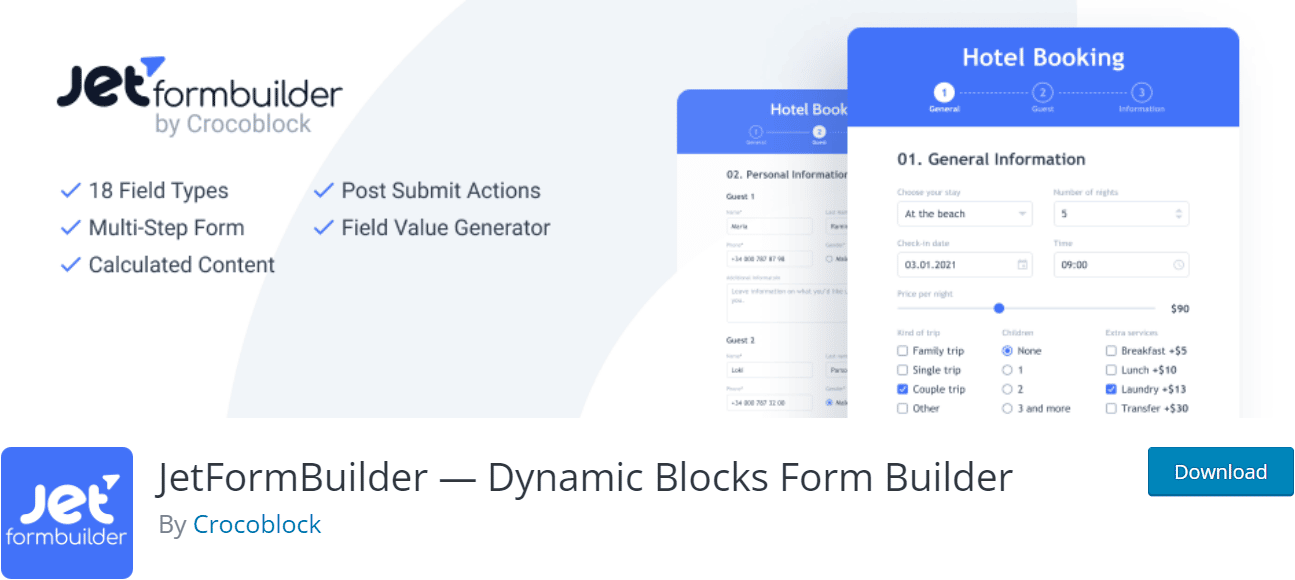
Finally, JetFormBuilder is the free dynamic forms builder by Crocoblock that allows the creation and styling of any form type in the WordPress Gutenberg editor. It does more than most other WordPress form plugins by utilizing 24 functional blocks and exclusive dynamic features.
JetFormBuilder users can mix and match 19 fields for crafting unique forms. These fields include:
The paid version comes with advanced features like autocomplete fields, storing content from forms that users did not submit, and popular marketing and WooCommerce add-ons. JetFormBuilder PRO Addons cost $39 per year for one site or $79 per year for unlimited sites.
With the right contact form WordPress plugin, it’s easy to create and customize a contact form that perfectly matches your needs.
If all you want is a simple contact form, the HappyForms plugin offers a reliable, streamlined approach. And if you want more functionality, you can consider upgrading to a paid form plugin to do everything from accepting payments to signing people up to your email marketing list.
Create your first form today and start making it easier for visitors to connect with you!