

Google Docs is the most productive way for bloggers to create content.
Sure, you could write your content anywhere: within your CMS, on a specific writing application like Scrivener, or on pen and paper like they did in the old days.
But Google Docs offers you the easiest and simplest way to format your content, share it with collaborators, and even upload immediately to whichever CMS you use.
But you likely know this already. There’s a reason Google Docs is the number one SaaS tool for SMBs.
What you may not know, however, is that you can vastly improve your Google Docs productivity with regards to blogging. You can shave hours off of your production time, push through more content (and higher quality content). All of this means, depending on your blogging reasons, that you can make more money and get a better ROI on your blogging.
If you follow the tips in this blog post, it will roughly double your Google Docs blogging productivity (depending on what level of knowledge you currently have, of course). Regardless of your current productivity level, there is almost certainly something in this guide that will help you squeeze out even more value.
Let’s get the basics out of the way.
Past the tricks, tips, and tools, how do you really get productive while blogging in Google Docs?
The unsexy answer? Focus.
The beauty of Google Docs is that it lets us work connected to the internet so we can, in real-time, work with others, add notes from the web, or use any number of the extensions and tools mentioned above.
The negative part? It allows you to work connected to the internet, where you’re more likely than not to be super distracted.
While there are an unlimited amount of productivity tips out there, from Pomodoro timers to biphasic sleep scheduling and of course the myriad of productivity related supplements and plants (like kava, cbd, nootropics etc.), I recommend you just eliminate as many distractions as you can, to start.
From there, try eliminating “wasteful work.”
I consider this things that don’t actually add value or quality to your writing. This includes typing slowly, using slow point and click options instead of keyboard shortcuts, and wasting your time with administrative tasks like uploading Google Docs to WordPress (we have a tool for that so you can 2-5 hours per post). Using Wordable to upload from Google Docs into WordPress saves hundreds of companies time — ranging from fitness blogs to software company blogs like our own.
After that? It’s all up to you and your unique quirks. I like to drink too much coffee and listen to loud rap music while writing, and I can only write in the early morning and at night.
Will that work for others? Probably not.
When it comes to optimizing that last five percent of your productivity, you’ll really have to experiment with different working styles and methods, and find what works best for you. For example, using tools like a word unscrambler can help streamline tasks that involve language or problem-solving, saving you time and mental energy.
But the easy answers for productivity:
Everyone wants a quick and easy template, right?
Google Docs does, indeed, offer many templates. They offer templates for resumes, essays, proposals, and more.
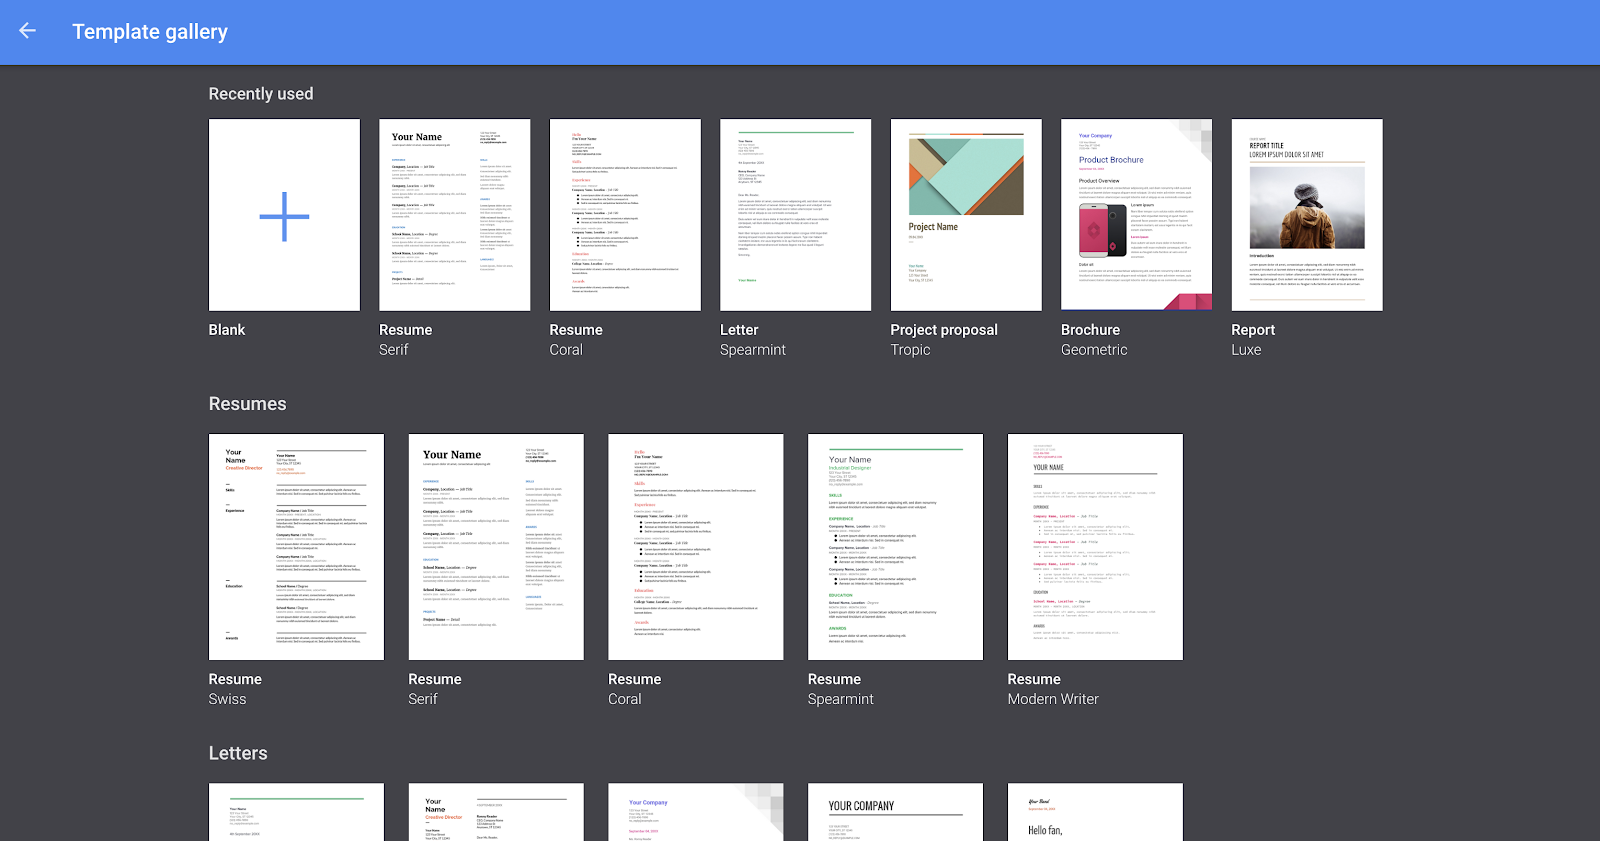
They don’t really offer a blog post template though.
That’s probably because blog posts, in large part, vary in format and style based on the publication. However, most of them are fairly within the boundaries of a normal post:
So we made an easy to use template that you can just make a copy of and start writing. It’s nothing special; just a few formatting things done for you.
But feel free to check it out if you want a good Google Docs blog template. It doesn’t just have formatting, but also planning prompts to help you craft the article better.
https://docs.google.com/document/d/1dOCbh_jt0iCd7QQm2xTT7OzKMLtw8XGaA2QZohWoKqE/edit?usp=sharing
Now, let’s dive into the ways you can crank up your Google Docs blogging output. We’ll cover common Google Docs shortcuts and tricks, Google Docs add-ons, and then other tools that interact with Google Docs to create a better blogging experience.
Let’s dive in.
There are a few fundamental features of Google Docs that help you blog, but they also help you generally function in Google Docs more efficiently, regardless of what task you’re trying to accomplish.
After all, writing is writing, and several features help you get writing done more quickly, whether you plan to publish it or not.
First up, word count.
(Note: we’ve primarily covered Mac shortcuts here. Almost all Windows shortcuts are basically the same, but on Windows, usually you swap out ⌘ for “ctrl.” More info here.)
1. Find Word Count
Word count, obviously, is important to bloggers. It’s also easy to find in Google Docs. Just go up to “Tools” on the taskbar and click “word count.”

Next to the words “word count,” you can see the keyboard shortcut to get this information:
⌘+Shift+C
Pretty simple stuff.
On Windows, this would be:
Ctrl + Shift + c
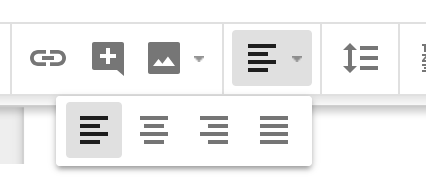
2. Align text or images
I often find myself needing to align images to the center of the document, as well as needing to align text to the center as well.
There’s a clear spot on the Google Docs toolbar to do that:
There’s also an easier way to do this with keyboard shortcuts (reminder, these are Mac. Replace ⌘ with Ctrl for Windows):
3. Stylize text
You’re going to need to bold text, italicize it, and underline it frequently (sometimes at the same time, if you really need to make a point).
Don’t even think about using the toolbar for this. You’ll shave off a dozen cumulative hours of your blogging time just by using keyboard shortcuts in these three areas:
Easy.
You might also need strikethrough text. Just use ⌘+Shift+X.
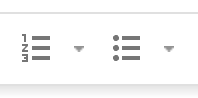
4. Make a bulleted list
Lists are one of the most common things I use keyboard shortcuts for. First off, you can pretty quickly find out how to do a list on the toolbar. Both ordered (numbered) and unordered (bulleted) lists appear here:
You can more easily create lists by simply using the keyboard shortcuts:
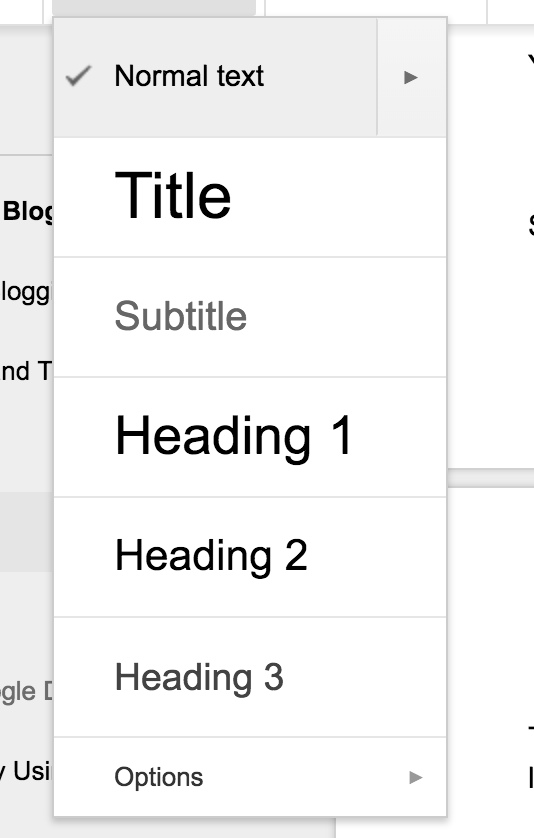
5. Setting the text paragraph style
This is a relative easy one as well. You could navigate to the toolbar and click which one you’d like:
Or you could use the following shortcuts:
…etc., you can see the pattern.
6. Spell check
This isn’t a keyboard shortcut, but it’s important.
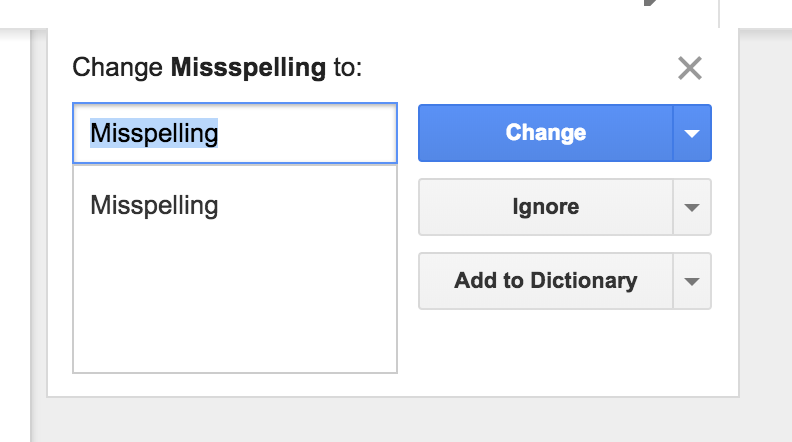
To set up a spell check within Google Docs, go to Tools > Spelling > Spell check in your toolbar.
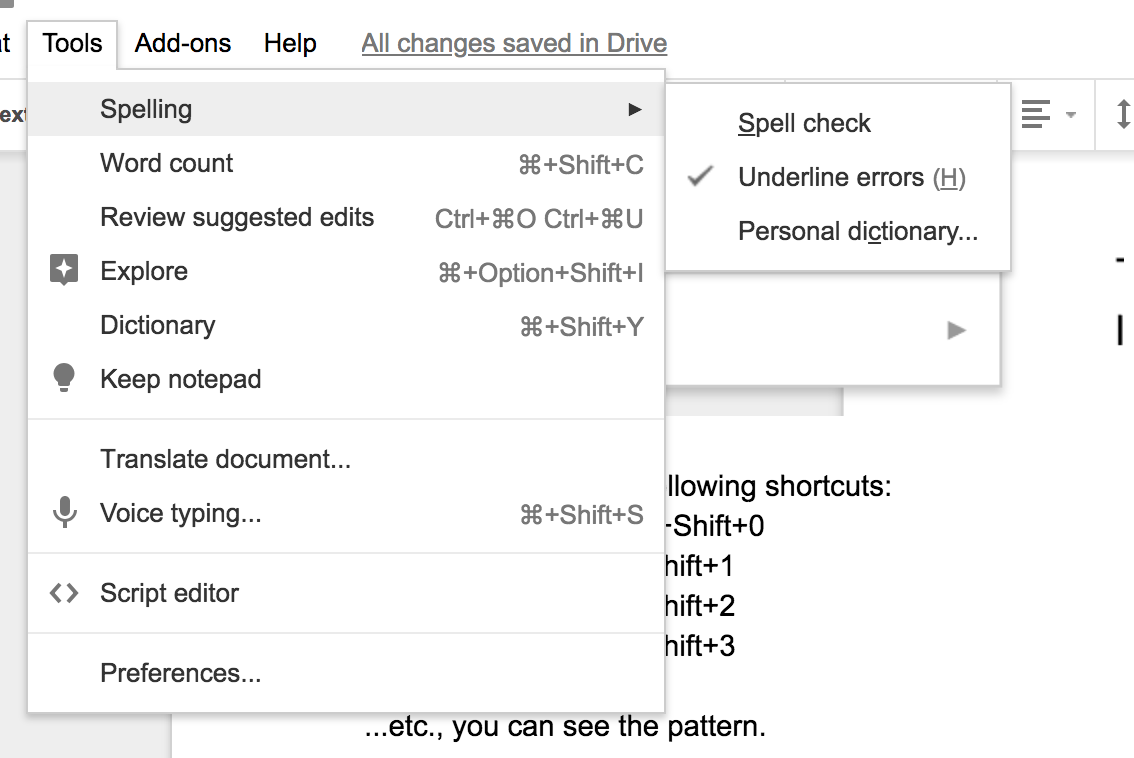
This will bring up your tried and true native spell checker:
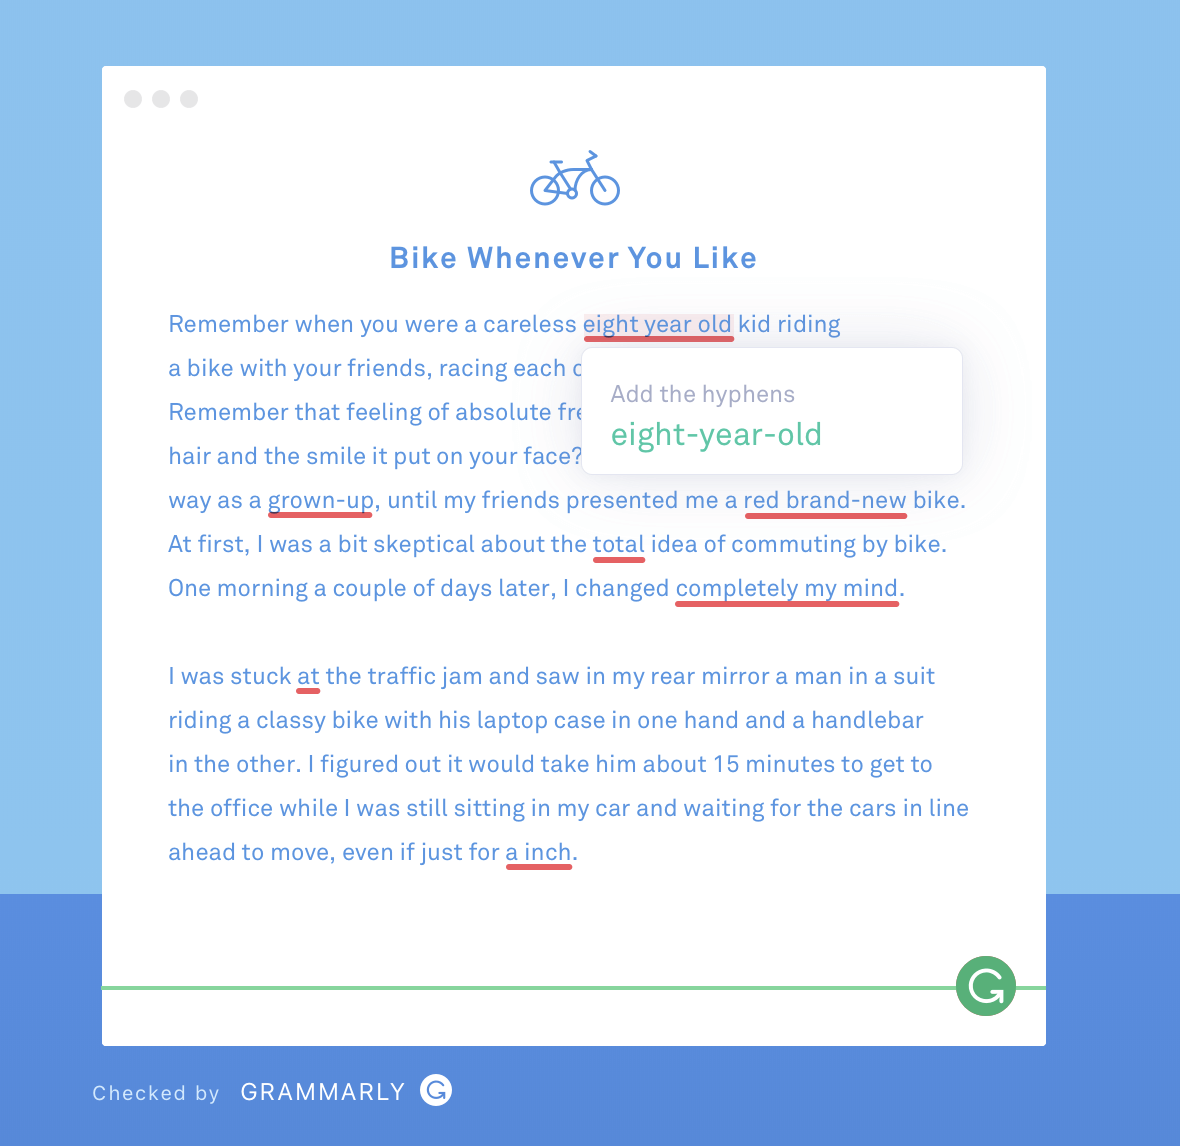
Quick recommendation, though: use Grammarly. It’s way better than your average spell check tool. If you’re a prolific writer and not using Grammarly, you should definitely at least give it a spin.
7. Change Margins
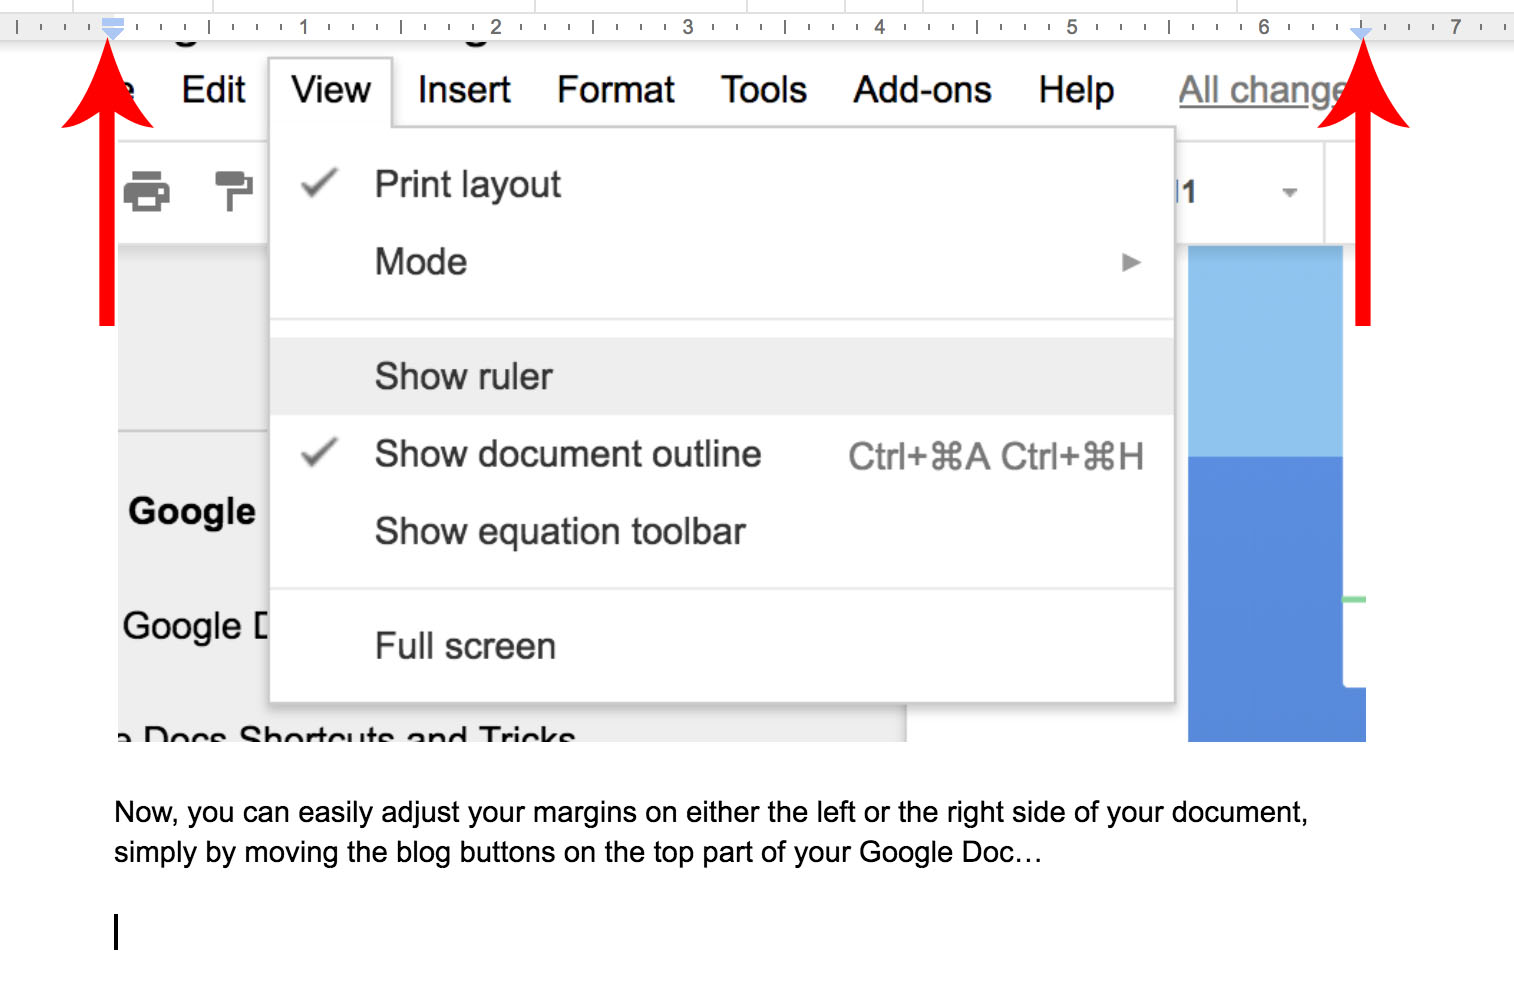
First, check whether or not the ruler is visible above your document. Go to “View” and press “Show Ruler.”

Now, you can easily adjust your margins on either the left or the right side of your document, simply by moving the blog buttons on the top part of your Google Doc…
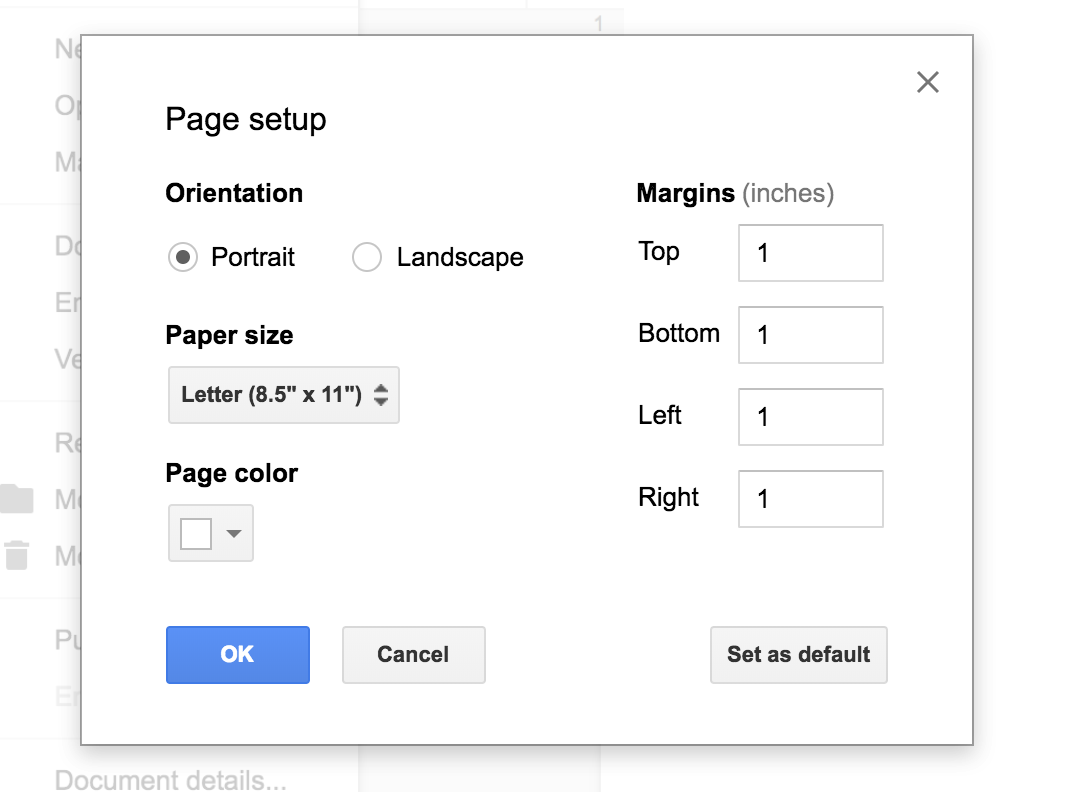
You can also set this stuff up to be the exact specification that you need by going to File > Page Setup.
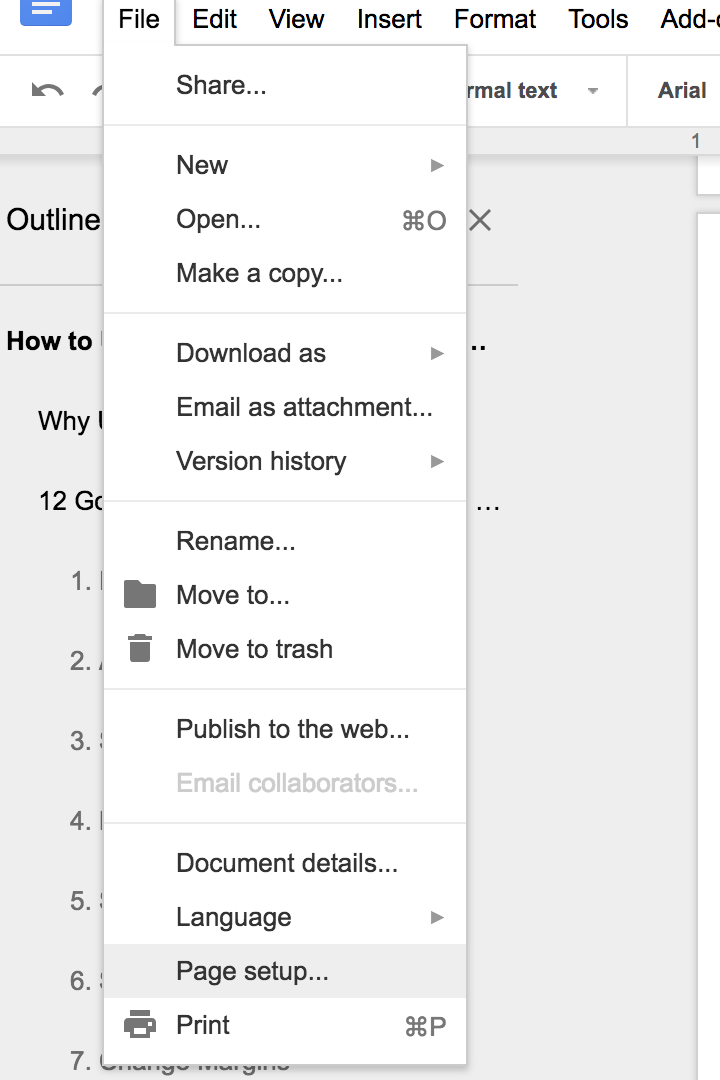
There, you can adjust the margins to whatever you need them to be:
8. Indent text blocks
If you want to emphasize a block of text or make it stick out from the rest of the body of text, you might want to indent it. There’s a button right on the toolbar to do this:
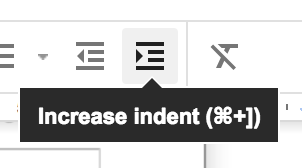
But you can also simply use the keyboard command: ⌘+]
This is super useful if you want to use a long quotation or some other cited material.
9. Show Outline
Especially with long form content, but really with any blog post I write, I like to see the outline while I’m working through it. It looks like this:
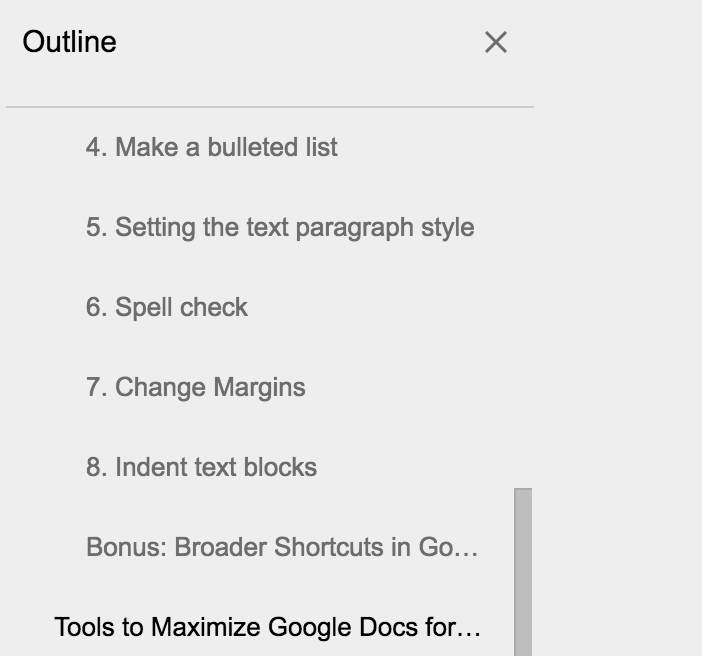
This is even more helpful if you’ll be collaborating with other writers and/or editors. It helps you get a top level view of your article, and you can easily navigate to different sections.
To do this, just go to View and then Show document outline. The outline will open on the left.
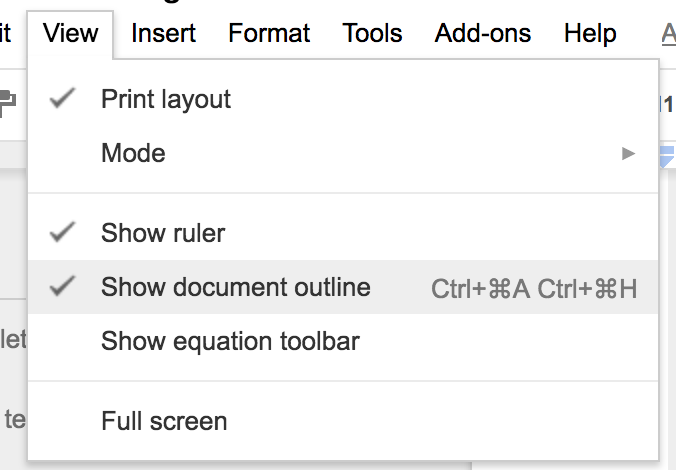
For keyboard shortcuts, use Ctrl+⌘A Ctrl+⌘H. Though I just keep my outline feature open all the time, just for simplicity and convenience.
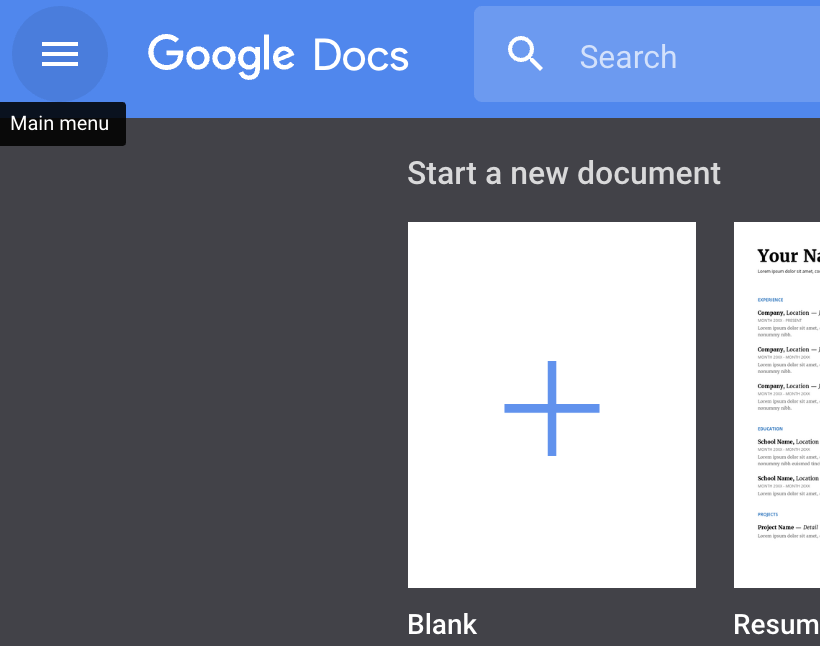
10. Set up Offline Mode
If you want to write on airplanes or while on the beach, I recommend enabling Offline Mode. This lets you work on documents while disconnected.
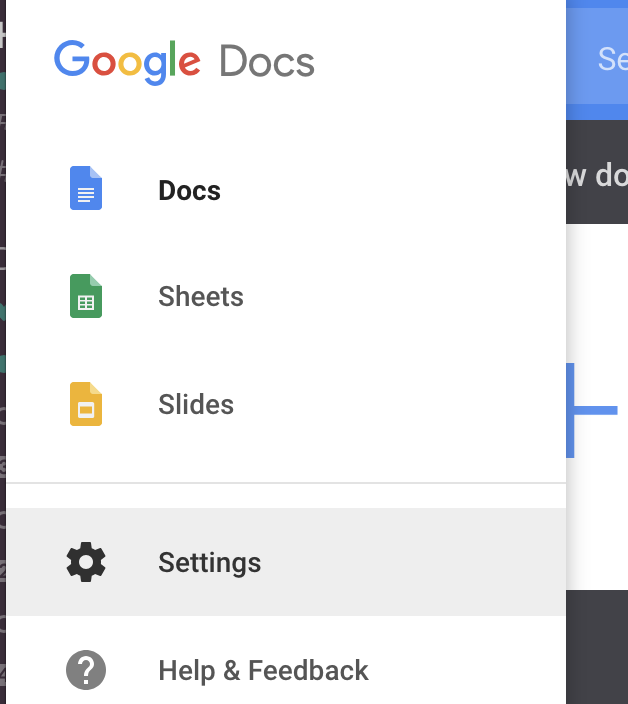
To do this, go to the Google Docs homepage and click the Menu button on the left-hand side:
Then press “Settings.”
Now just toggle on the Offline Mode and grab the Chrome extension if you need to download it:
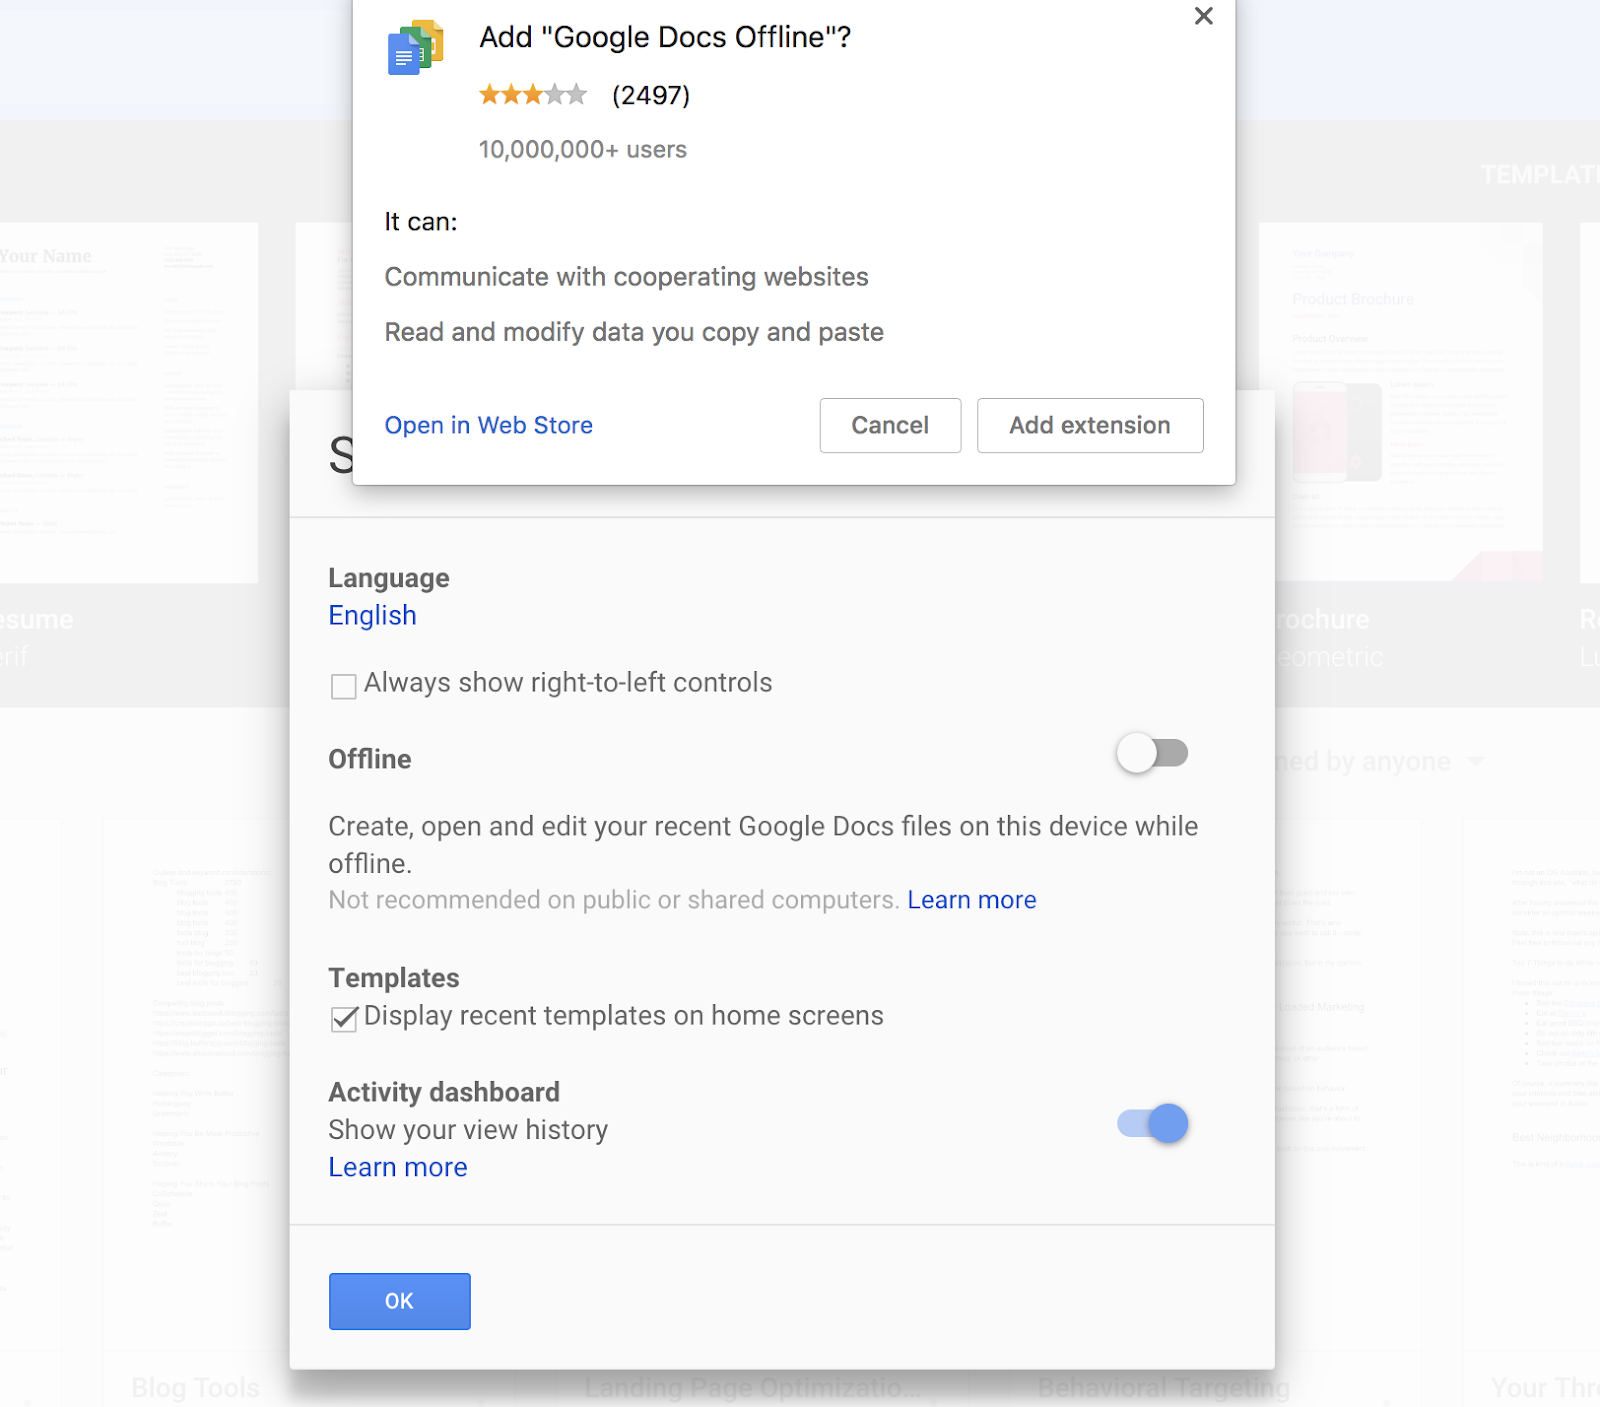
Voila! You can open and edit documents even without the convenience of WiFi.
11. Share Google Docs with Collaborators
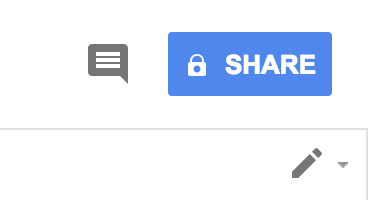
Presumably, you’re working with other creators. Google Docs is the best platform I know of for working with others and collaborating on projects. It’s pretty easy to do all of this. Just access the “Share” button on the top right hand side.
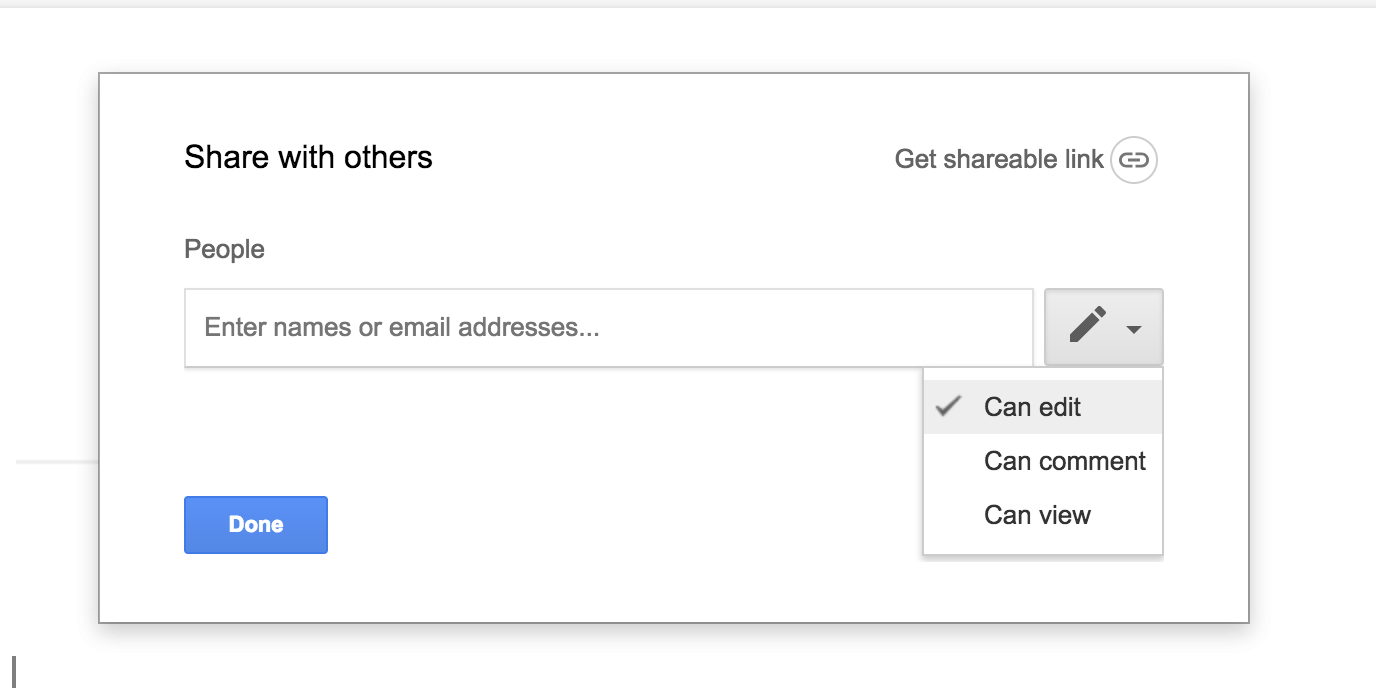
There are two main options here. The first is to simply add someone’s email address to the document so they can access it. In this regard, you can give them three types of access:
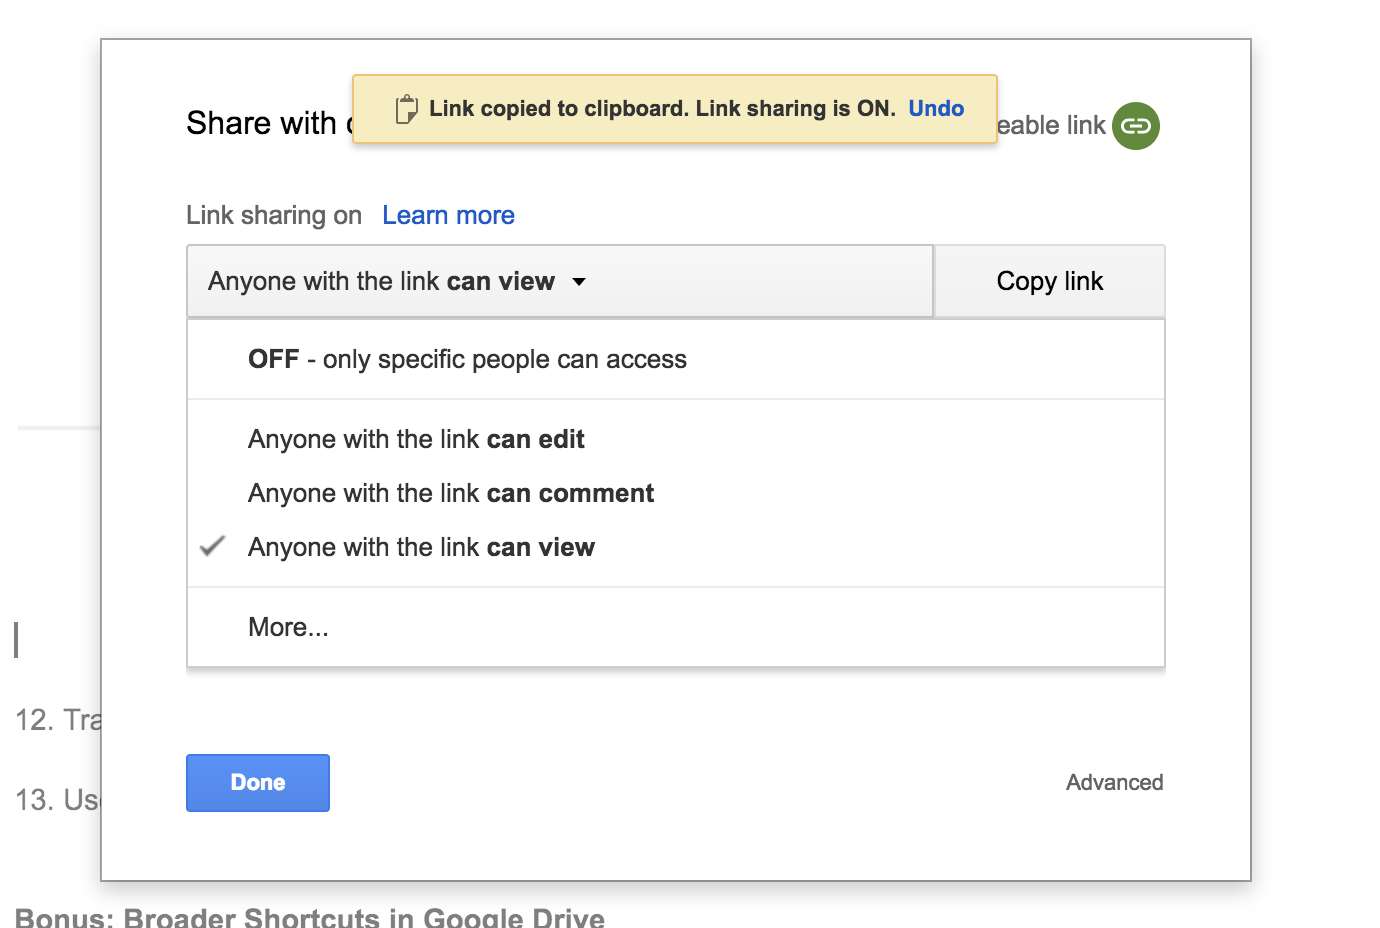
Then you can also share a standalone link to give someone access. The same options exist here:
This link sharing capability is great, in my experience, for sharing documents with the public that you don’t want to be edited. Things like templates, examples, etc…
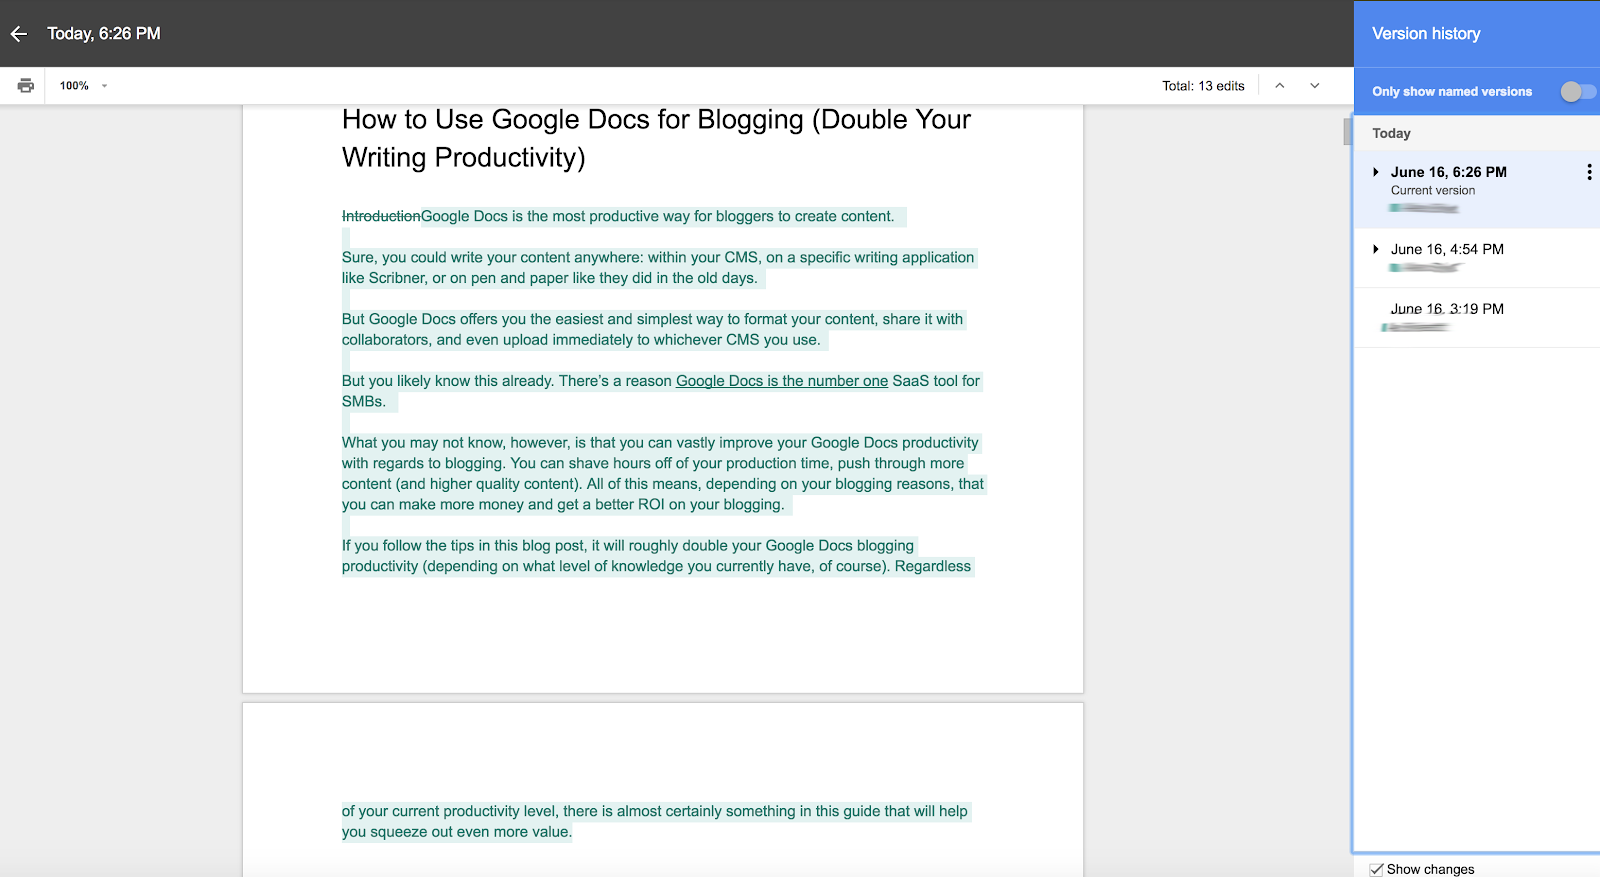
12. Track Changes and Version Control
Again, if you’re collaborating with other people, you likely want the ability to see older versions of the document. For instance, you may want to go back to an older version, or at least see what was previously written. Google Docs lets you do that.
All you have to do is go to File > Version History > See Version History.
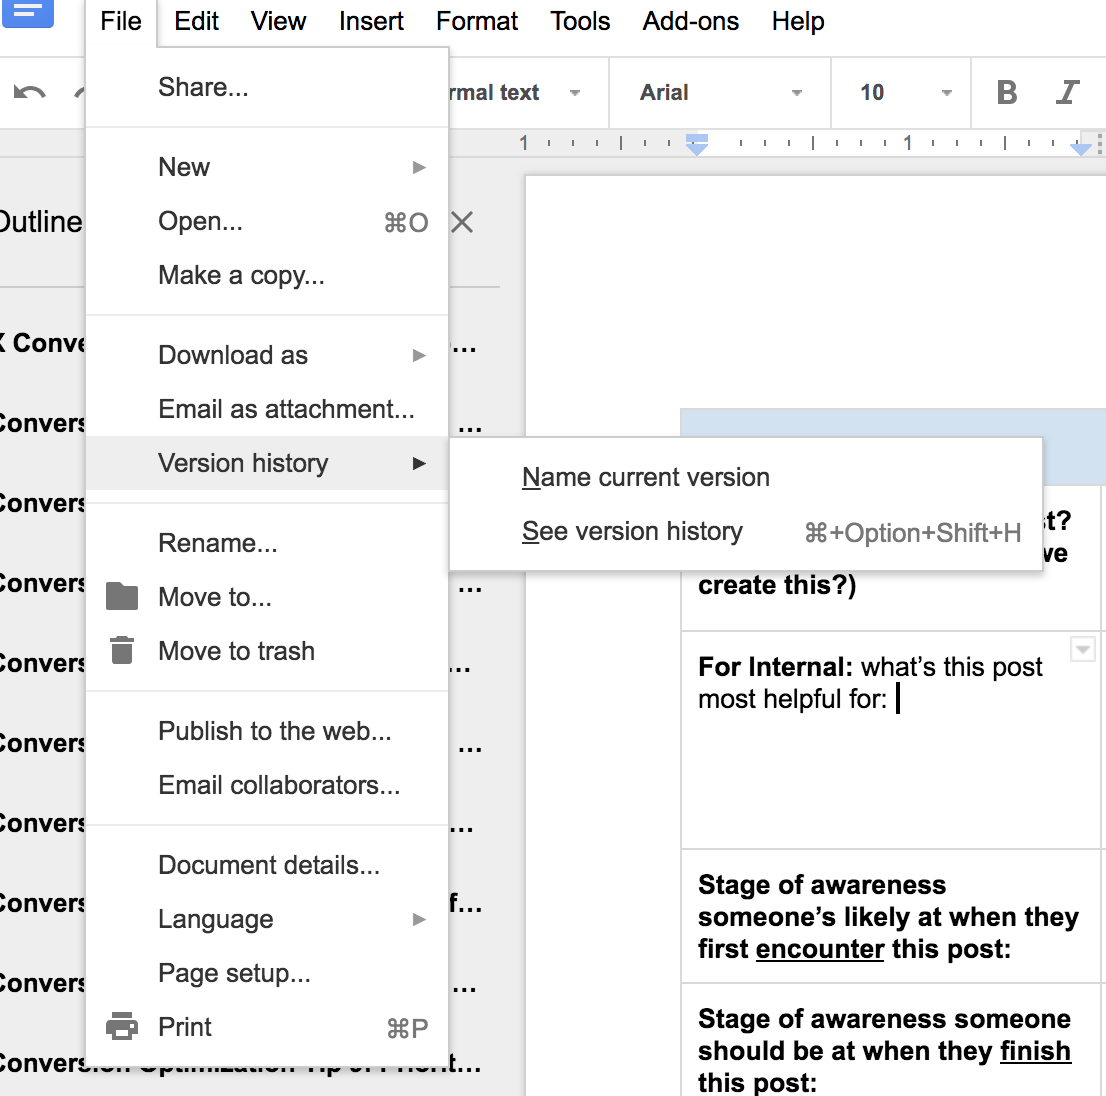
This gives you full access to every version of the document that has existed, as well as who made the changes on a given versions. You also have the option to restore old versions.
Bonus: Broader Shortcuts in Google Drive
You may also want to navigate your Google Drive more quickly, not just make your Google Docs usage more efficient. For that, we have two ultra-useful keyboard shortcuts:
If you’re a real productivity nut, go over to Google’s own documentation and memorize all of their Google Drive shortcuts.
Note that we did skip copy and paste, but everyone should know how to do that on your keyboard.
Whatever you do, just try not to accidently use ⌘+W. It shuts down your browser/application.
Google Drive, in its many capacities, has the additional power of letting you install add-on products to further increase its feature set, and therefore, your productivity.
There are tons of add-ons. However, these 5 are the top add-ons for when you use Google Docs for your blogging:
1. SEMrush SEO Writing Assistant
If you’re blogging, it should be an inherent fact that SEO is important. It’s where the long term traffic and business comes from. It’s not subject to quick spikes and excitement, but it’s what many blogs and businesses are built on.
So how do you know you’re writing with SEO best practices in mind? Many people develop a fingertip feel for this, but the smart ones use a tool Like SEMrush’s SEO writing assistant.
It’s like Yoast, but for your Google Docs. Basically, it gives you:
It really is a nifty little tool to help you be a better blogger.
2. Google Keep
Google Keep allows you to clip notes and save and tag different notes. It’s kind of like Evernote, but immediately accessible via Google Docs.
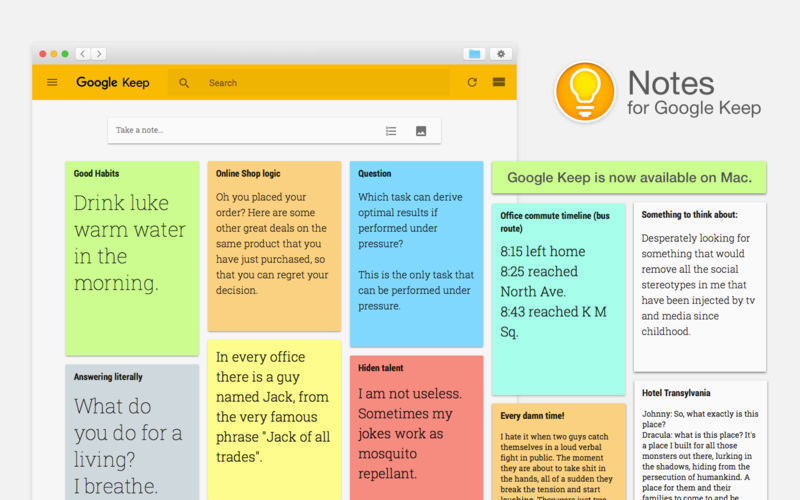
If you do a ton of research, or really, if you just take notes in general (like all writers do, to some extent), this is a worthwhile add-on to install. It really shortens the time it takes to capture, find, and utilize key notes.
In general, the more you can keep all of your productivity tools in one place (i.e. in Google Docs), the better off you are.
3. Google Translate
This is subject to your specific experience and use case, but if you’re writing for international audience, the Google Translate add-on is a must.
Even if you don’t currently write for international audiences or localize your content, it might be worth checking out. It makes it so easy to localize content that it may inspire you to do so (and widen the net of your possible audience you can reach).
4. LucidCharts
LucidCharts lets you easily create and insert flowchart, UML, wireframe, and more diagrams directly into a Google Doc. As a mind map maker that allows you to export directly into Google Docs it’s one of the best options out there.
If you’re a visual content creator, this is a must have. It makes it so easy to create quick visuals to support your written word.
Besides, they made one of the greatest promotional videos of all time:
<iframe width=”560″ height=”315″ src=”https://www.youtube.com/embed/ah6fmNEtXFI” frameborder=”0″ allow=”autoplay; encrypted-media” allowfullscreen></iframe>
5. SuperMetrics
I’m a big fan of measuring the effectiveness of your blogging. The better you can do that with tools like Supermetrics competitors, the more visibility you have into your progress and results, as well as how you can improve.
SuperMetrics is a wonderful product that allows you to blend together various forms of data, including from Google Analytics, Facebook, YouTube, Twitter, AdWords, Bing Ads, Moz, and Google Webmaster Tools.
That’s their core product, anyway. The Google Docs add-on lets you pull this information into your Google Doc for easy access. This makes it easy to write up internal reports, but it can also enable you to add different charts and graphs for blog post publications too. For those looking into Supermetrics alternatives, other tools offer similar features for integrating and visualizing data, helping you gain actionable insights and create impactful reports.
We’ve already covered Google Docs add-ons that help you blog more effectively, but there are a few tools that may help you squeeze even more out of the arrangement.
1. Wordable
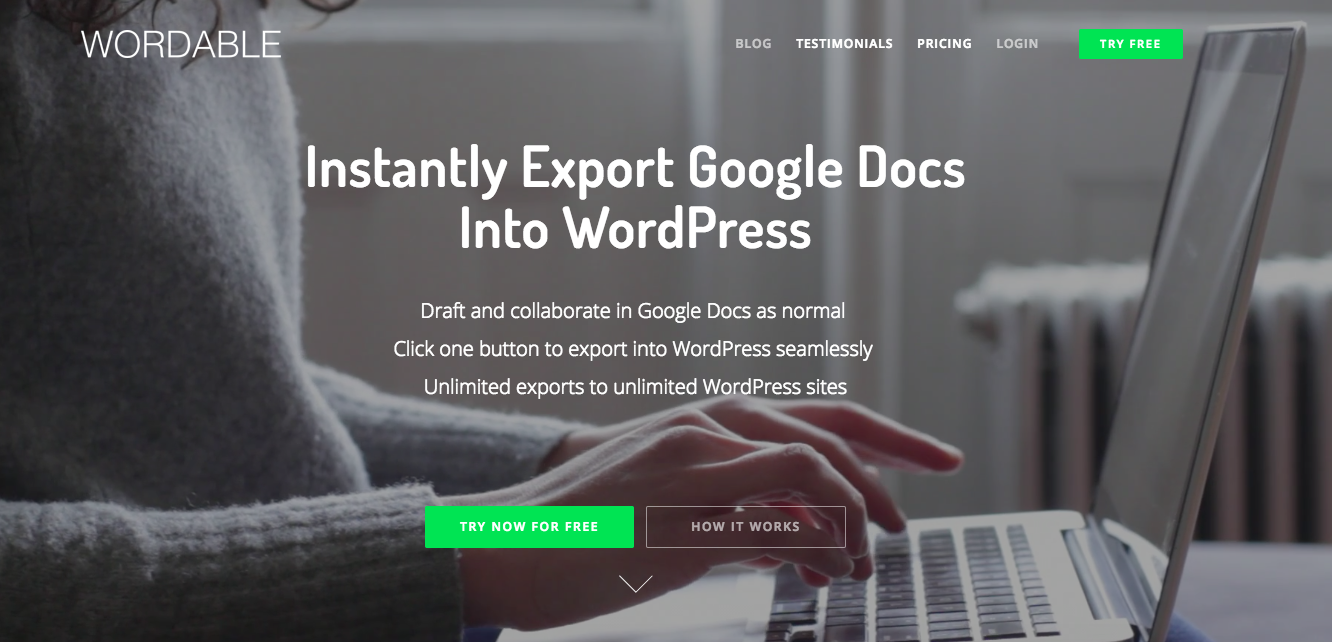
You’re on the Wordable blog, what did you expect?
Wordable is going to save you more time than any other tip on this list. It’s also super easy to use and not expensive whatsoever.
What’s it do? Lets you upload your Google Doc to WordPress, in perfect format, in mere seconds.
How long does it usually take you to rewrite your blog post in WordPress? An hour? Two? More?
Recapture that time. Give Wordable a try. It might work for you.
2. Grammarly
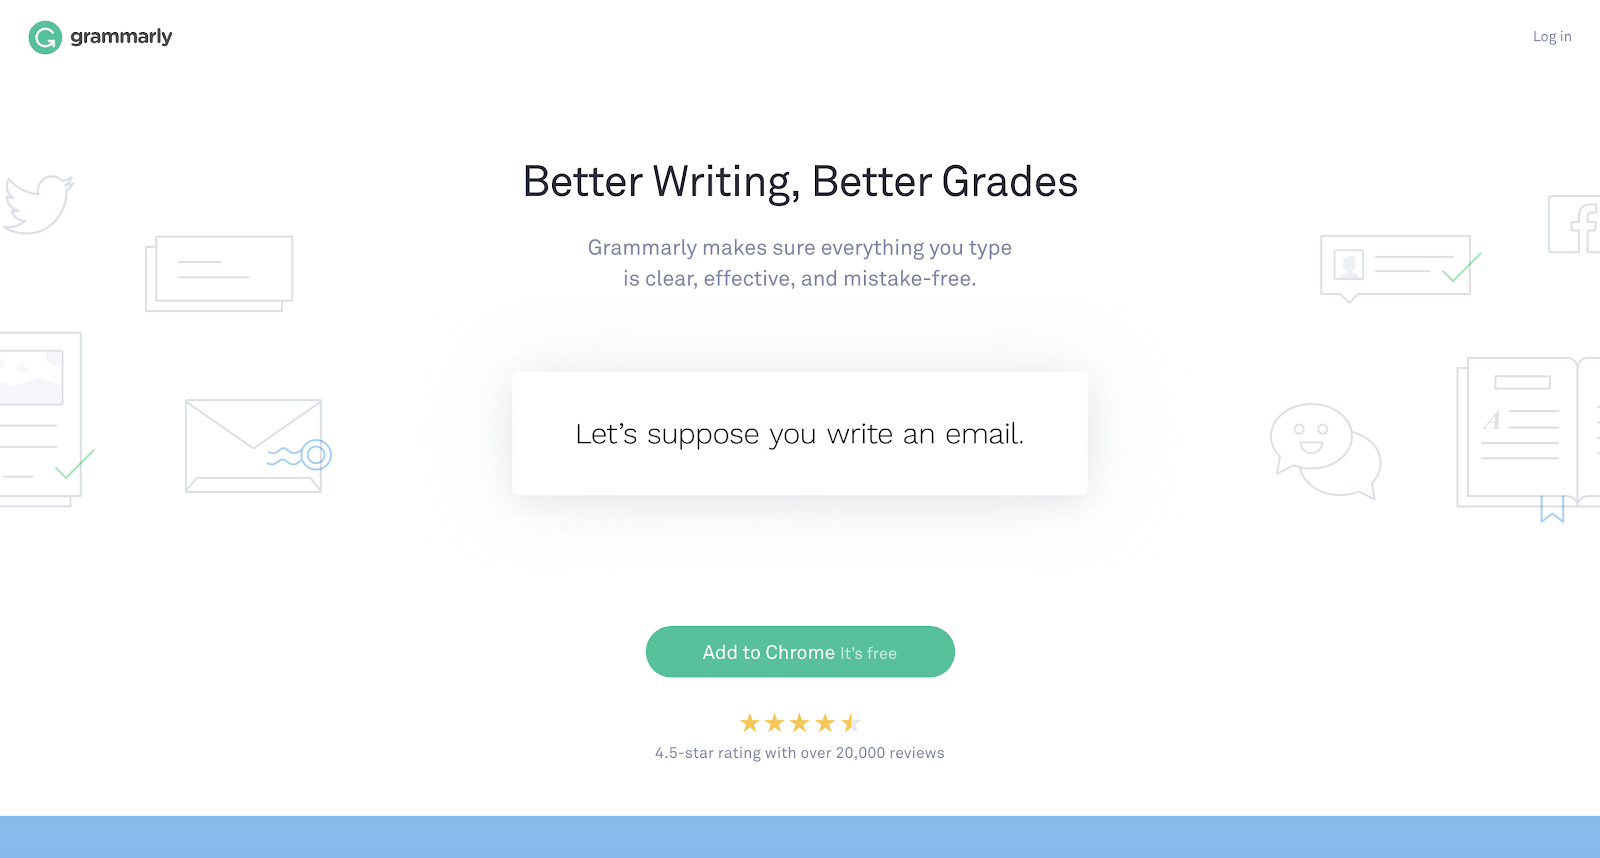
I already mentioned Grammarly above, but I wanted to reiterate here. Grammarly makes your writing better.
It also saves you time.
I’m not sure what your process is, but mine goes like this:
Look at step three. Almost everyone has some sort of this. Your first draft is almost always dotted with simple errors due to writing quickly.
Grammarly will help you surface all those errors and fix them, ultimately saving you time to focus on producing high value content.
3. Trello
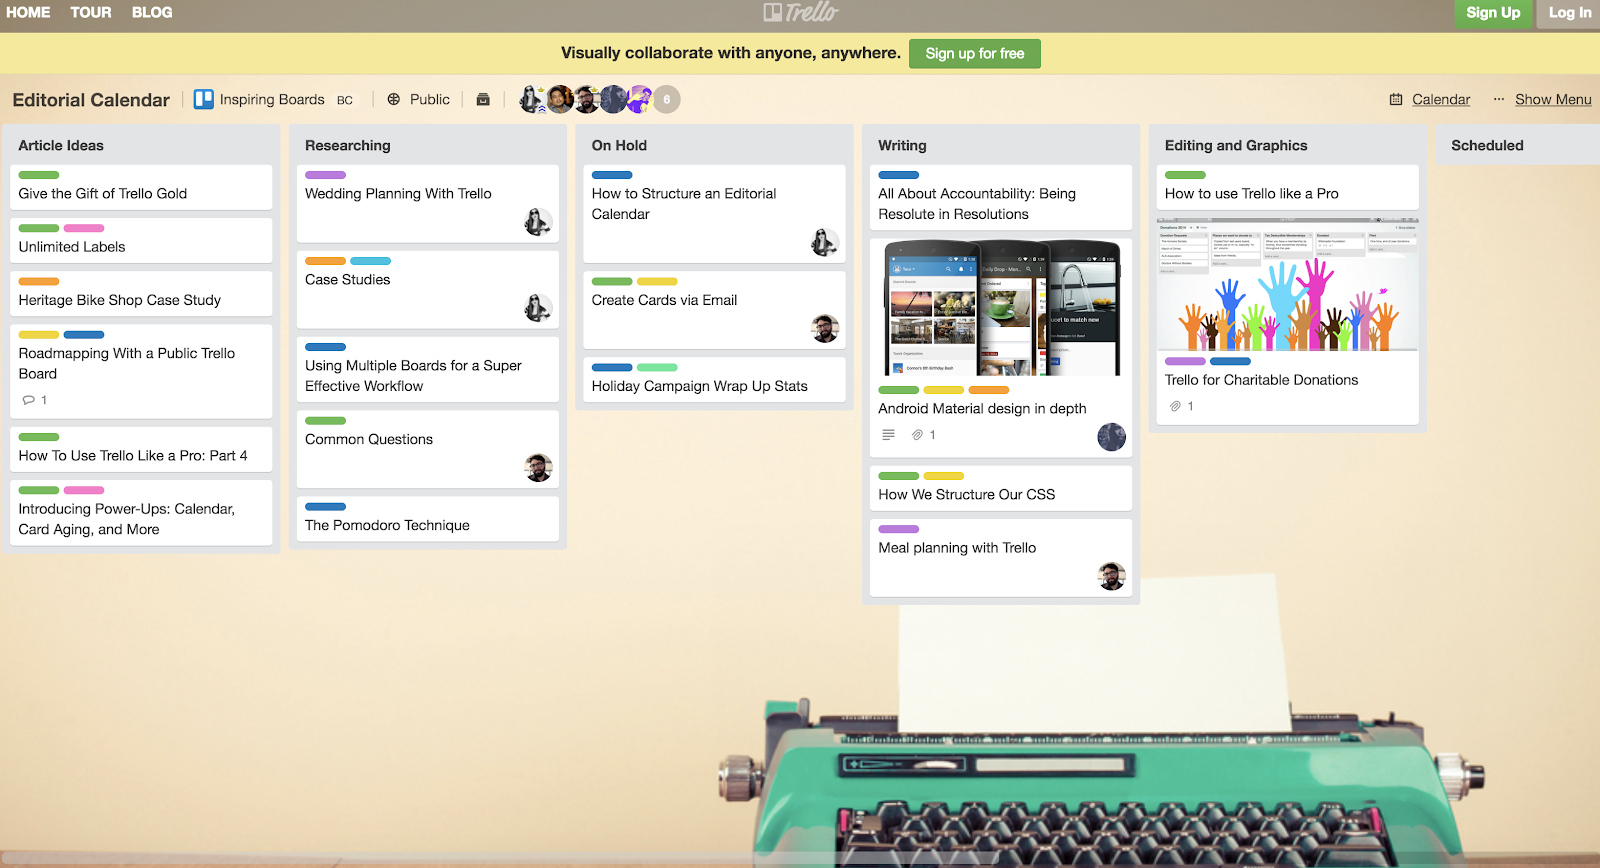
Trello is a simple workflow management tool that can do many things for many different people. First and foremost, in this context, it’s a tool you can use to build out and manage an editorial calendar.
With increased productivity and publication frequency, it becomes more and more important to manage your workflow, ideas, and scheduled posts in a single location. Especially if you’re working with multiple contributors, you need something like this to keep you sane. Trello makes it super easy to visual the discrete stages of a project and article creation, and it’s also easy to collaborate with others.
Trello is the best solution I know for editorial calendar creation, mostly because of its simplicity, flexibility, and ubiquity.
4. Hemingway App
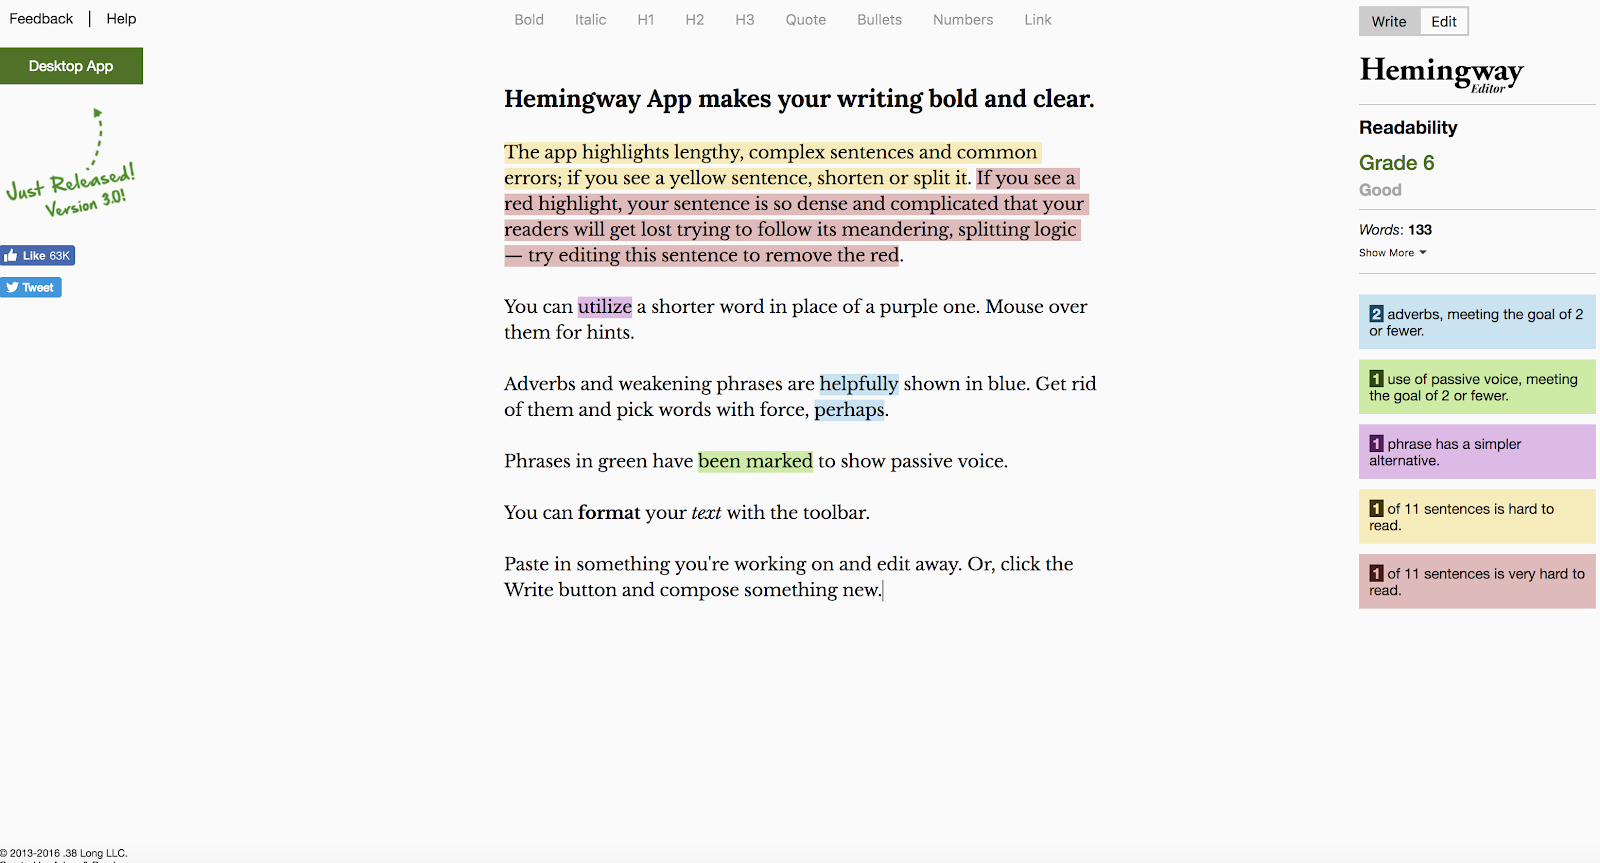
If you have a propensity to speak in undue hyperbole and use dazzling displays of vernacular prowess, foregoing the prosaic prose that helps one comprehend, then you should probably get a tool to help you write more simply and with more clarity.
Hemingway helps you do that.
Basically, if Grammarly helps you avoid sloppy writing and general writing mistakes, Hemingway helps with your style. Readability is a huge issue with blogging; particularly because readability and the reader experience probably helps you rank in search engines.
If you’re already go a crisp writing style, maybe you don’t need this. But it still may be worth checking out.
5. TypeForm
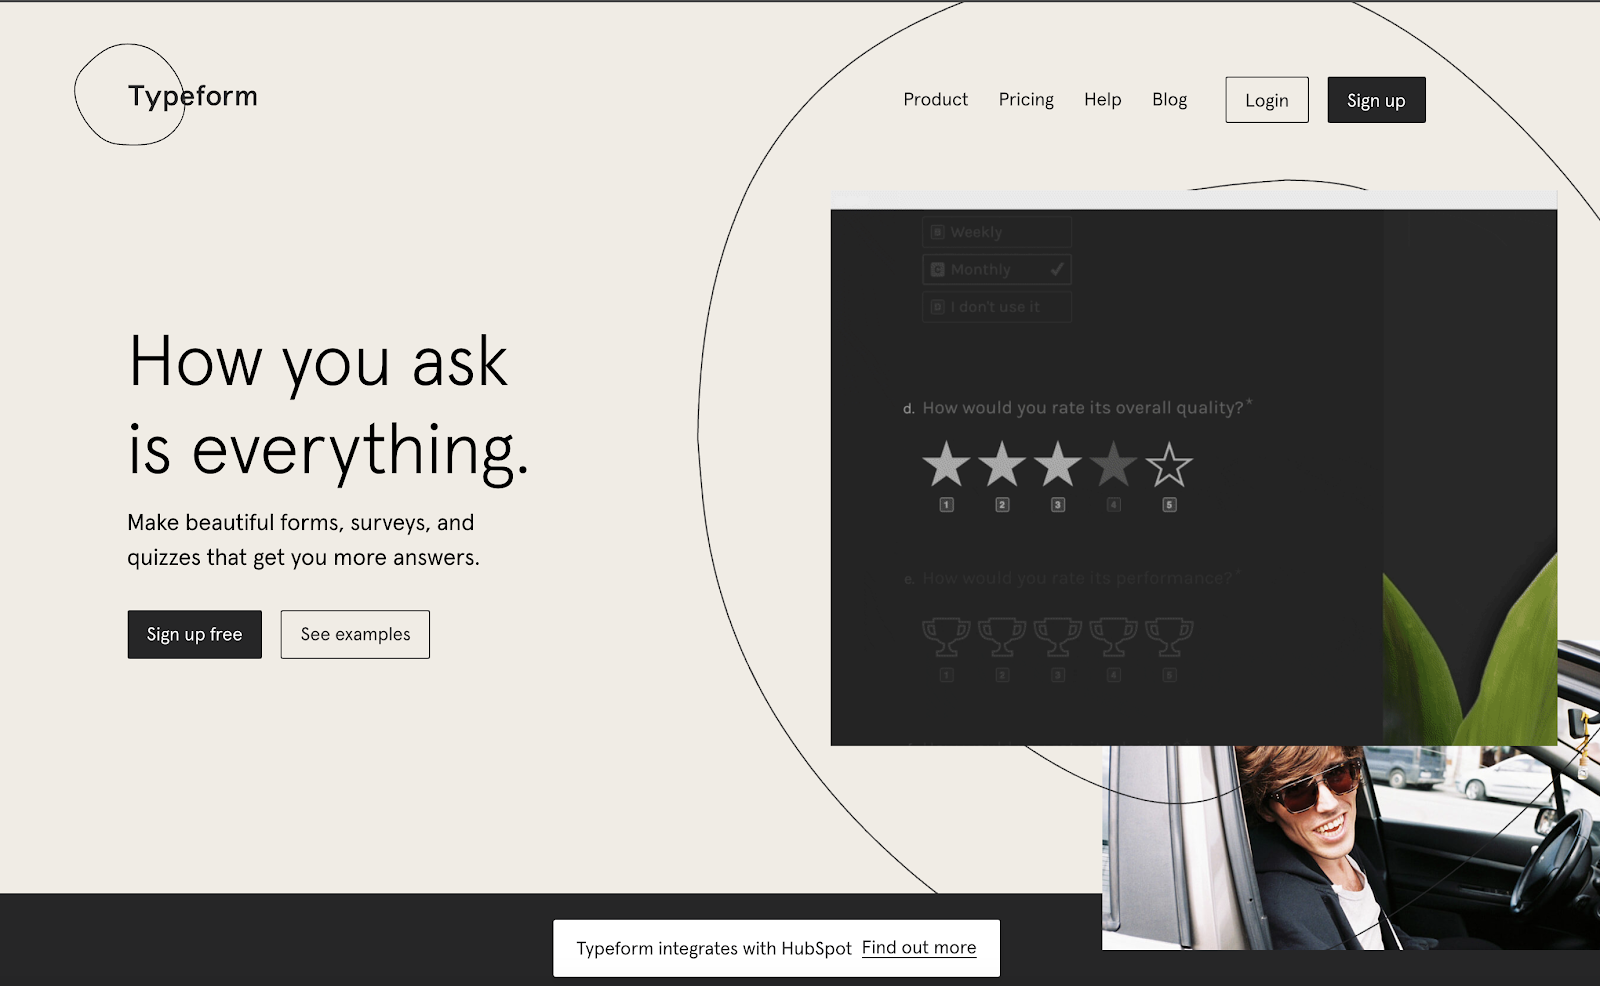
This may sound strange, because Google offers its own survey solution. Google Surveys are great, but TypeForm is better.
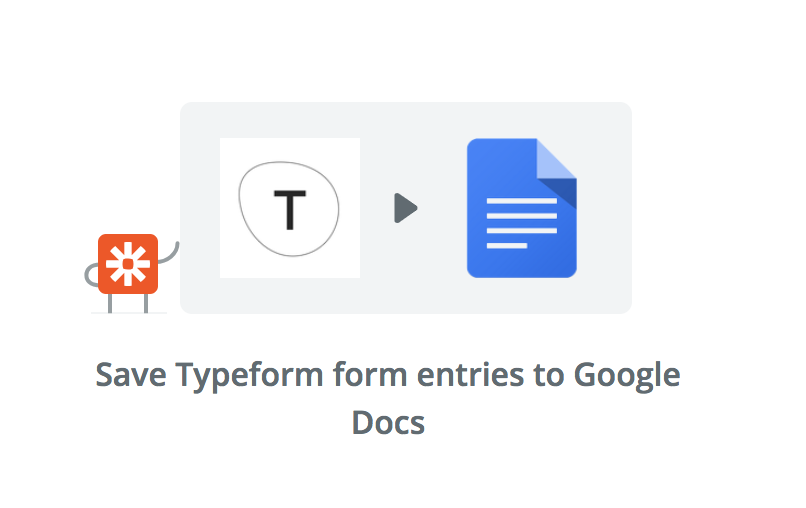
And if you’re doing many interviews in your content creation, you’re probably using some form of survey tool. How awesome would it be if you could automate the process of transporting the data and submissions from said forms.
Well, thanks to Zapier, you can. Just use this Zap to set it up, and you’ll save tons and tons of time manually bringing your TypeForm data over.
Google Docs is the best way to create content. It’s collaborative and offers a ton of tools out the box to make you productive. More, it offers many add-ons and additional tools to really rev up the quality (and frequency) of your blog posts.
This post covered a few areas:
There’s more to talk about with Google Docs; of course there is, no topic this popular can be covered in a single blog post.
But this post hit most areas of productivity in Google Docs for bloggers, at least the important ones that actually work.
If you feel like we missed anything major (tools, tricks, routines), make sure to give a shout in the comments.
I saved a ton of time importing this post from Google Docs to WordPress in one click using Wordable.