

Some people put way too much information in a header, and that can make a document look ugly and even confuse the reader, especially in print form.
Therefore, it’s important to know how to remove a header in Google Docs.
Header and footer modifications don’t have quick shortcut buttons. For that reason, they may not be as intuitive as other Google Docs features. So, it’s no surprise that more than a few people struggle with this in their own documents or those from other authors.
Yet, Google Docs does simplify the removal process compared to other text editors for PC, Mac, and mobile device users.
In this article, you’ll learn the step-by-step process of removing a header, when to remove it, and how to edit it if you want a less definitive alternative.
Effortlessly export your Google Docs to WordPress with just 1-click.
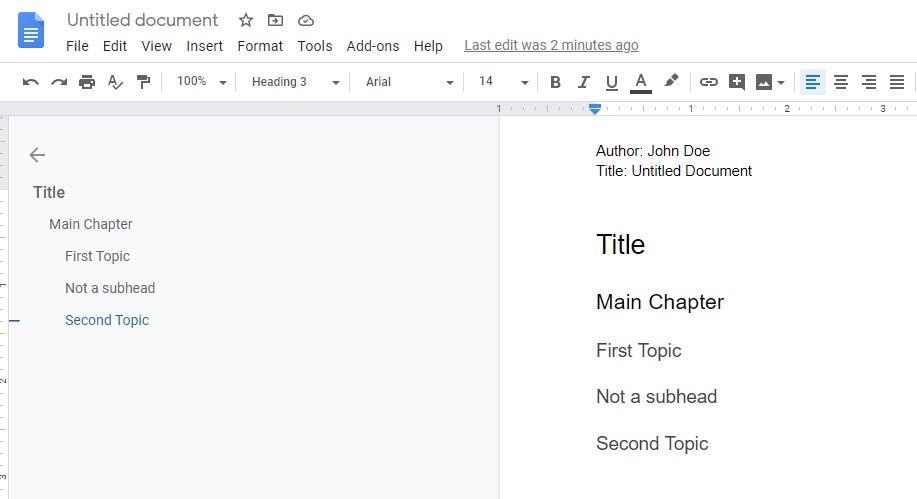
Get Started TodayA header is a unique section located at the top of a document page. It’s not something enabled by default, it’s something that the document author has to insert for it to show. The header also turns up in the print version of the document.
It can be used to highlight important information about the text, the author, or the document itself since it’s editable text. Headers are usually simple strings of text but can contain entire sentences and numbers.
Using header, and footer, gives documents a more professional look. First of all, a header can be used for page numbering, even though footers are often more convenient. Nevertheless, this can help put a Google document in order after it’s printed if the pages are in the wrong order.
It can also ensure that the author’s name is on every page. This is useful for sorting purposes and copyright purposes. Adding the date of publication is also significant to organizational documents and can be done with a header.
But remember that it’s optional and not needed in every type document. Hence, it’s important to know how to remove it too. Especially when editing someone else’s file.
As useful as headers sometimes are, poorly added headers can make things difficult. They can make an article unsightly or show unnecessary information on all pages. If you’re still struggling to manage headers in Google Docs, this tutorial will help you make the changes you want.
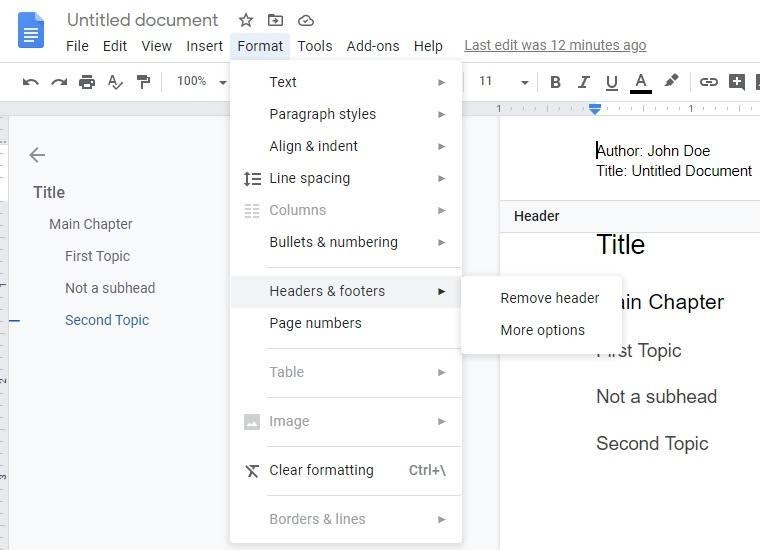
First, make sure that the document you want to adjust is editable. After that, open the document and double click on the header you want to remove. This will make the header text editable and bring up the options button. Click it to bring up the dropdown menu.

From the list of options choose the ‘Remove header’ option. You can do this manually on every page or just the pages you want to remove headers from. Most people use this function when the first page doesn’t display relevant information, or if it’s used as the first page at which the counting starts.
Note that you can’t remove headers when using the mobile version of Google Docs. What you can do is delete the header text. However, the header section will still remain on the document. This means that the formatting will still be different and will affect the printed version of the document.
If you want to make your header look a certain way instead of deleting it, you need to access the formatting options. For this, click on the Format button at the top of the document and hover over the ‘Headers & footers’ option.
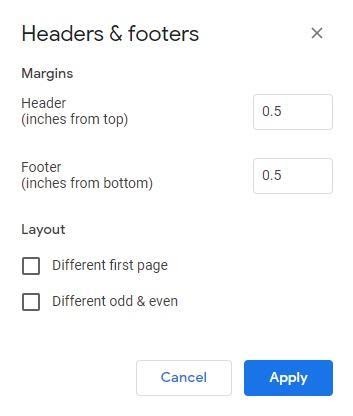
Click on the ‘More Options’ button and make the appropriate changes. Together with header text editing, this can help fix some problems without having to completely remove the header. It’s most useful when you can only do mobile editing.
To edit a header in Google Docs you have to be in Edit mode. You can click the ‘More’ icon and bring up the Print layout. From there, you can access the Header and Footer option and edit the text in your header. Alternatively, you can double click on a header and edit it from there. This is the best option, especially if you have different headers on each page.
There are two ways to do this. You can remove all headers and create individual headers on all other pages. Or you can double click on the second page header, click the options button, and then click the remove header option.
Click on the ‘Format’ button and then hover over the ‘Headers & footers’ options. Click on the ‘More options’ menu to bring up ‘Headers & footers’ formatting menu. Under the layout section, select ‘Different first page’ and ‘Different odd & even options.’ You can then put a different header on every page and ensure it won’t repeat on the following pages.
The rules of an MLA header are simple. You start 1” from the top margin and align the text to the left. Type the author name, instructor name, course and course number, and date, each on its own line, with double spacing in between. Don’t use any punctuation marks. The author’s last name followed by the page number should be in the top right corner, one row above where the header text starts.
A header can have multiple uses, depending on the type of document it’s used in. Usually, it has descriptive purposes and may contain anything from author name, to page number, dates, number of revisions, or even graphics.
Using headers in documents can be tricky because they have so many uses and because they’re not always needed. Hopefully, this article taught you how to master the headers in Google Docs, when to use them, when not to, and how to remove them or edit them accordingly.
It can be a powerful descriptive element but also a nuisance if applied incorrectly, especially in the printed version of a document.