

Are you struggling to upload a file to WordPress? Are you having issues with certain files, while others don’t cause you any grief whatsoever? Are you well aware that you can upload files to WordPress but just don’t know how?
Luckily WordPress makes uploading files very easy to do. It might not be straightforward enough to put in a single sentence, but once you get around to it, you’ll find it relatively easy.
In this article, we’ll provide you with an in-detail walkthrough that pertains to uploading files to WordPress. And yes, this does include plugins as well. So, without further ado, here’s how to tackle WordPress file uploading.
Effortlessly export your Google Docs to WordPress with just 1-click.
Get Started TodayWordPress file upload is when you upload a file from a local device (typically a computer) to the WordPress website creation tool. There are various files that you might want to upload.
Knowing what WordPress file upload is can be immensely important because you will be using this feature. It’s not an extra thing that you may use during website development. Trust us, you’re going to need to know about it.
There are countless reasons why you’d want to upload files to WordPress.
For one, you might be a user that comes from a different provider. This means that you probably have a whole bunch of files you worked on remotely. Starting from scratch might not be a complete deal-breaker, but it will eat up a ton of your time. Plus, it’s frustrating to work on tedious things all over again. On the other hand, you may just want to upload a lot of media at once (for instance, an album of photos).
WordPress makes uploading files easy. Seriously, you might not be aware of how lucky you are.
Typically, the plugins that aren’t hosted on WordPress.org (which means all the good ones) are the files that you’re going to need to upload to WordPress.
Then, there’s the security factor. Instead of using an FTP client to upload your files for WordPress use, you can do the uploading directly.
In this section, we’ve provided you with a step-by-step walkthrough regarding WordPress file upload. We’ll cover multiple methods and reasons behind the whole process.
This is the most basic way of uploading files to WordPress. Essentially, this method is used to store the files in an online environment, allowing you to pull the files as you need them. Here’s how to do it…
Step 1: Log In
Get started by logging in. Access the WordPress Admin Panel using your WordPress credentials.
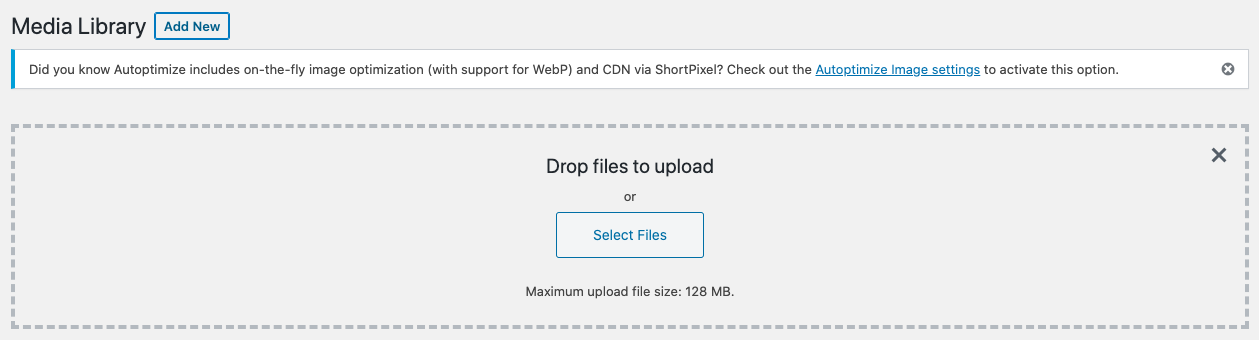
Step 2: Open the File Upload Box
Hover over the Media menu and then select Add New. A box with a dashed outline should appear. Now, simply drag the files that you want to upload from your computer. Alternatively, if you click Select Files, a dialog box will open, allowing you to choose the files.
Step 3: Upload
The moment you start dropping files into the box, they’ll start uploading. If you use the dialog box method, the moment you’ve selected the files and confirmed, the dialog box will close, and the upload is going to commence.
Let’s say you’ve already started a post. If you think that you have to interrupt your work to upload a file to WordPress, you’re wrong. Here’s what you need to do.
Using the Classic Editor
In your post, select Add Media. Then, go to the Upload Files tab. Either drop the files from your computer in the next screen or select them using Select Files. If you don’t want to use files right now, uncheck them. They’ll be waiting for you here.
Using the Gutenberg Editor
Open the post editor and click one of the plus buttons. You’ll see the available blocks. Find the File block and then click it. Now, either drag the files into the box that has just opened or select Upload to choose them. You can also select them from your Media Library.

As mentioned earlier, uploading plugins to WordPress is very much possible.
Step 1: Login to the Dashboard
Using your WordPress credentials, log in to the Dashboard as you normally would.
Step 2: Open the Upload Plugin Screen
Once you’re in the WordPress Admin Menu, navigate to Plugins, followed by Add New. Then, click Upload Plugin to open the Upload Plugin screen.

Step 3: Install and Activate the Plugin
Go to Browse and select the plugin that you want to upload. Of course, you’ll have to download the plugin first, and it needs to be in the form of a .zip file. Once it’s uploaded, select Install Now. To use the uploaded plugin, select Activate Plugin.
Yes, you can. It’s done from the Admin Dashboard. Navigate to a post that you wish to add the HTML file to. Click Add Media. Select the file that you want to upload.
Uploading PDF files to WordPress is absolutely doable. You can upload it just as you would upload any other supported file (explained above).
WordPress is completely open-source. That means that its proprietary software is 100% free. WordPress is available through a GPL (General Public License).
Web designers from around the world use WordPress as their main or secondary website building tool. The benefits that web designers see in WordPress are that it’s easy to install and set up.
Absolutely. You own your own content. WordPress.com doesn’t retain any rights to it.
Hopefully, we’ve made it clear on how you can upload files and plugins to WordPress. As you can see, there are various options to be used here. All in all, you won’t be able to do much with WordPress if you don’t learn how to upload files and plugins. So, do a couple of practice upload runs and use this option to your benefit.