

Formatting shouldn’t feel like the hardest part of writing, but too often it does. You open a blank Google Doc, start typing, and before you know it, you’re knee-deep in fiddling with fonts, resizing headings, and trying to remember what spacing you used last time.
This steals time away from the actual work of creating.
Have you considered letting Google Docs do the heavy lifting? By setting up styles and building your own templates, you can create documents that look professional every time.
In this article, you’ll learn how to set up and customize styles, build Google Docs templates that fit your needs, and reuse them across projects.
By the end, you’ll have a repeatable workflow that makes formatting effortless.
Styles in Google Docs are preset formatting options that control how your text looks within a document.
You can apply different headings, subheadings, and body text with a single click. This keeps your documents consistent without requiring manual adjustments to fonts, sizes, or spacing.

It may seem like a small feature. But styles in Google Docs exist to solve one of the most common pain points in writing: inconsistent formatting.
Furthermore, more than one billion people create Google Docs every month (Source: ExplodingTopics). In a sea of that many resumes, reports, and proposals, presentation matters. Styles provide a way to stand out. They give documents a polished structure, and signal to readers that you organized the content with care and intention.
That polish translates into real advantages:
Custom templates in Google Docs are reusable document frameworks that lock in formatting, structure, and branding so you don’t have to start from scratch every time. A template can include styled headings, company logos, standard colors, and even placeholder text.
Once you create a template, it serves as a ready-to-use starting point for any new project, whether that’s a report, proposal, email newsletter, or blog draft.

The true value of templates becomes clear when you think about how much time you lose to repetitive formatting. Every time you open a blank Google Doc, you make dozens of choices, such as setting the font, aligning text, spacing paragraphs, choosing heading sizes, and more.
On their own, sure, these steps seem minor. Multiply them across dozens of documents each month, and they become a serious drag on productivity.
Most of us don’t realize how much time formatting eats up…until we stop doing it. In fact, 2025 statistics from Kissflow show that workflow automation, including the use of templates, improves productivity by between 25% and 30%.
Here are some other benefits of Google Docs templates:
Whether you’re looking for a simple way to increase productivity or a stylish way to build your brand, custom Google Docs templates provide the key to the next level.
So, what is the difference between styles and templates?
Both exist to make formatting easier, both improve consistency, and both save time.
But they serve different purposes.
Styles are the individual formatting rules you apply inside a document. Headings, subheadings, and body text each have a style assigned to them. Once you define what a style should look like, you can reuse it throughout your document with a single click.
Google Docs custom templates, on the other hand, are entire document frameworks. A template may include your predefined styles along with logos, headers, tables, and any other elements that make up a polished document.
So, think of style as the ingredients of a document and templates as the recipe.
In a nutshell:
Let’s break it down into features:
| Feature | Styles | Templates |
| Definition | You apply formatting rules to text, such as fonts, sizes, spacing, and colors. | You create a reusable document framework with layouts, branding, and structure. |
| Scope | Styles control elements inside a single document. | Templates control the overall structure of multiple documents. |
| Reusability | You reuse styles within the same doc or save them as defaults. | You start every new doc from the same blueprint. |
| Best For | Maintaining consistency within a specific document and applying formatting quickly.. | Streamlining recurring tasks, such as reports, proposals, or blog posts, rather than starting from scratch. |
Customizing styles in Google Docs means setting the rules once, so every heading, subheading, and body paragraph follows the same look.
This creates a consistent framework you can use across the entire document. Once you understand how to apply, update, and save styles, you’ll never waste time fixing mismatched fonts or uneven spacing again. And it gives productivity a huge boost, especially when collaborating with a team.
Now, for the fun part.
Here’s how to apply a style to your text.
(In the image below, you can see how to switch from plain text to Heading 2.)


Applying a style helps you structure your document, but the default fonts and sizes in Google Docs may not match your preferences or your organization’s standards. You can refine each style to look exactly the way you want, then update the whole document with a single change.
Here’s how to do it:
After you’re happy with your adjustments, it’s time to lock them in. Updating the style tells Google Docs, “Make this the rule for every Heading 2,” or whatever level you’re working on.
To do this:

Updating styles inside a document gives you consistency for that file, but what about the next one? Without saving your choices as defaults, every new Google Doc reverts to the standard Arial font, size 11, and generic spacing.
That means you’d have to reapply or redefine styles every single time you start fresh.
Saving as default styles solves that.

Here are the steps:
Once you’ve customized your styles and saved them as defaults, the next step is to build a custom Google Docs template you can reuse for recurring projects.
The easiest way to create a template is to begin with a document that already uses your customized styles. If you’ve defined your headings, body text, and spacing rules, open that file and treat it as your foundation.
Also, if you have placeholder text, make sure that’s in the document as well.

From there, think about the purpose of your template. Each use case may need a slightly different structure.
For example, a proposal template might include sections for an executive summary, objectives, budget, and next steps.
So, you’ve got your structure in place. Now, bring in the branding.
Add your company logo at the top, insert your preferred color palette into headings, or design a footer with page numbers and contact information.
Branding elements make your document look professional. They also reinforce trust and consistency across everything your organization produces.
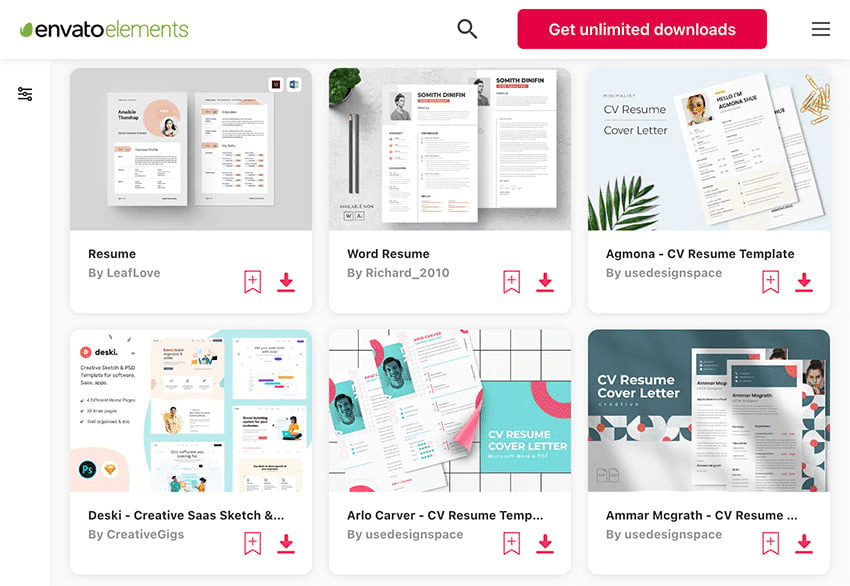
An easy way to source professional-looking, branded content is through Envato Elements. You can browse through an extensive library of design resources, like logos, typography sets, and other graphics.
A custom Google Docs template only saves time if you use it as the starting point for new work. After building and branding your template, the key is to make it part of your workflow on the right foundation.
Here are the main ways to put your template into action:

Mastering styles and custom Google Docs templates is all about creating a system that makes every document you touch more consistent, professional, and far less time-consuming.
Your next Google Doc doesn’t have to start as a blank page. It can start as a ready-made framework that reflects your standards, speeds up your workflow, and ensures your work always looks as polished as it reads.
If you’re serious about streamlining your workflow, don’t let publishing slow you down. Start saving hours on every post with Wordable and exporting perfectly formatted Google Docs straight to WordPress with a single click.