


If you’re a blogger or content marketer publishing at scale, you’ve probably felt the pain of weak content workflow management.
Your targets are loose and slip as soon as one step falls behind. Content moves, but not in a clean sequence.
And worse, you have blog posts ready for publishing, but the staging and CMS stages are holding you up. Once content hits the CMS, formatting breaks, images need fixing, and small edits keep stacking up. What should be the final step becomes a bottleneck.
This is what I call a major content workflow management problem.
Without clear deadlines, ownership, and a smooth publishing step, content production and publishing move at a snail’s pace.
A simple, repeatable publishing workflow helps you move content from idea to publication while reducing delays at each stage.
This guide walks you through exactly how to do that with clear steps, realistic timelines, and a tool that removes one of publishing’s biggest bottlenecks. Spoiler alert: It’s Wordable.
Highlights
Content workflow management means organizing every step of your content process, from idea to outline, draft, edit, and publish. The goal is for each stage to flow into the next without exceeding the planned buffer time.
It defines who does what, when it’s done, and what “done” looks like at each stage.
Unfortunately, most teams still aren’t fully dialed in on content operations.
According to Canto research, only 43% of teams have really efficient, mature workflows.
Meanwhile, nearly half of teams with advanced workflows (48%) are already seeing strong ROI gains.
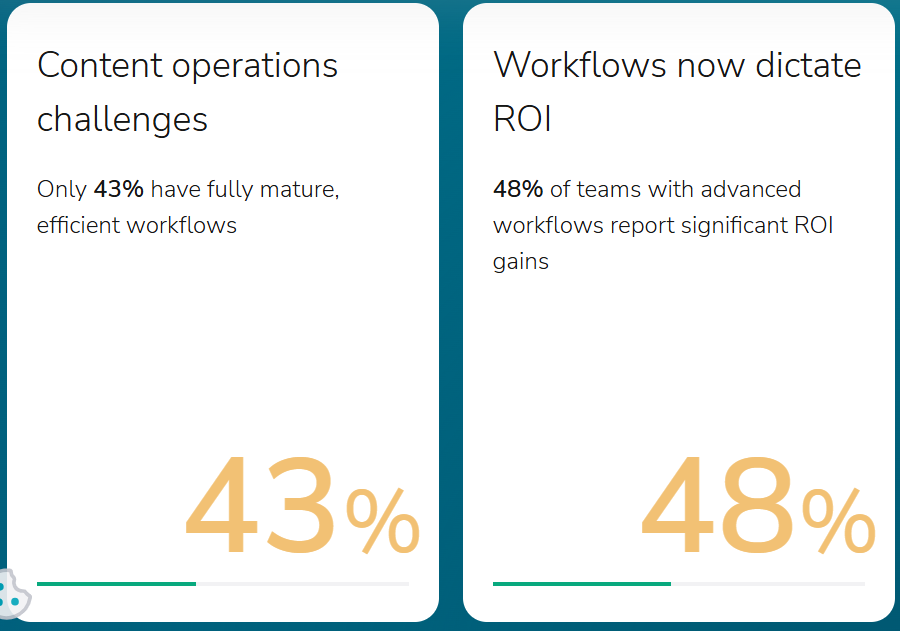
That contrast suggests a link between mature workflows and stronger ROI, making workflow quality a key part of content operations.
A publishing system is the structure you use to plan, create, review, stage, and publish content on a consistent schedule.
It includes:
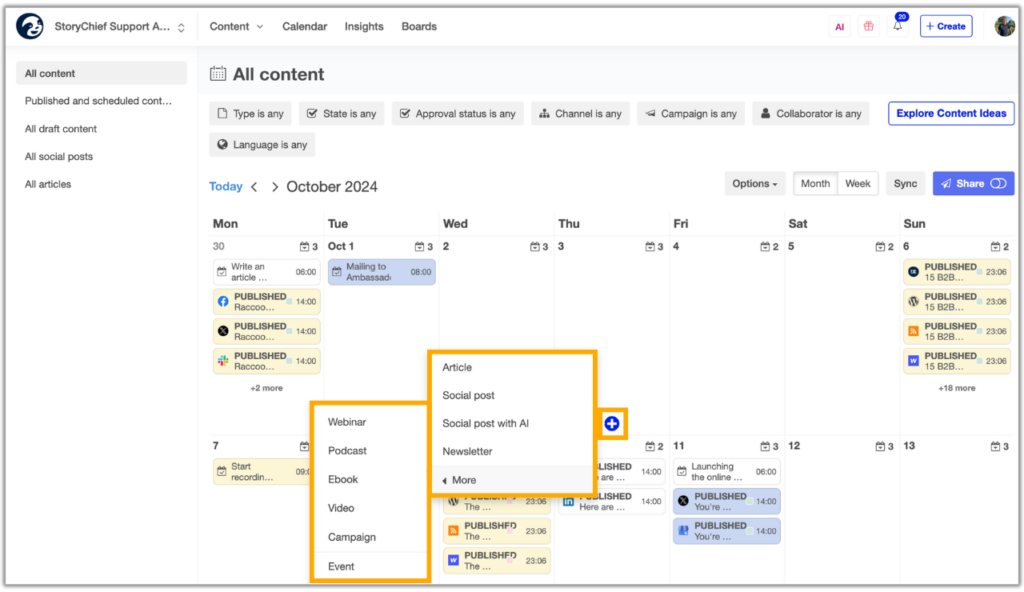
When you have a solid publishing system in place:
Watch out for these common publishing bottlenecks when planning your publishing system:
Writers miss outline deadlines, which pushes everything back.
The solution: Set a weekly batching schedule and stick to it. Require a clear structure with headings and key points. Review outlines within 24 to 48 hours. Don’t begin drafting until the outline has been approved.
Drafts keep going back and forth because feedback isn’t clear. This slows everything down.
How to fix it: Limit edits to one or two rounds. Use a simple feedback checklist covering structure, clarity, and SEO. Leave specific comments so writers know exactly what to fix.
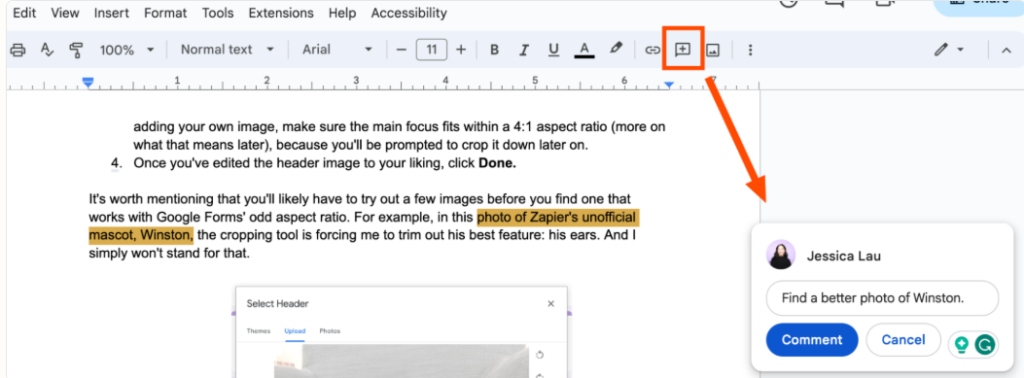
Content is ready, but it doesn’t get published on time. Formatting and uploads take way too long.
What to do instead: Assign one person or a small team to handle publishing. Give them a clear process to follow every time. Better yet, use a tool like Wordable to speed up formatting and uploads.
Too many people touch the same task, so nothing gets done on time.
The solution: Assign one owner per stage. Make deadlines visible so everyone knows who’s responsible.
You end up fixing things right before publishing, which leads to mistakes or delays.
What to do instead: Move your final approval earlier. Lock the content before it gets to staging. Keep publishing focused on getting it live, not fixing issues.
With the main bottlenecks covered, the next step is turning those fixes into a repeatable publishing system. Here’s how to build one in six steps.
Here’s what you need to do to make sure content gets published on time.
Start by defining who leads each content stage and what they’re specifically responsible for.
At minimum, your publishing system should include:
Each role also needs its own deadlines. For instance, if editing is due May 17, schedule final approval for May 24 and leave the remaining time for staging before the June 1 publishing date. You need plenty of wiggle room to reduce publishing delays.
More on having a dedicated stager in Step 5.
Set your final publishing dates 30 to 90 days ahead. This gives your team enough time each week to research, write, edit, and refine content properly instead of rushing to meet a short-term deadline.
Use a content planning tool to visualize your publishing cadence.
Experiment with features like calendar views, project timeline views, Gantt charts, and Kanban boards. Some great tool options include StoryChief, Trello, Notion, ClickUp, or monday.com.
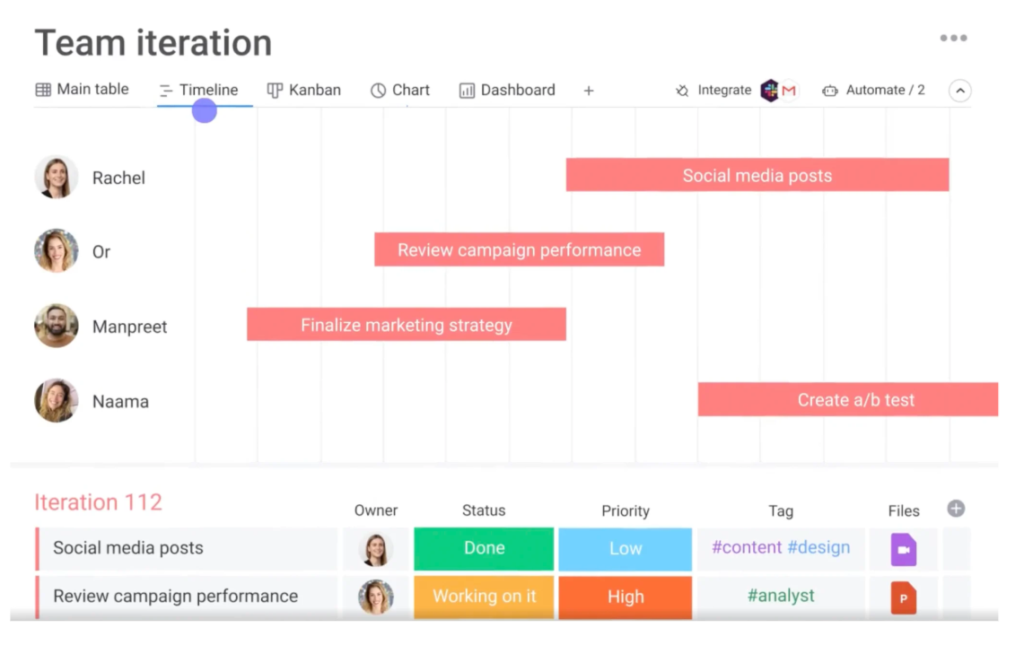
Map out every publish date first, then reverse-engineer the steps required to get there. Make sure to include some buffer time.
For instance, if your blog goes live on June 1, then your first draft shouldn’t be due May 30. 🙃
It should be due closer to mid-May, so you have enough time for editing and revisions without pressure. Planning this far ahead also helps you align content with campaigns, launches, and seasonal trends instead of publishing randomly.
Create strong content briefs or train your writers to build their own using a consistent structure.
Each brief should include the article’s goal (e.g., traffic, leads, education), target audience, primary keyword, deadline, and any notes the writer should consider.
Set a recurring schedule to create outlines in bulk instead of one at a time. This reduces context switching and keeps your content pipeline full.
For example, writers could submit two to three outlines every Monday for upcoming posts. You then review and approve them by Wednesday. This gives writers a clear focus for the next two to three weeks of content.
Set a deadline specifically for outline approval. If outlines get delayed, everything else shifts. Make sure to include some buffer time around outline deadlines, just in case.
Once the overall publishing date and outline schedule are fixed, protect the remaining production stages with smaller buffers between each handoff.
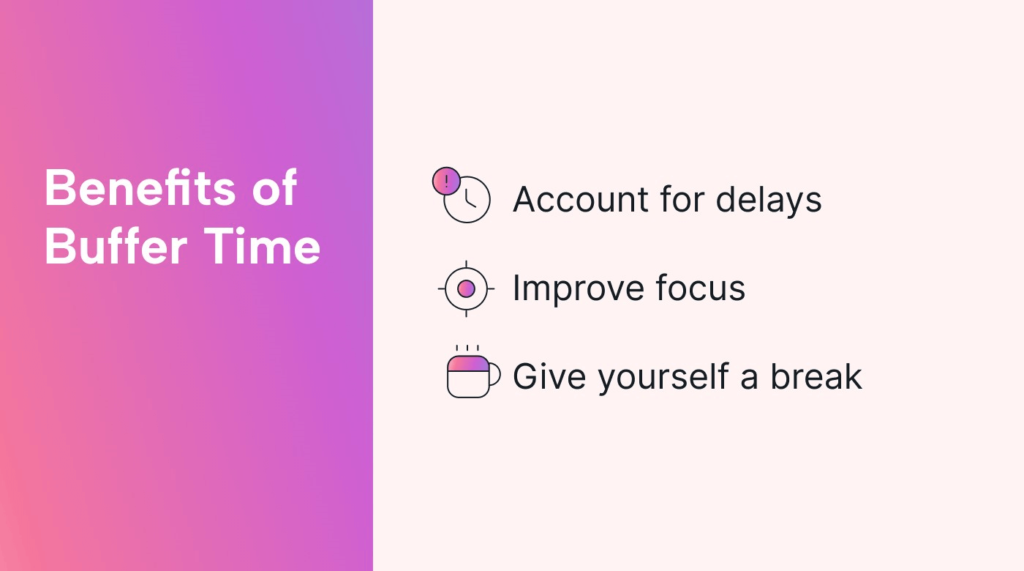
Build these buffers around the following deadlines:
Leave space between deadlines to handle revisions, feedback, and small fixes before moving to the next step.
Here’s an example timeline:
This structure gives your content marketing strategy flexibility while still maintaining your publishing cadence. If a draft needs extra work, you’ll have time to fix it without pushing out the publishing date.
Assign one person (or team) to handle publishing as their main responsibility.
This role should focus on:
Have your staging team use a publishing tool to speed this up. Manually copying and pasting from Google Docs into WordPress often breaks formatting and wastes time.
Wordable can remove much of the manual formatting work by exporting content from Google Docs directly to your CMS.
Turn your process into a simple checklist, so your team can follow it every time without guessing.
Here’s a basic version you can reuse:
You can drop this into a tool like Notion or your project management platform.
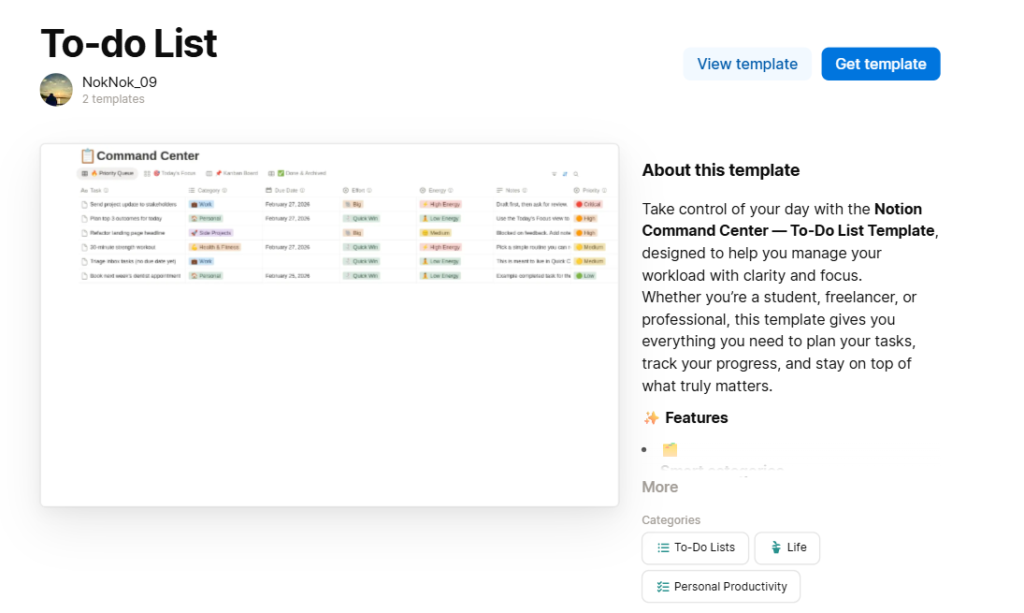
This keeps the workflow consistent as your team grows and creates a clear handoff into final staging and publishing.
Once the final draft is approved, the next step is transferring it into your CMS. Wordable simplifies this handoff by exporting Google Docs content to WordPress while preserving formatting, headings, and images.
Here’s how to create a seamless publishing process with Wordable:
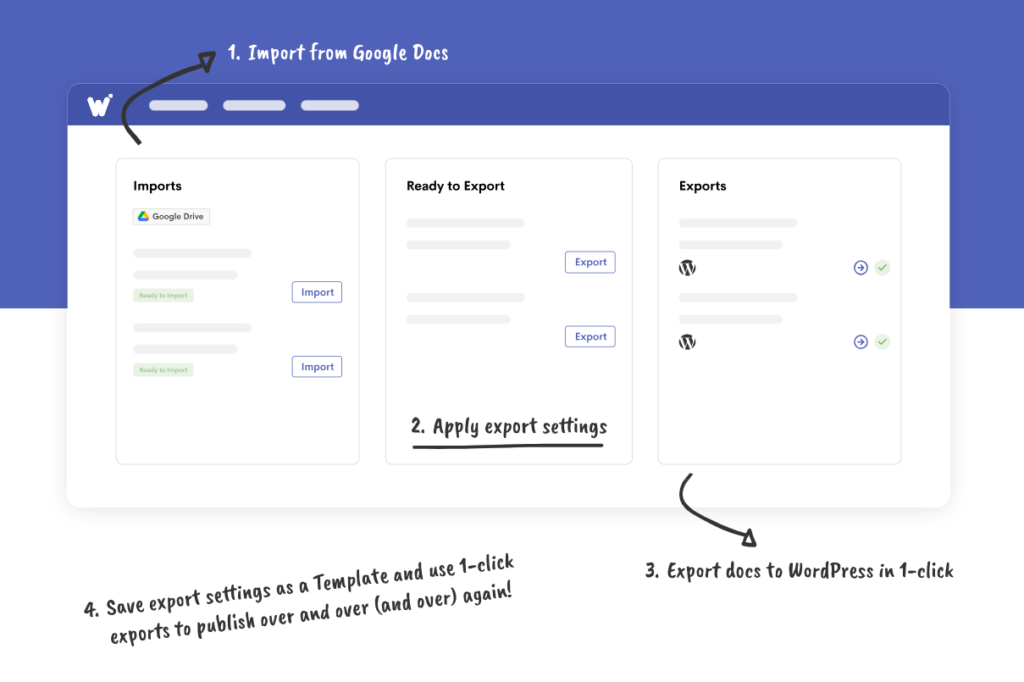
Instead of manually correcting formatting after every upload, you can focus on reviewing the exported draft before publishing.
Wordable offers pricing plans based on your publishing volume and team needs. If you publish occasionally, compare the available entry-level options. Teams managing multiple writers or uploading frequently should review the plans based on their expected publishing volume.
I’ve also broken down which plan is best for what:
If you publish weekly or manage multiple writers, Pro usually offers the best balance of speed and flexibility. If publishing is central to your business, the Premium Plan is ideal.
A strong publishing system removes bottlenecks and keeps your content moving without stress.
Set deadlines early, build in buffer time, and batch your work. Once the process is running, refine each stage to keep your publishing schedule consistent.
If staging is the part of your workflow that keeps causing delays, Wordable can reduce the manual work involved in moving content from Google Docs into your CMS.
Try Wordable to speed up and standardize the final publishing stage.
What’s the biggest mistake in content workflows?
The biggest mistake in content workflows is not defining clear deadlines and buffer time for each stage. Without them, work piles up at the end and causes delays.
What tools do I need for a publishing system?
You need a content calendar, a task management tool, and a publishing tool like Wordable.
Do I really need a dedicated publishing role?
Not always. For smaller teams, publishing can be part-time, but one person should still own final staging and publishing.
How do I keep writers on schedule?
Use clear briefs, set outline deadlines, and review work in batches.
How far in advance should I plan my content?
Plan your content marketing workflow with deadlines at least 30 days in advance. If you manage a team or publish frequently, aim for 60 to 90 days to reduce pressure and improve content quality.