


PowerPoint has four transparency tools. The one you need depends on what you’re making transparent. You can pick the Transparency slider, Set Transparent Color, Remove Background, or the shape and background transparency controls. Each one fits a different kind of object.
Want to make something transparent in PowerPoint? Start with the quick-reference table below. It matches each object type to the right method, so you can go straight to the setting you need.
Highlights
Start here. Find your object in the left column, and you’ll know exactly which tool to use and where to find it.
| What you want to make transparent | Correct method | Where to find it | Limitation |
| Image (whole-image fade) | Transparency slider | Picture Format → Transparency | Won’t remove background |
| Image (white background) | Set Transparent Color | Picture Format → Color → Set Transparent Color | Only removes one color |
| Image (photo background) | Remove Background | Picture Format → Remove Background | Needs high image contrast |
| Shape or text box fill | Shape fill transparency | Format Shape → Fill → Transparency | Affects fill, not stroke |
| Slide background | Background transparency | Design → Format Background → Transparency | No effect on pattern fills |
If your object matches one of the rows above, jump straight to the method you need. Otherwise, start with the first method below and work through the options one by one.
Small formatting issues add up faster than most people expect. According to Microsoft’s 2023 Work Trend Index, employees spend more time communicating than creating documents and presentations. That leaves less time to fix settings that should take seconds.
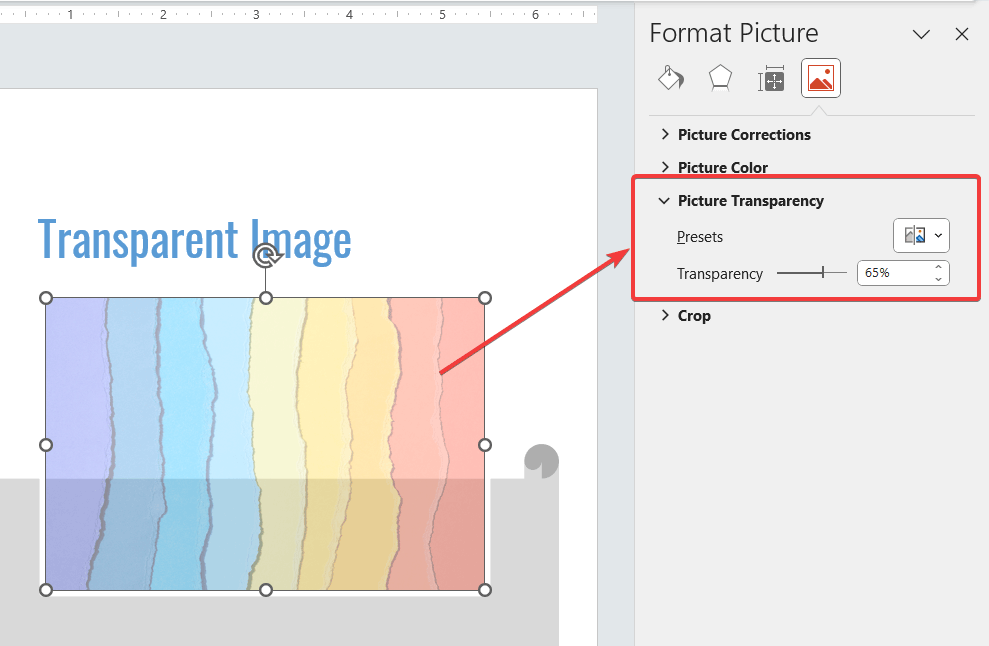
The transparency slider is the right tool when you want to fade an entire image evenly, not remove part of it. Use it for watermarks, faded background images, and photos placed behind text.
Example: Say you’re building a title slide with a product photo running edge to edge behind a white headline. At full opacity, the headline is unreadable. Set the photo to 40% transparency. The text becomes easy to read, and the image still sets the scene.
Version note: The Transparency button shown in this guide is available in Microsoft 365 and PowerPoint 2021+. In older versions, some transparency settings may sit in the Format Picture sidebar instead of the ribbon.
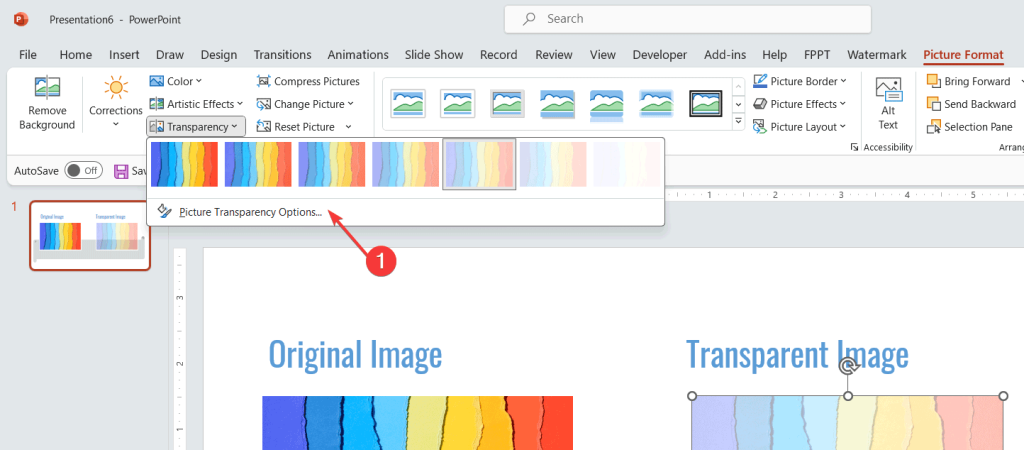
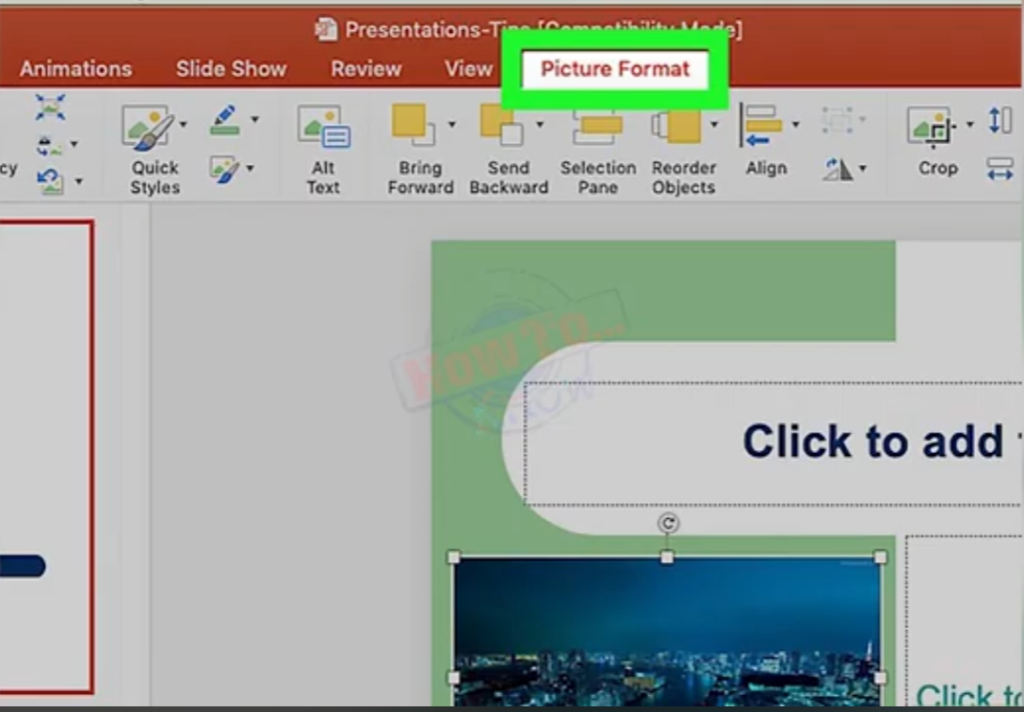
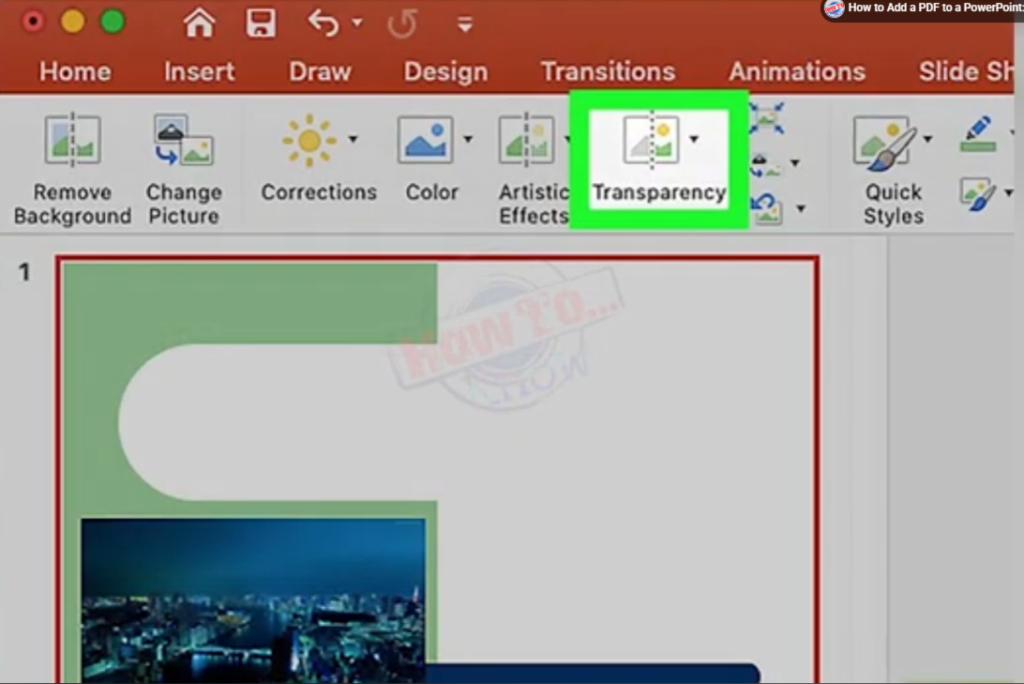
The Transparency menu works the same way in current Microsoft 365 Mac builds.
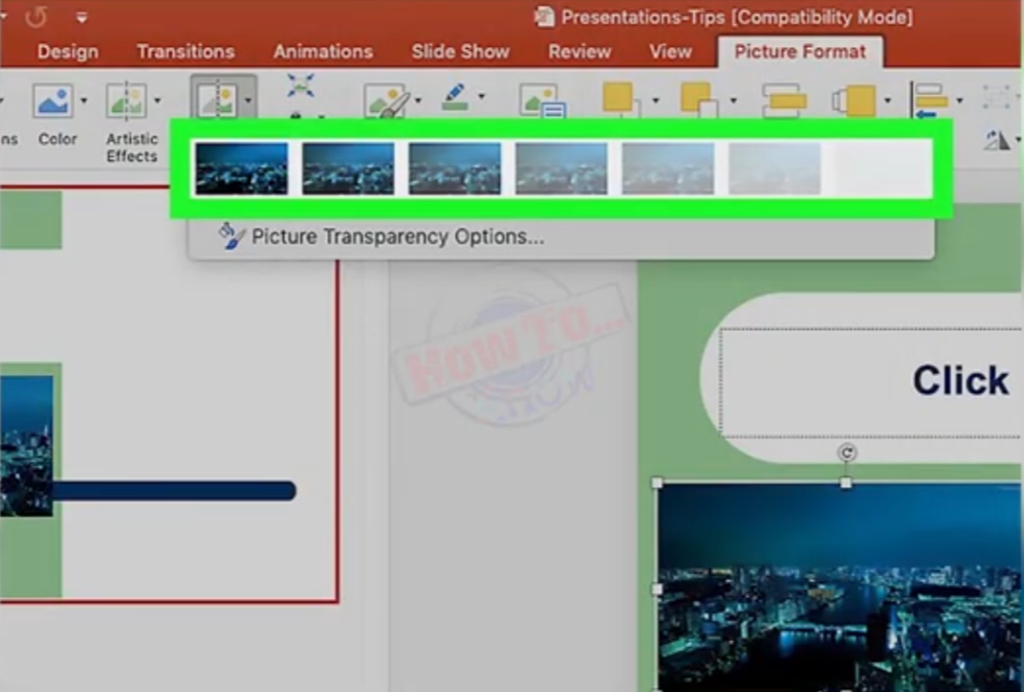
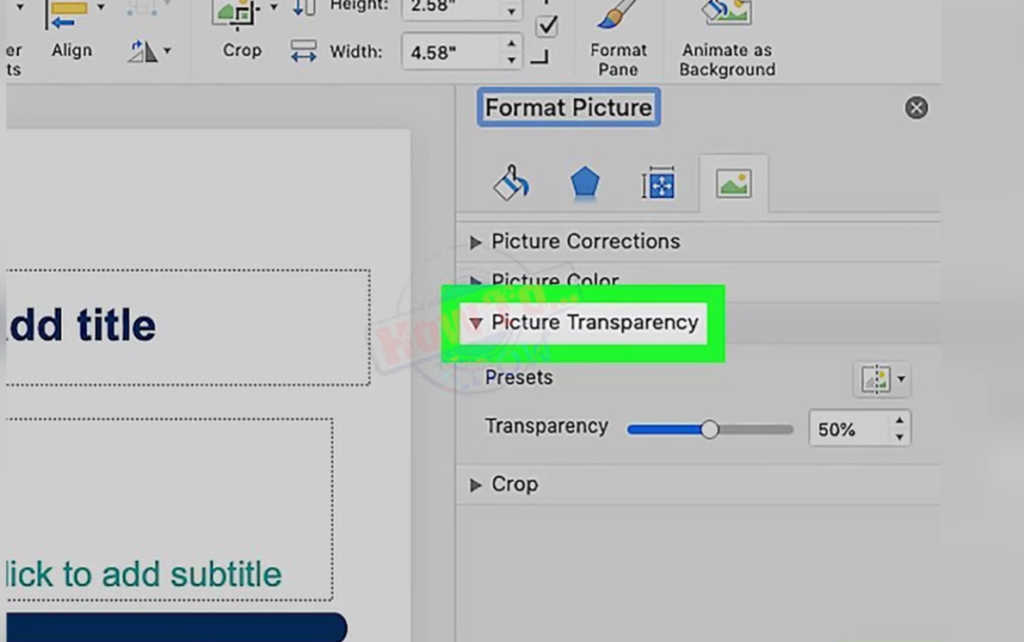
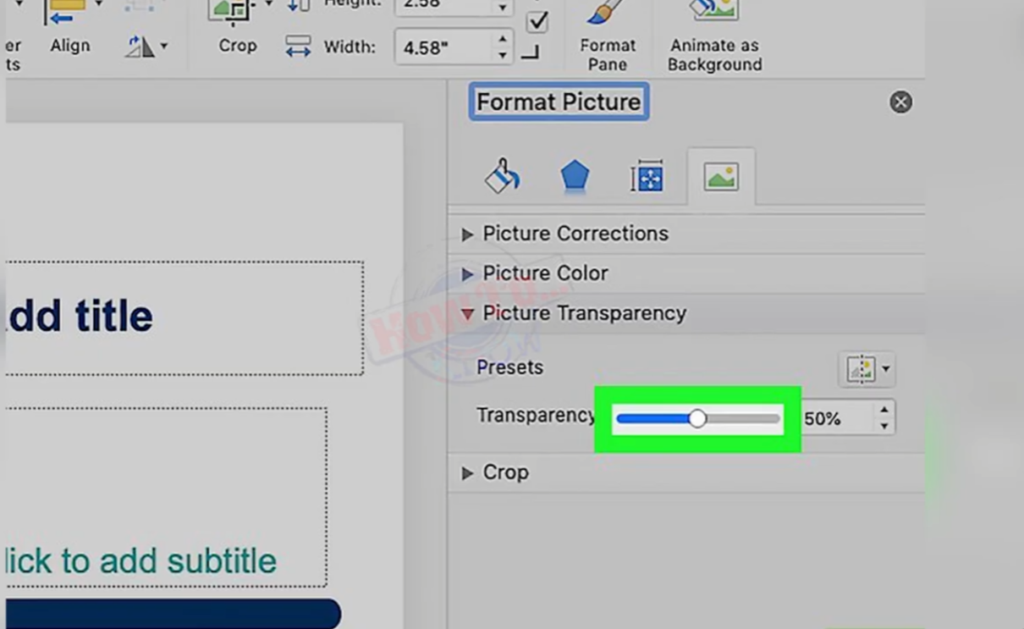
On older versions of PowerPoint, this option may sit in the Format Picture sidebar instead. Check your version before you decide the setting is missing.
The transparency slider adjusts the opacity of the entire image. It does not isolate or remove a background color. If your goal is a clean cutout, skip ahead to Set Transparent Color or Remove Background.
This is the method most people need when they want a transparent background in PowerPoint. It’s also the one people misuse most.
Set Transparent Color removes one flat color. That makes it great for logos and icons but a poor fit for photos.
Example: A client sends over a logo as a JPEG with a plain white background instead of a transparent PNG. Instead of asking for a new file, you can click the white area in PowerPoint and remove it in two clicks.
Note: Problems like this keep coming back when your team has no clear process for design assets. You can write down image rules, file formats, and review steps alongside other productivity templates so the same issues don’t repeat from project to project.
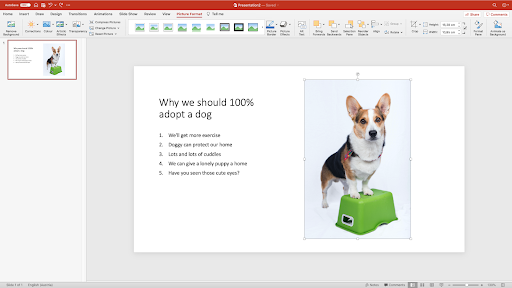
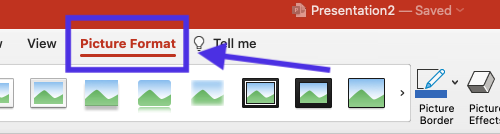
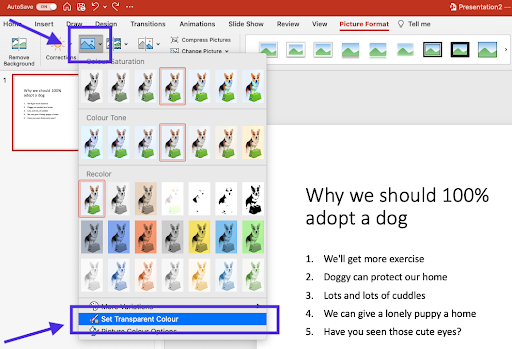
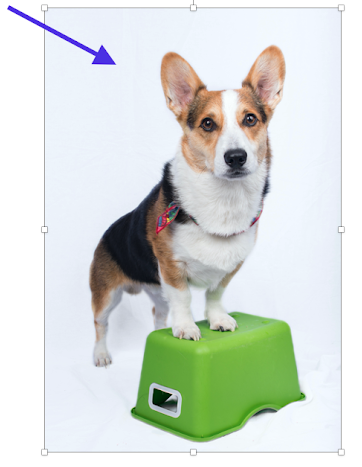
Photos contain thousands of slightly different shades, even in areas that look like one solid color. Set Transparent Color removes only the exact shade you click. The rest of the background stays put or breaks into a speckled mess. For photos, move on to Remove Background instead.
Remove Background is built for photos, where the subject and background blend into many colors and shadows. It guesses which pixels belong to the subject and marks them. Then you correct the guess.
Example: You’re placing a headshot on a slide and want the person isolated from a cluttered office background. Remove Background will usually find the person on its own. Hair and shoulders often need touch-ups to look clean.
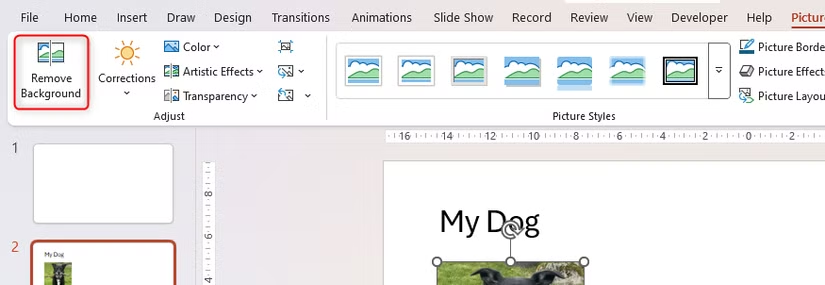
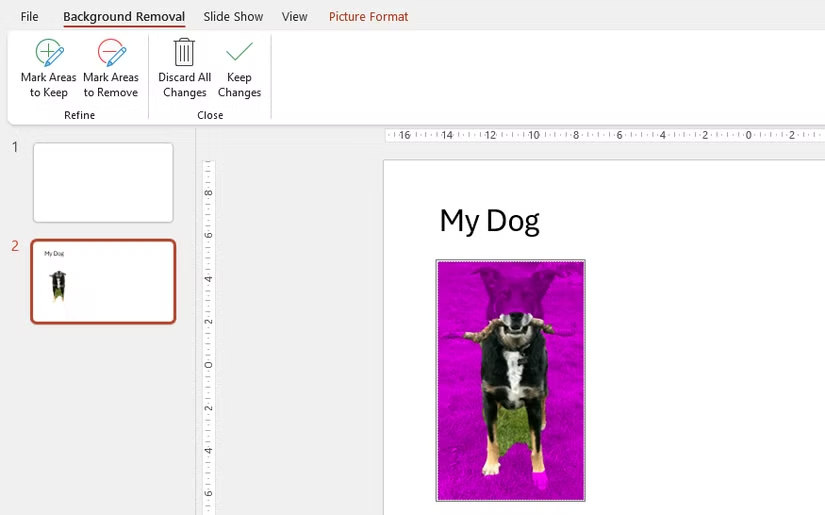
How well this works depends on the contrast between your subject and background. A subject in front of a busy, similarly colored background will need more manual correction. The same contrast rule applies any time you layer images over color. That goes for a headshot in PowerPoint or an icon set you’re placing into a Canva infographic.
Shape and text box transparency works differently from image transparency. Instead of a ribbon button, you’ll use the Format Shape pane. The setting changes the fill only, not the outline.
Example: You want to lay a colored rectangle over a photo to create a tinted overlay for text. You can make choices like overlays, contrast, and readability part of your team’s overall content production process, especially when several people build decks. Set the rectangle’s fill transparency to around 50%. The photo shows through, and the text stays readable.
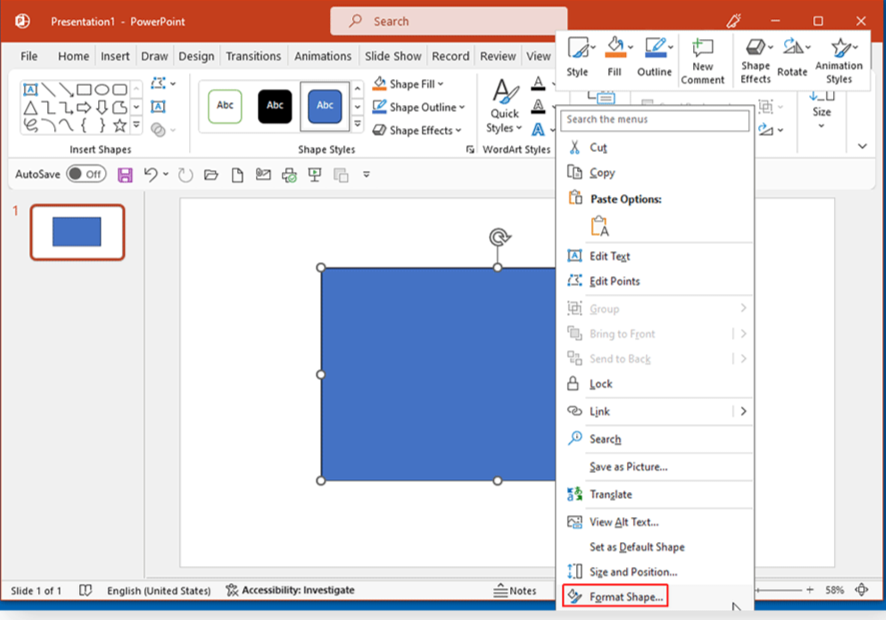
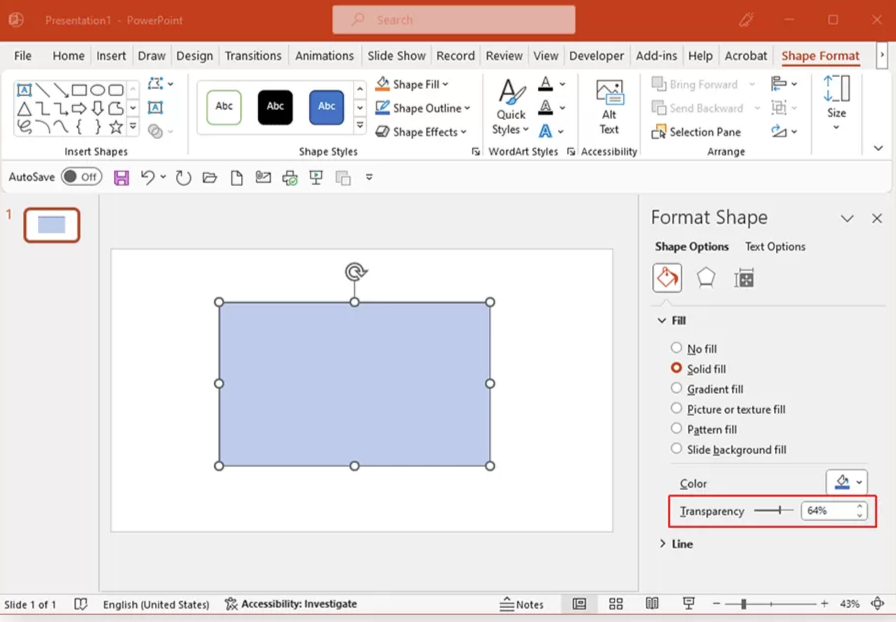
A setting between 1% and 99% creates a semi-transparent fill. Setting it to 100% hides the fill completely. That’s useful when you want a shape’s outline with no fill.
Background transparency lives in a different menu from image and shape transparency, so it’s easy to miss. It applies to picture and texture fills used as a full slide background.
Example: You’ve set a faint pattern or photo as your slide background and want it to sit subtly behind your content instead of competing with it. Raising the background transparency lets your text and graphics stand out while keeping the texture. If your team builds decks often, adding these choices to your content workflows can help keep every deck consistent, no matter who’s building it.
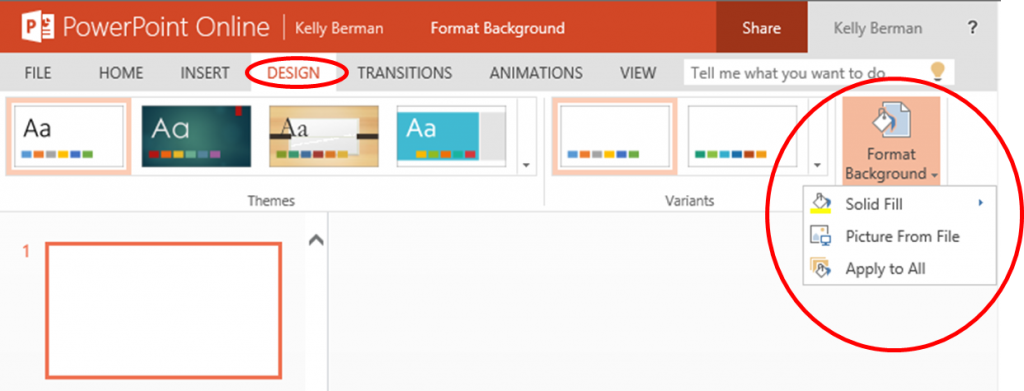
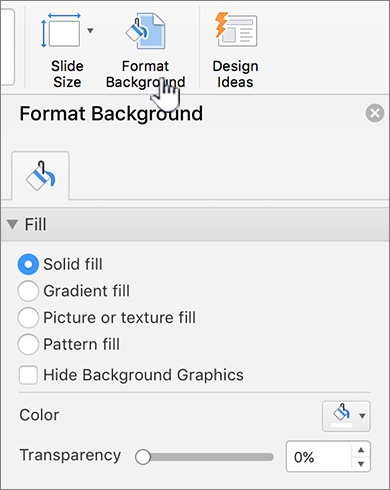
This setting only works with picture and texture fills. Pattern fills don’t have a transparency slider. If the option is grayed out, check whether your background is set to a pattern.
Most transparency problems come down to using a tool on the wrong object. Here are the three issues that come up most often.
Example: A user tries Set Transparent Color on a product photo, gets a speckled result, and assumes the feature is broken. The tool worked exactly as intended. It just wasn’t the right tool for that type of image. If you use logos across decks, social graphics, and other marketing assets, write those file rules into your brand style guide.
In a 2025 survey of 550 users, Beautiful.ai found that respondents saved an average of 5.6 hours per week by cutting manual design work. Small tasks like fixing formatting, adjusting layouts, and checking settings add up fast across a team.
The fastest way to get transparency right in PowerPoint is to start with the object, not the menu. A photo, a logo, a shape, and a slide background each need a different tool. The reference table at the top of this guide shows which one to use.
The next time PowerPoint transparency isn’t working the way you expect, don’t start hunting through menus. Start by identifying what you’re trying to make transparent. Once you match the object to the right tool, the job gets faster and far less frustrating.
Use the transparency slider under Picture Format, and start with a high-resolution image. Changing transparency doesn’t lower image resolution. But a low-quality file will still look low-quality at any transparency level.
Yes. Right-click the shape, select Format Shape, and adjust the Transparency slider under Fill. This affects the fill only, not the shape’s outline.
Set Transparent Color is only available when a picture is selected. If it’s grayed out, make sure you’ve selected an image rather than a shape, icon, SVG, or other object. Converting the image to PNG or JPEG can also help.
Yes. PNG files that already have see-through backgrounds show up fine in PowerPoint with no extra steps.
Select the image, open Picture Format, and use the Transparency slider. This fades the entire image evenly and does not remove a background.
The usual cause is low contrast between the subject and background. Use Mark Areas to Remove to manually correct any sections the tool missed.