

Are you having trouble creating flyers? You may think you need special skills and complicated programs to make your ideas a reality.
And you’re not the only one. Many people struggle to use professional software to create nice-looking flyer designs.
But what they don’t know is that there’s a much simpler option for nonprofessionals. Did you know you could use a Google Docs template for this purpose?
That’s right. Google Docs has the option of creating a flyer and other similar materials, like a brochure, a resume, or an event flyer for your event marketing. And it’s quite user-friendly, so anyone can easily navigate this free template gallery and create something fresh.
In this comprehensive walkthrough, we’ll teach you how to make a flyer on Google Docs and customize it. If you follow our instructions, you’ll create amazing, professional-looking flyers in no time.
Effortlessly export your Google Docs to WordPress with just 1-click.
Get Started TodayA flyer is typically a small leaflet used to advertise a brand, event, or product. Most flyers only contain short text with the most crucial information about what they’re promoting. Integrating specific visual elements such as brand logos, images, and relevant icons can play a subtle yet significant role. These components collectively contribute to the overall design, fostering brand recognition and subtly reinforcing the connection between the promotional material and the represented brand. It should have an engaging, but simple design that draws attention, but doesn’t confuse the reader.
In the realm of effective promotional strategies, integrating a flyer making app can be a game-changer. These applications provide a user-friendly platform to create visually appealing and professional flyers. Users can effortlessly blend brand elements, images, and icons, ensuring that promotional material stands out with ease.
For making flyer creation even more effective and simple, users can rely on an AI flyer generator to streamline the design process and enhance creativity.
For those seeking an easy flyer design solution, online tools such as Canva, Adobe Express, or VistaCreate simplify the process. They offer customizable templates, drag-and-drop functionality, and pre-designed elements that make designing a professional-looking flyer quick and hassle-free. Even without prior design experience, anyone can craft eye-catching flyers that effectively communicate their message.
With the advancement in the technologies many companies use flyers created using an AI flyer generator for advertising their products and services. You may also stumble upon different events advertised this way, like concerts or exhibitions.
Flyers are often a part of a marketing strategy because they can get people to take the desired action and buy the product or visit the event. You can even add a QR code to the flyer, with a link to your booking app. This way people can easily purchase tickets from their phone when they first hear about the event.
Google Docs is an excellent choice for creating flyers for many reasons. First of all, the app is simple to use. The only condition is to have a Google account so you can get started right away. No need for any additional apps on your computer.
Moreover, the process is pretty straightforward, and you can learn all tricks in one afternoon. You can select a flyer template and personalize it as you see fit. And finally, there are a variety of free add-ons to help you create a flyer without leaving Google Docs.
For example, the Icons8 add-on with hundreds of photos, illustrations, and icons to be simply dragged and dropped into your document.
Google Docs’ versatility makes it suitable for various types of flyers, including event announcements, product promotions, and even special occasion materials. Whether you’re creating invitations, thank-you cards, or flyers for unique products like personalized groomsmen cufflinks, Google Docs offers the flexibility and tools you need to make your designs stand out.
It’s much easier to create a good flyer, a real estate brochure, and a resume when you already have a skeleton. Then you can focus on formatting, adding text, and playing with colors to make it look even better.
Spend your time where it is required the most and leave formatting, compressing, and lots more with Wordable’s Google Docs to WordPress in 1-click.
Are you still not sure how to go from a blank template to a unique flyer?
It will surely help to break down the process into several steps. This section will give you a detailed walkthrough to how to make a flyer on Google Docs.
Create a Google account or sign in. Then open Google Docs. Under ‘Start a new document,’ you’ll see different options, such as Blank document and some types of templates. If you don’t see a suitable template there, click on the Template gallery at the upper right.
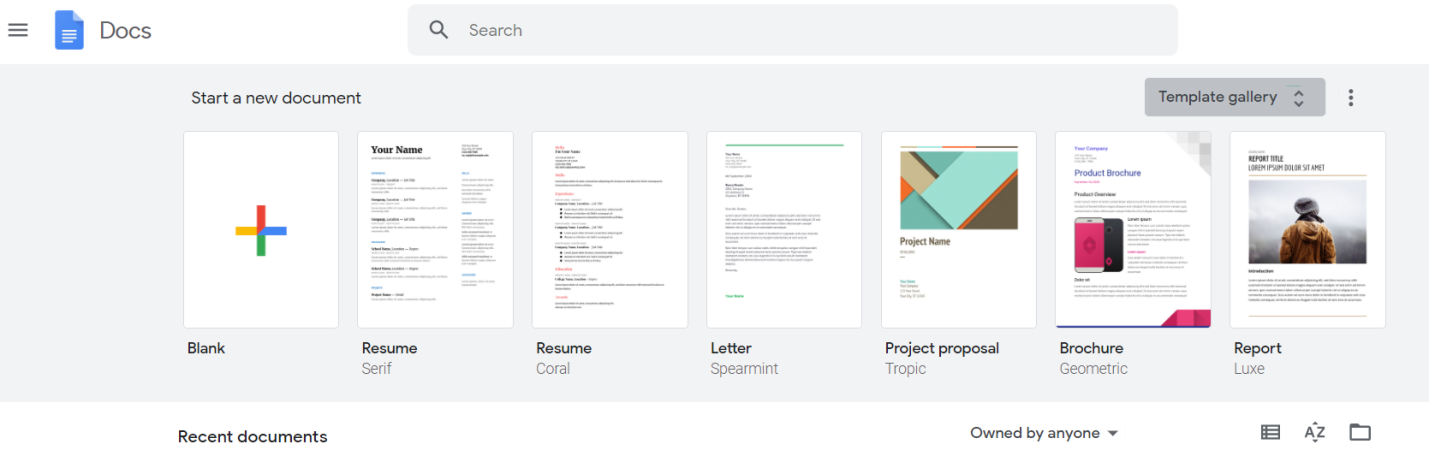
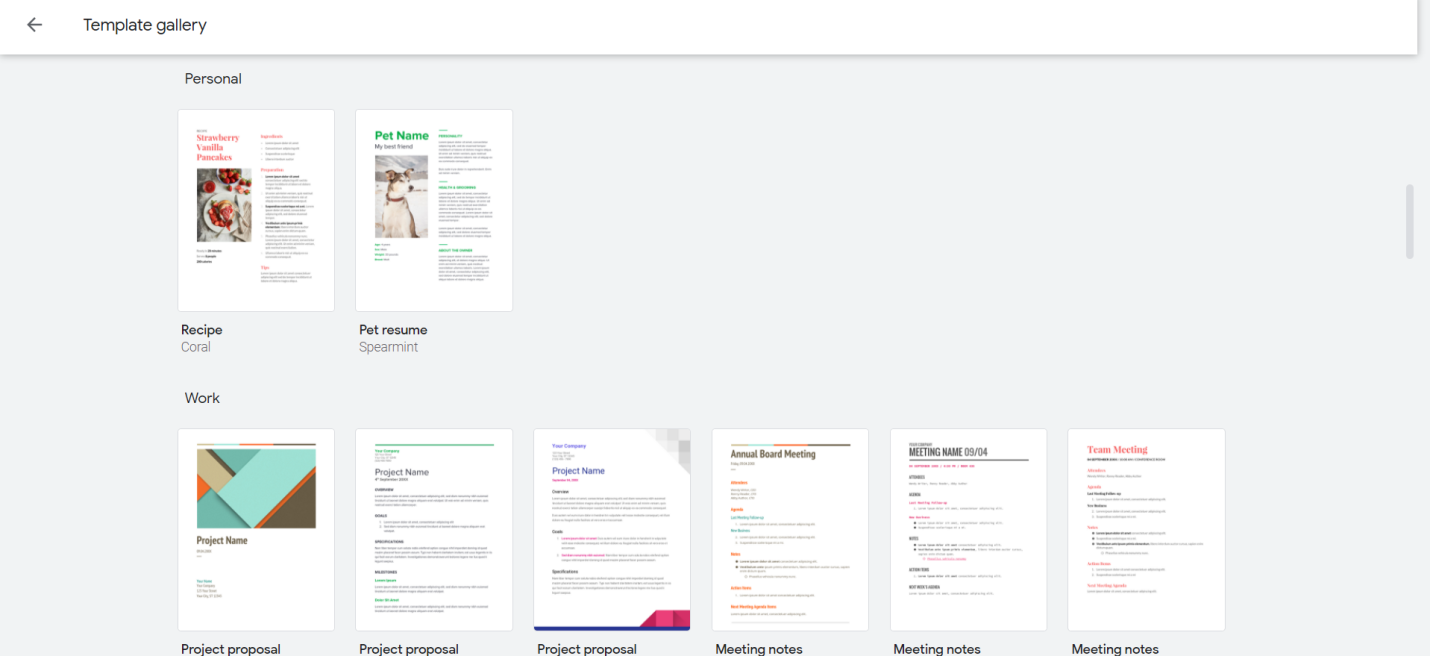
Scroll down to check your options. You will see plenty of different templates divided into several categories, such as work or education. Select a template you like and wait for it to open.
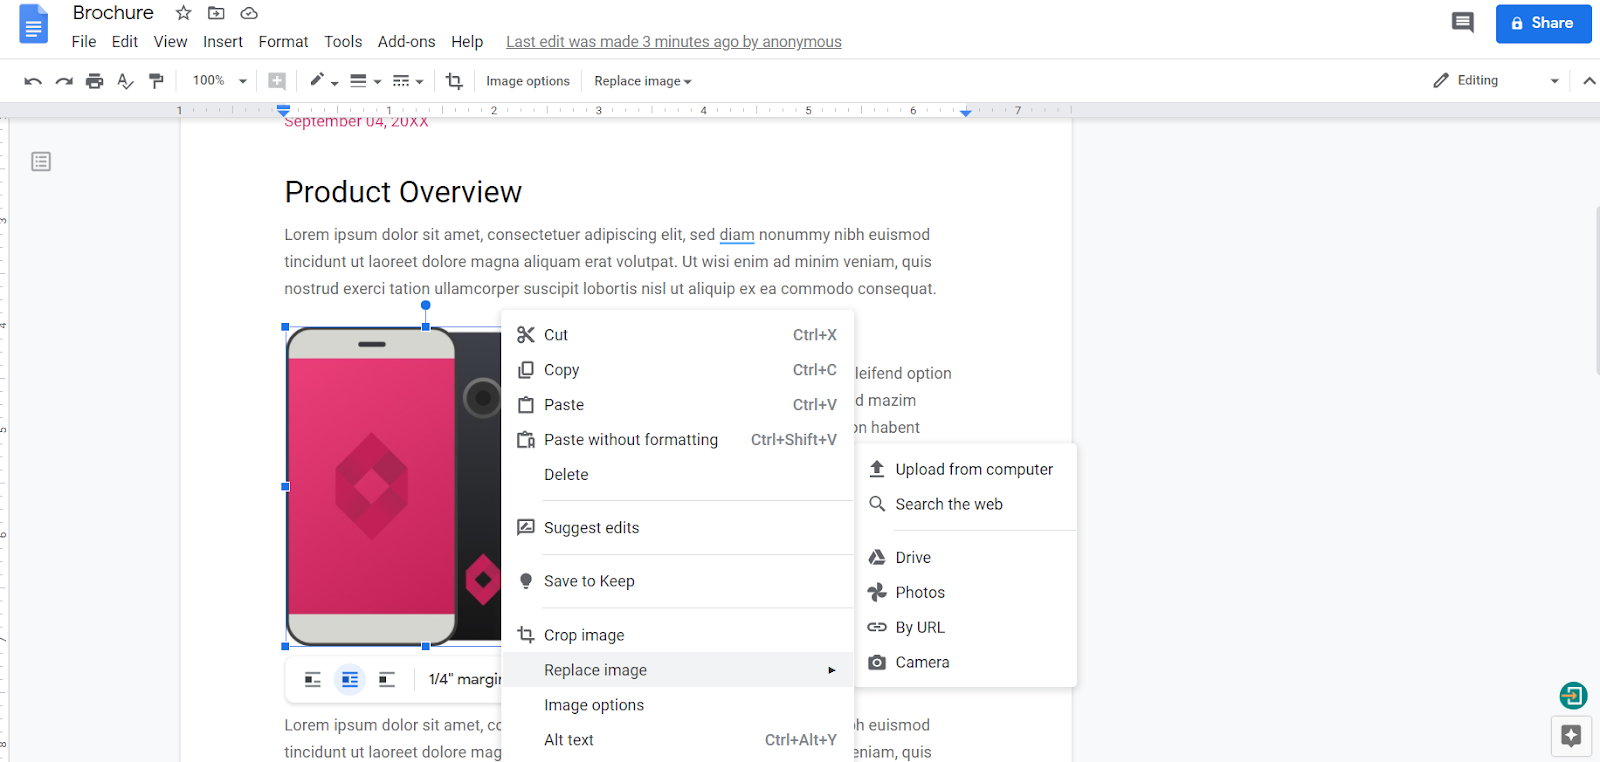
To save the chosen template, enter a name for it. Then you can start customizing. For instance, if you’ve selected a template that contains an image, you can replace it with a picture of your product or find a suitable one in the royalty free images library.
Click on the image to mark it and then right-click on it. When a pop-up menu appears, find the option ‘Replace image,’ and choose one option, such as uploading a new one from your computer. You may also use templates available in pro-level label printing software and customize them to your liking and create labels for your brand.
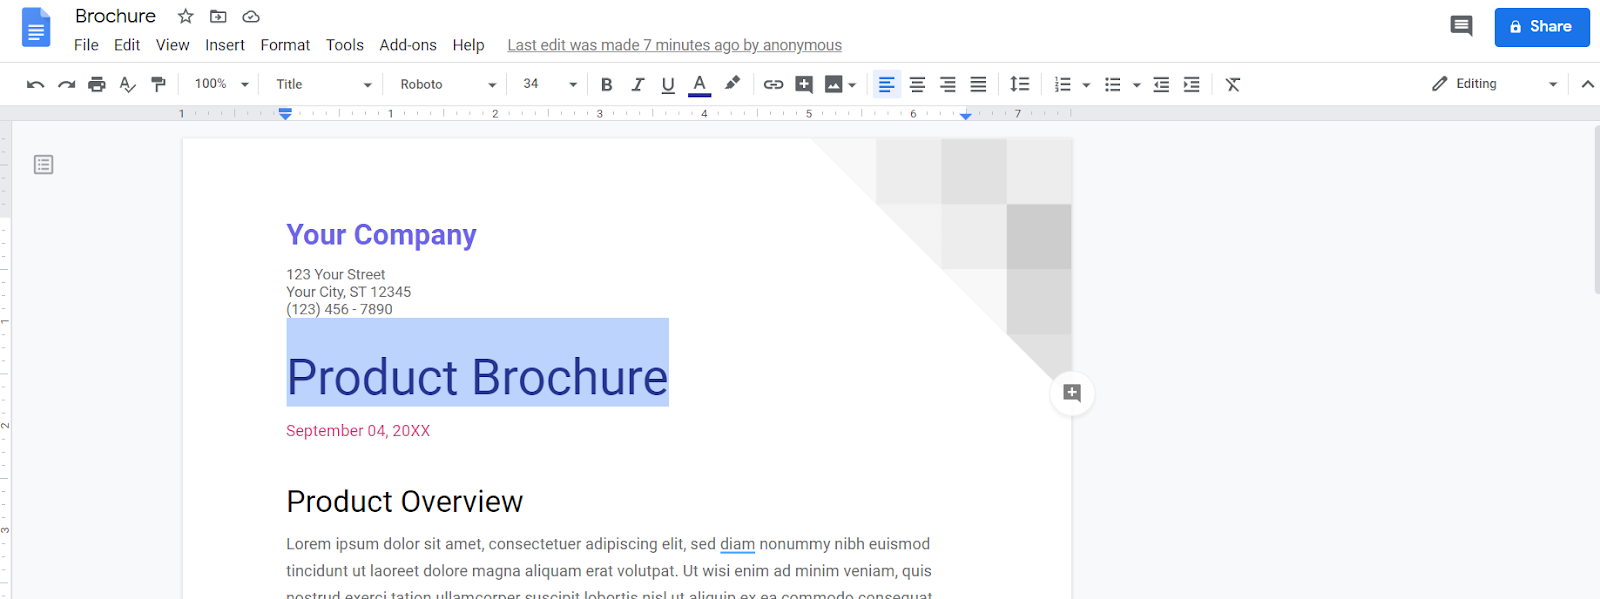
To edit the text, simply delete the existing one and type in the version you want to see on your flyer. You can also change the font, the colors, background color, or anything else on the template. If you need a different order of images and text, you can also move these elements around.
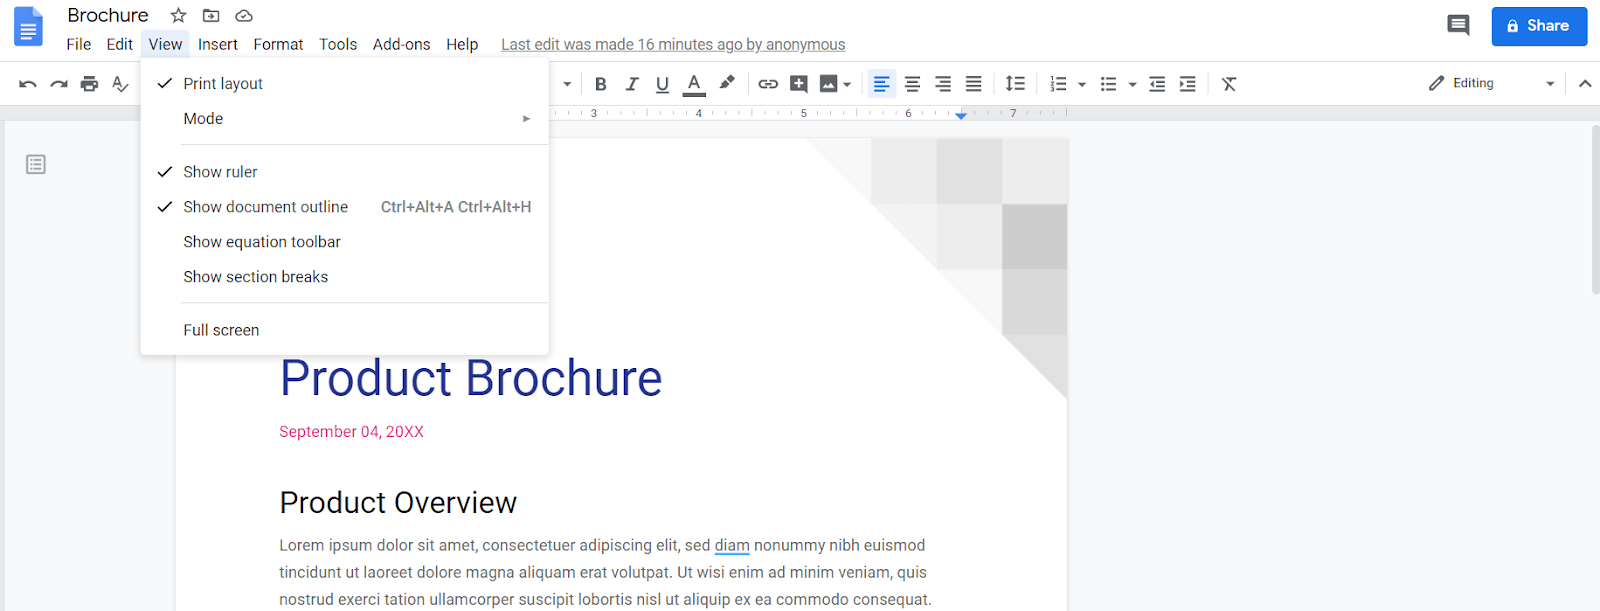
When you’re done editing the template, you can check what it will look like after printing. Click on the ‘View’ tab in the bar at the top and select the ‘Full-screen’ option.
Google Docs automatically saves your progress as you work on your flyer. Once you’re happy with your flyer, the next step is to print it out.
Click on ‘File’ at the top and click ‘Print.’

Alternatively, if you’re getting your flyers professionally printed, you can also save your flyer as a PDF.
A tear off or pull tab flyer is a type of flyer that has pull tabs at the bottom. Anyone passing by can tear off a tab and reach out if they’re interested in your offer.
This section will look at how to create a tear off flyer on Google Docs.
When using Google Docs as your flyer maker tool, you start by choosing a template or from scratch. We’ll use the brochure template from the example above again. Be sure to leave some space at the bottom of the flyer for your pull tabs.

Currently, there’s no way to make text vertical in Google Docs, so we’ll have to get a bit creative here by adding a drawing instead.
Click on ‘Insert,’ hover over ‘Drawing,’ and click ‘+New.’
You can also use images, optimizing them with a photo quality enhancer or similar tools.

Then add a text box and enter in the details you want in your pull tab. Pull tabs typically include your number, phone number, and email address, but you can also add in your social media handles here.

Click and hold on the small dot above the text box, and drag it down to rotate it vertically.

Click the ‘Save and Close’ button to insert the text box. Note that you’ll likely need to change the margins or adjust the text on the page to get it to fit.
Then you should have the following:

Copy and paste as many of these pull tabs as you need to finish your flyer.
A half-page flyer covers half the size of a sheet of paper, allowing you to print two smaller flyers on one page. Click on ‘File’ and ‘Page setup.’ Then under ‘Orientation,’ click the ‘Landscape’ radio button.
Then click on ‘Format,’ hover over ‘Columns,’ and click the option to have two columns. Simply copy and paste the original flyer onto the other column. You’ll likely need to change some of the formatting to get both to fit on one page.

Creating a flyer takes a lot of time. Once you create a flyer, you can build your own template gallery so you can use them again in the future.
Navigate to Google Docs and click ‘Template gallery’ at the top. Then click the ‘Submit template’ button. Locate your document and be sure to select an appropriate category. Click the ‘Submit’ button and your flyer will be added as a template.

Microsoft Word is another good option to create flyers, but you might prefer working in Google Docs. No problem. Click on ‘File’ and click ‘Open.’ Then simply drop your Word document into the window to upload it. Google Docs will automatically import your flyer onto the page.

Who knew creating fantastic flyers could be so simple?
You need just a bit of imagination and skill to do so. You’ll learn how to use Google Docs in seconds, even if you need a tear-off flyer.
Google Docs provides you with an excellent gallery of all kinds of templates, so it’s up to you to choose the one you like and start creating. You can customize any template to fit your needs by changing sample colors and images within them.
Hopefully, this walkthrough helped you get a better understanding of what flyers are and how you can create beautiful ones using Google Docs.