
Google Suite has taken over the word processing industry, especially in the world of business.
Its ability to support documents on the internet, not through downloaded software, makes it ideal to share documents between companies.
The suite eliminates compatibility issues between software programs. Its shared editing features which update in real-time make it unmatched by its competitors, and its usage is growing by the day. It’s a ubiquitous way to create a document or presentation and easily share it or convert it to a PDF.
However, some of its functionalities – especially in Google Docs – aren’t always obvious to the user. It’s worth explaining some details of how to use basic editing tools and highlight the keyboard shortcuts users should know.
Adding a picture to a Google Doc is simple, but do you know how to rotate the image from landscape orientation to portrait orientation?
That’s what we’re going to look at today.
Effortlessly export your Google Docs to WordPress with just 1-click.
Get Started TodayThere are two ways to rotate an image in Google Docs. Let’s review both of them, so you have a solid understanding of how to complete the task efficiently.
This is the simplest way to rotate an image in Google Docs:
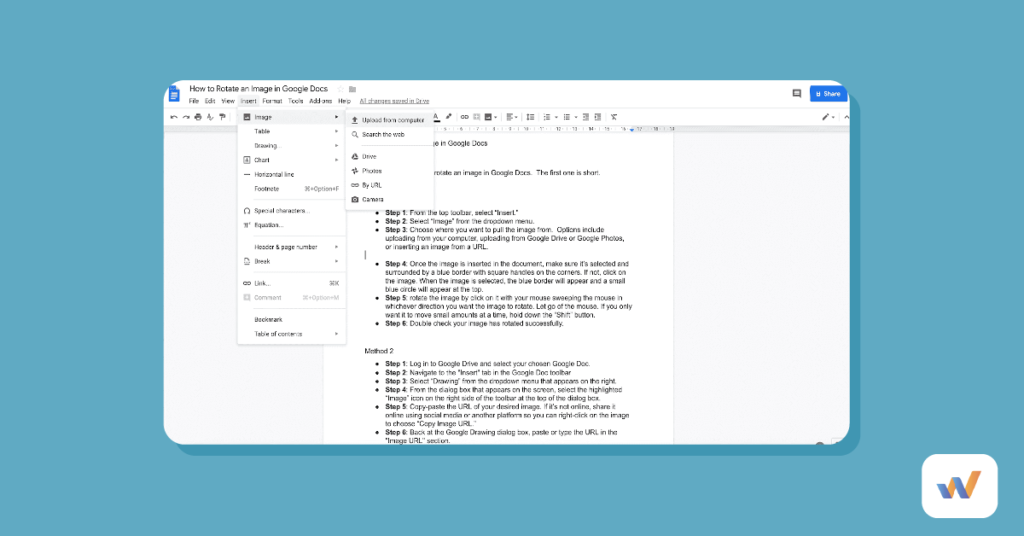
1. From the top toolbar, select “Insert.”
2. Select “Image” from the dropdown menu.
3. Choose where you want to pull the image from. Options include uploading from your computer, Google Drive, or Google Photos. You can also insert an image from a URL. It will take you to a dialog box where you can choose.
4. Once the image is inserted in the document, make sure it’s selected and surrounded by a blue border with square handles on the corners. If not, click on the image. When the image is selected, the blue border will appear and a small blue circle will appear at the top.
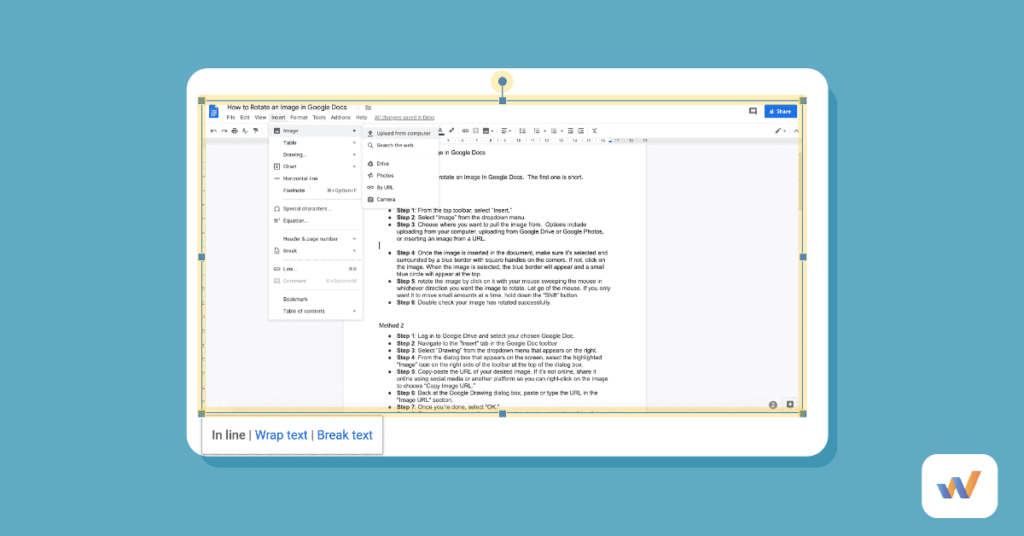
The small blue circle will appear as an extension of the border at the top. See the video below for a live-action example.
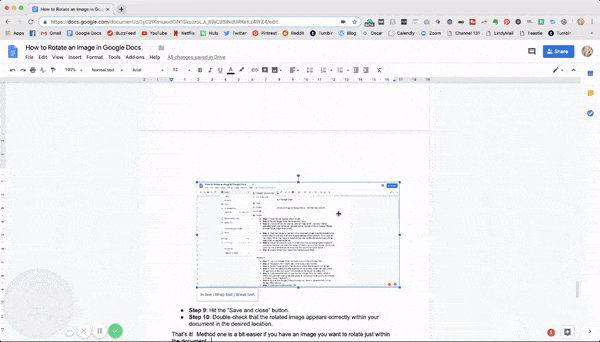
5. Rotate the image by clicking and dragging in whichever direction you want. Let go of the mouse. If you only want it to move small amounts at a time, hold down the “Shift” button.
Double check your image has rotated successfully. And you’re all set!
It’s simple, and once you get the hang of it, you’ll be able to edit and rotate images within the document with ease.
Now, let’s examine a slightly more complicated way to perform a basic image editing process like an image rotation in a Google Doc.
This method has a few more steps and isn’t as clear-cut as the first.
However, it’s beneficial to know a few different ways to manipulate an image file in case you are working with a different page orientation you aren’t used to.
Let’s start again at the top of the Google Document.
1. From the top toolbar, select “Insert.”
2. Select “Drawing” from the dropdown menu that appears on the right. Then click “New.”
3. Select the highlighted “Image” icon in the dialog box. The image icon is located on the right side of the toolbar at the top of the dialog box.
4. Choose where you want to pull the image from. Options include uploading from your computer, Google Drive, or Google Photos. You can also insert an image from a URL. It will take you to a dialog box where you can choose where you want to bring your image from.
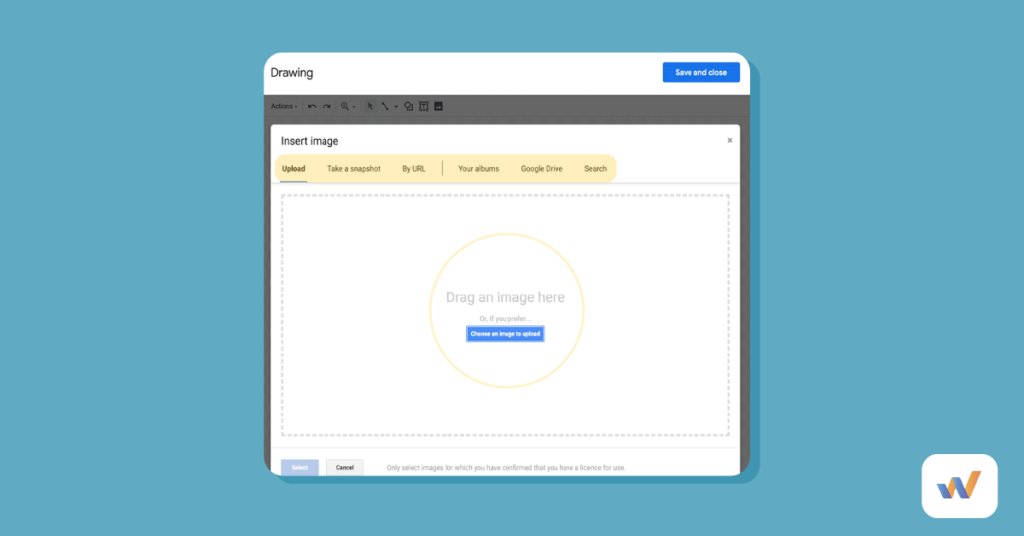
5. For the URL method, copy-paste the URL of your desired image. If it’s not online, share it online using social media or another platform so you can right-click on the image to choose “Copy Image URL.” Back at the Google Drawing dialog box, paste or type the URL in the “Image URL” section. Once you’re done, select “OK.”

6. At the top and slightly above the border, there will be a small blue circle. The same rules for rotating the image mentioned in the previous method apply.
7. Hit the “Save and Close” button. Double-check that the rotated image appears correctly within your document in the desired location.
That’s it! Method one is a bit easier if you have an image you want to rotate just within the document.
Method 2, the Google Drawing Method, allows you to rotate not just the image orientation, but the actual image within the text box itself. It just depends on what you need to do.
Yes, you can draw in Google Docs. In fact, the second method we use to rotate an image uses the Drawing tool. This tool can also be used to rotate and move text, too.
Drawing is a powerful feature natively available in Google Docs. This gives you more power over how images and text can appear within your document.
With the Drawing tool, you can add Word Art, create text boxes, design demonstration content with lines and shapes, and add images using the method described above. However, if you need more advanced vector editing capabilities, consider using vector programs like Inkscape or Vectr, which offer a wider range of features for creating professional-quality graphics. You can also add drawings or images from Google Drive directly to your document.
Then, you can customize how the drawing appears on your Google Doc by rotating it, shrinking or expanding it, or wrapping text around it.
You can easily add a text box to any Google document using the Drawing tool.
Select ‘Insert’ from the menu bar, then select ‘Drawing’ and click on ‘New’ in the drop-down menu.
In the Drawing pop out window, select the Text Box icon. This icon looks like a capitalized T with a frame around it.

Click on the empty space beneath the menu bar and drag your cursor to create the right sized text box for your needs. You can always adjust the size of the text box by dragging the corners or sides of your text box.
Type the content you want in your text box, adjust the font and size as needed, and click the blue Save and Close button in the top right corner. This will add a text box to your document.
In order to rotate a block of text, it needs to be contained in a text box.
Use the Drawing tool to create a text box and format the text as you’d like it. Before you save and insert the text box, click the small blue circle above the text box in the drawing tool. Use your mouse to drag the text box clockwise or counterclockwise to rotate text.

You can also use this method to change the text direction in a section of your document. If you’re writing in a language that’s written from right to left or that are written vertically, the drawing tool can help you create a section written in that style without impacting the entire document.
If you have an existing text box you want to rotate, click on the text box in your Google Doc so the options menu appears underneath. Click ‘Edit’ to open up the Drawing tool. From here, you can rotate your text with the small circle above your text box, and save your edits.
When you add images to a document, wrapping your text around it is a great way to give your final document a polished look.
To wrap text around an image or text box, select the image and choose the middle image showing a block with lines around it. It will say wrap text when you move your cursor over it.
This will allow your text to continue around your image instead of creating a page break or extra white space.
Rotating images in Google Docs is a skill that every writer needs to know.
With two different methods to choose from, it can’t be easier to make the edit.
Wordable has a comprehensive guide to Google Doc functionalities that can explain other Google Doc features in depth as well.
All that’s left to say is: spin away!
I saved one hour uploading this post from Google Docs to WordPress using Wordable. Try it out here.